Install the Device
Steps:
- Check valve compatibility and select an adapter if required.
The device can be mounted on a valve with an M30 × 1.5 mm thread. For other valve types, install a compatible valve adapter first. See the Compatibility Guide for details.
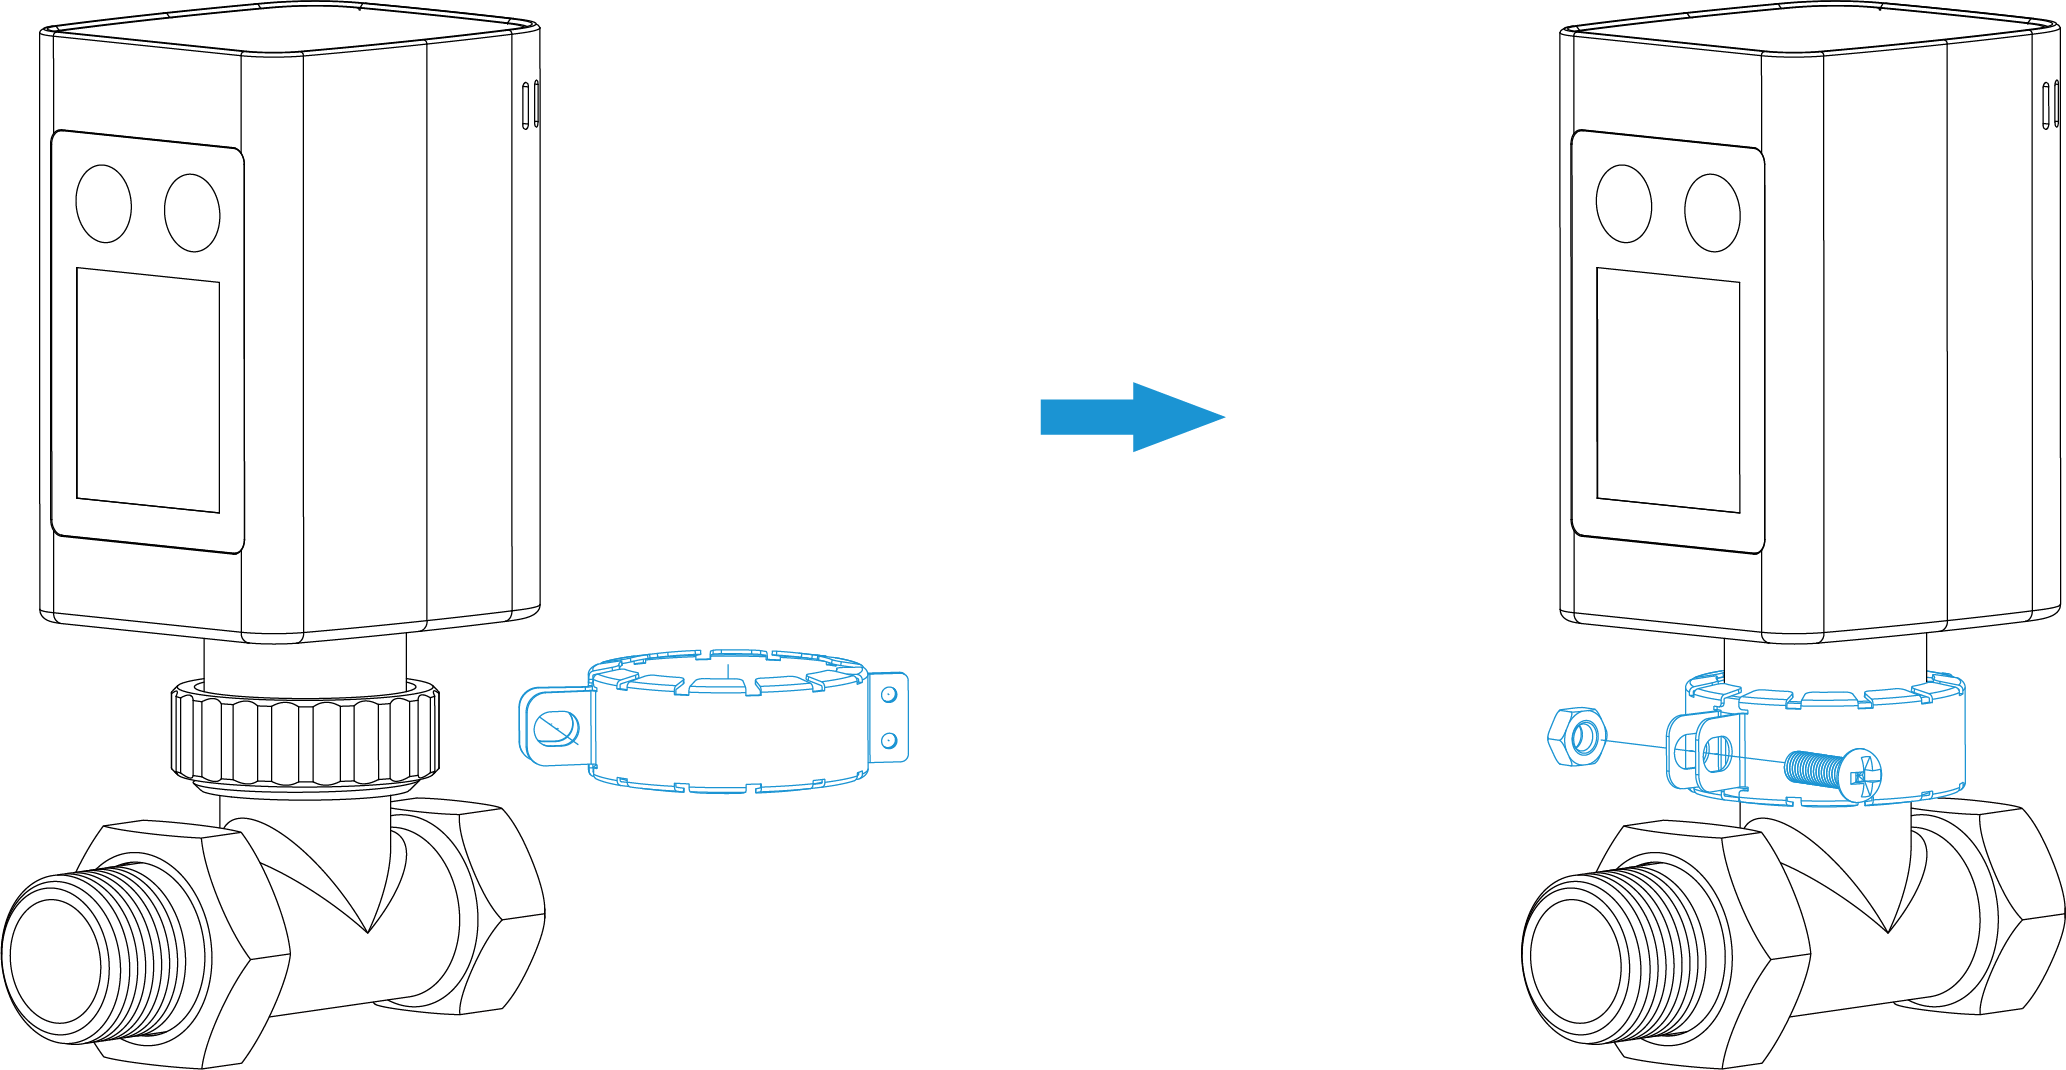
- Mount the Device.Place the valve base plate onto the valve or valve adapter and secure it firmly.
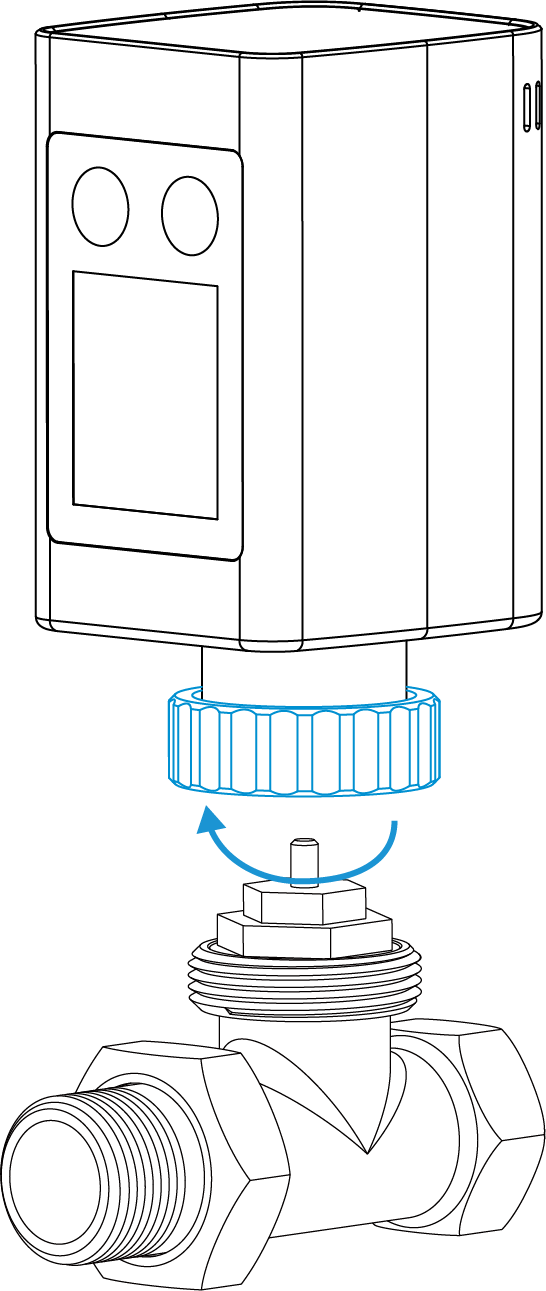
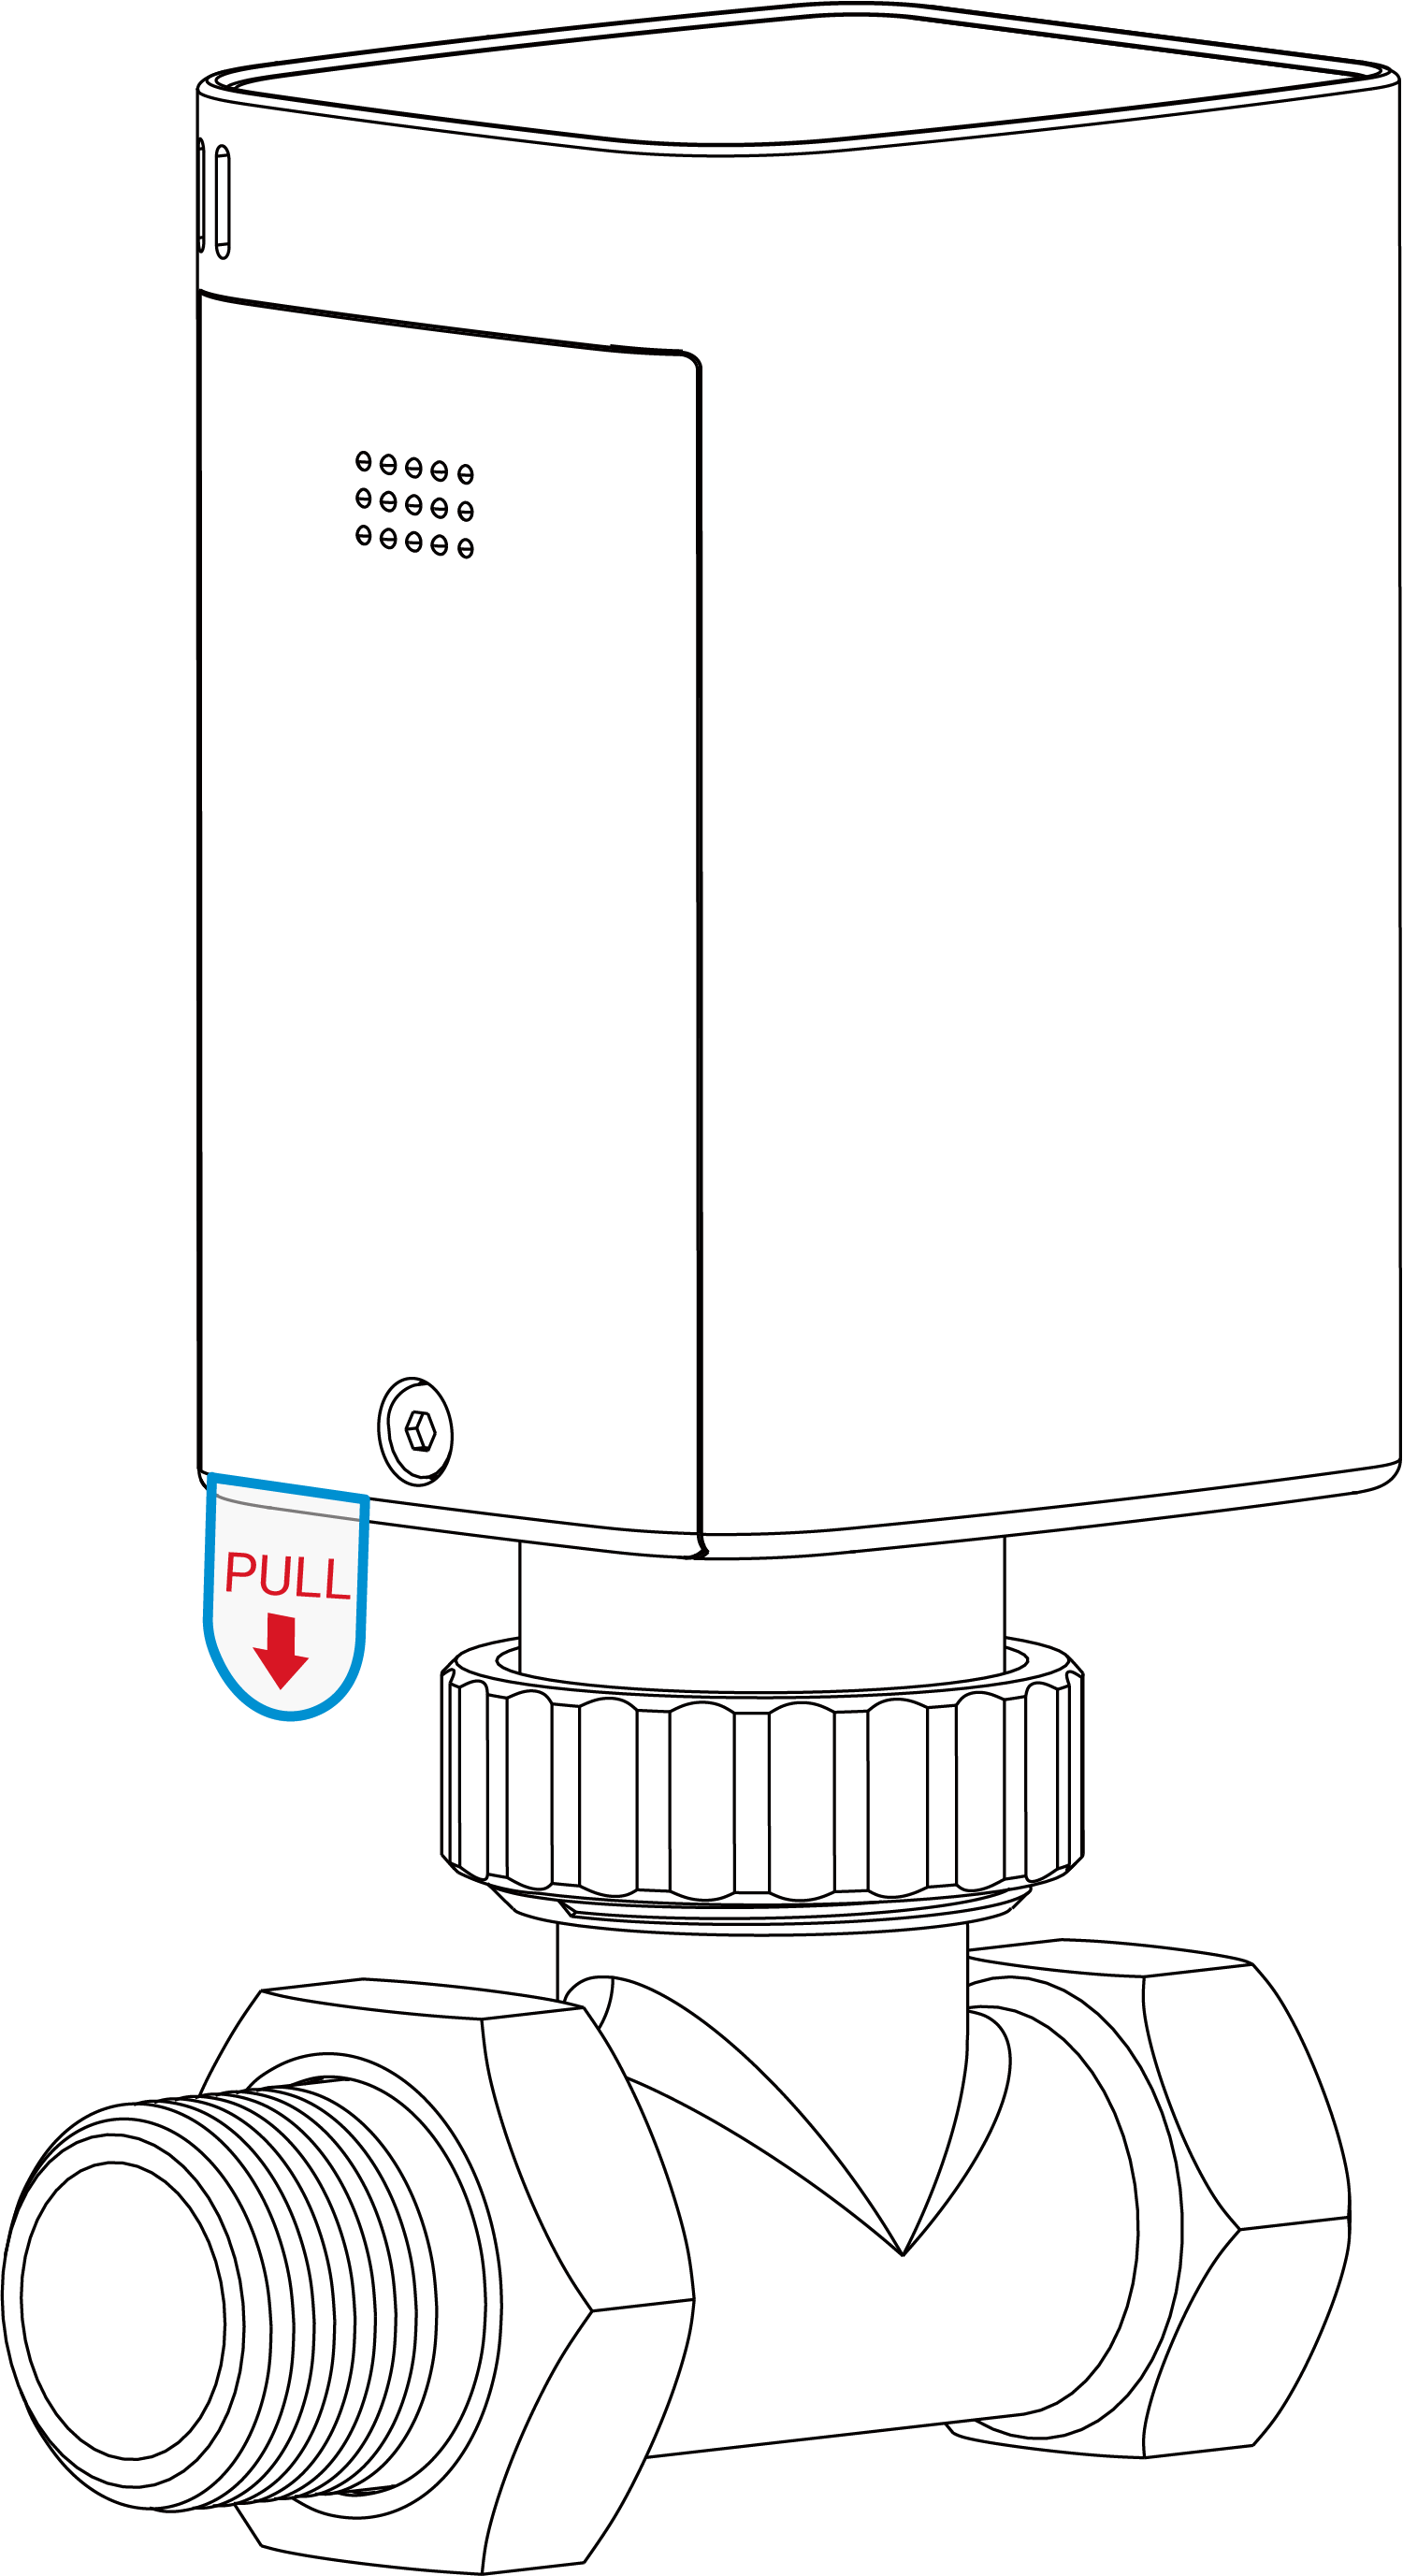
- Remove the battery insulation sheet to power on the device.
- Calibrate the Valve.Wait for the motor to complete automatic calibration. Calibration is successful when the LCD switches from the motor calibration icon to displaying the temperature control mode for 2 seconds before turning off.
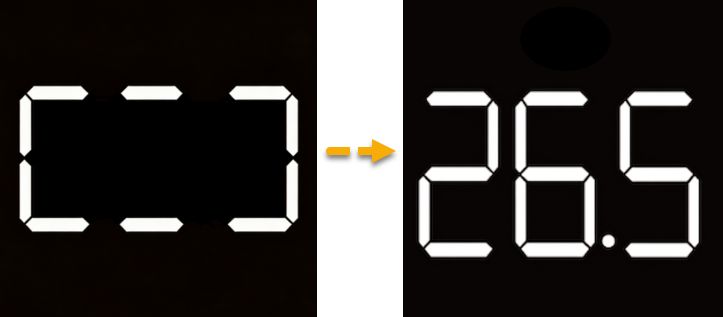 Troubleshooting: If the ambient temperature flashes twice before the LCD turns off, calibration has failed. Check the reported data on the platform for the cause.
- Connect to the Network.
- Open the ToolBox app and access the device via NFC. For more
details, refer to Access the Device Using NFC.
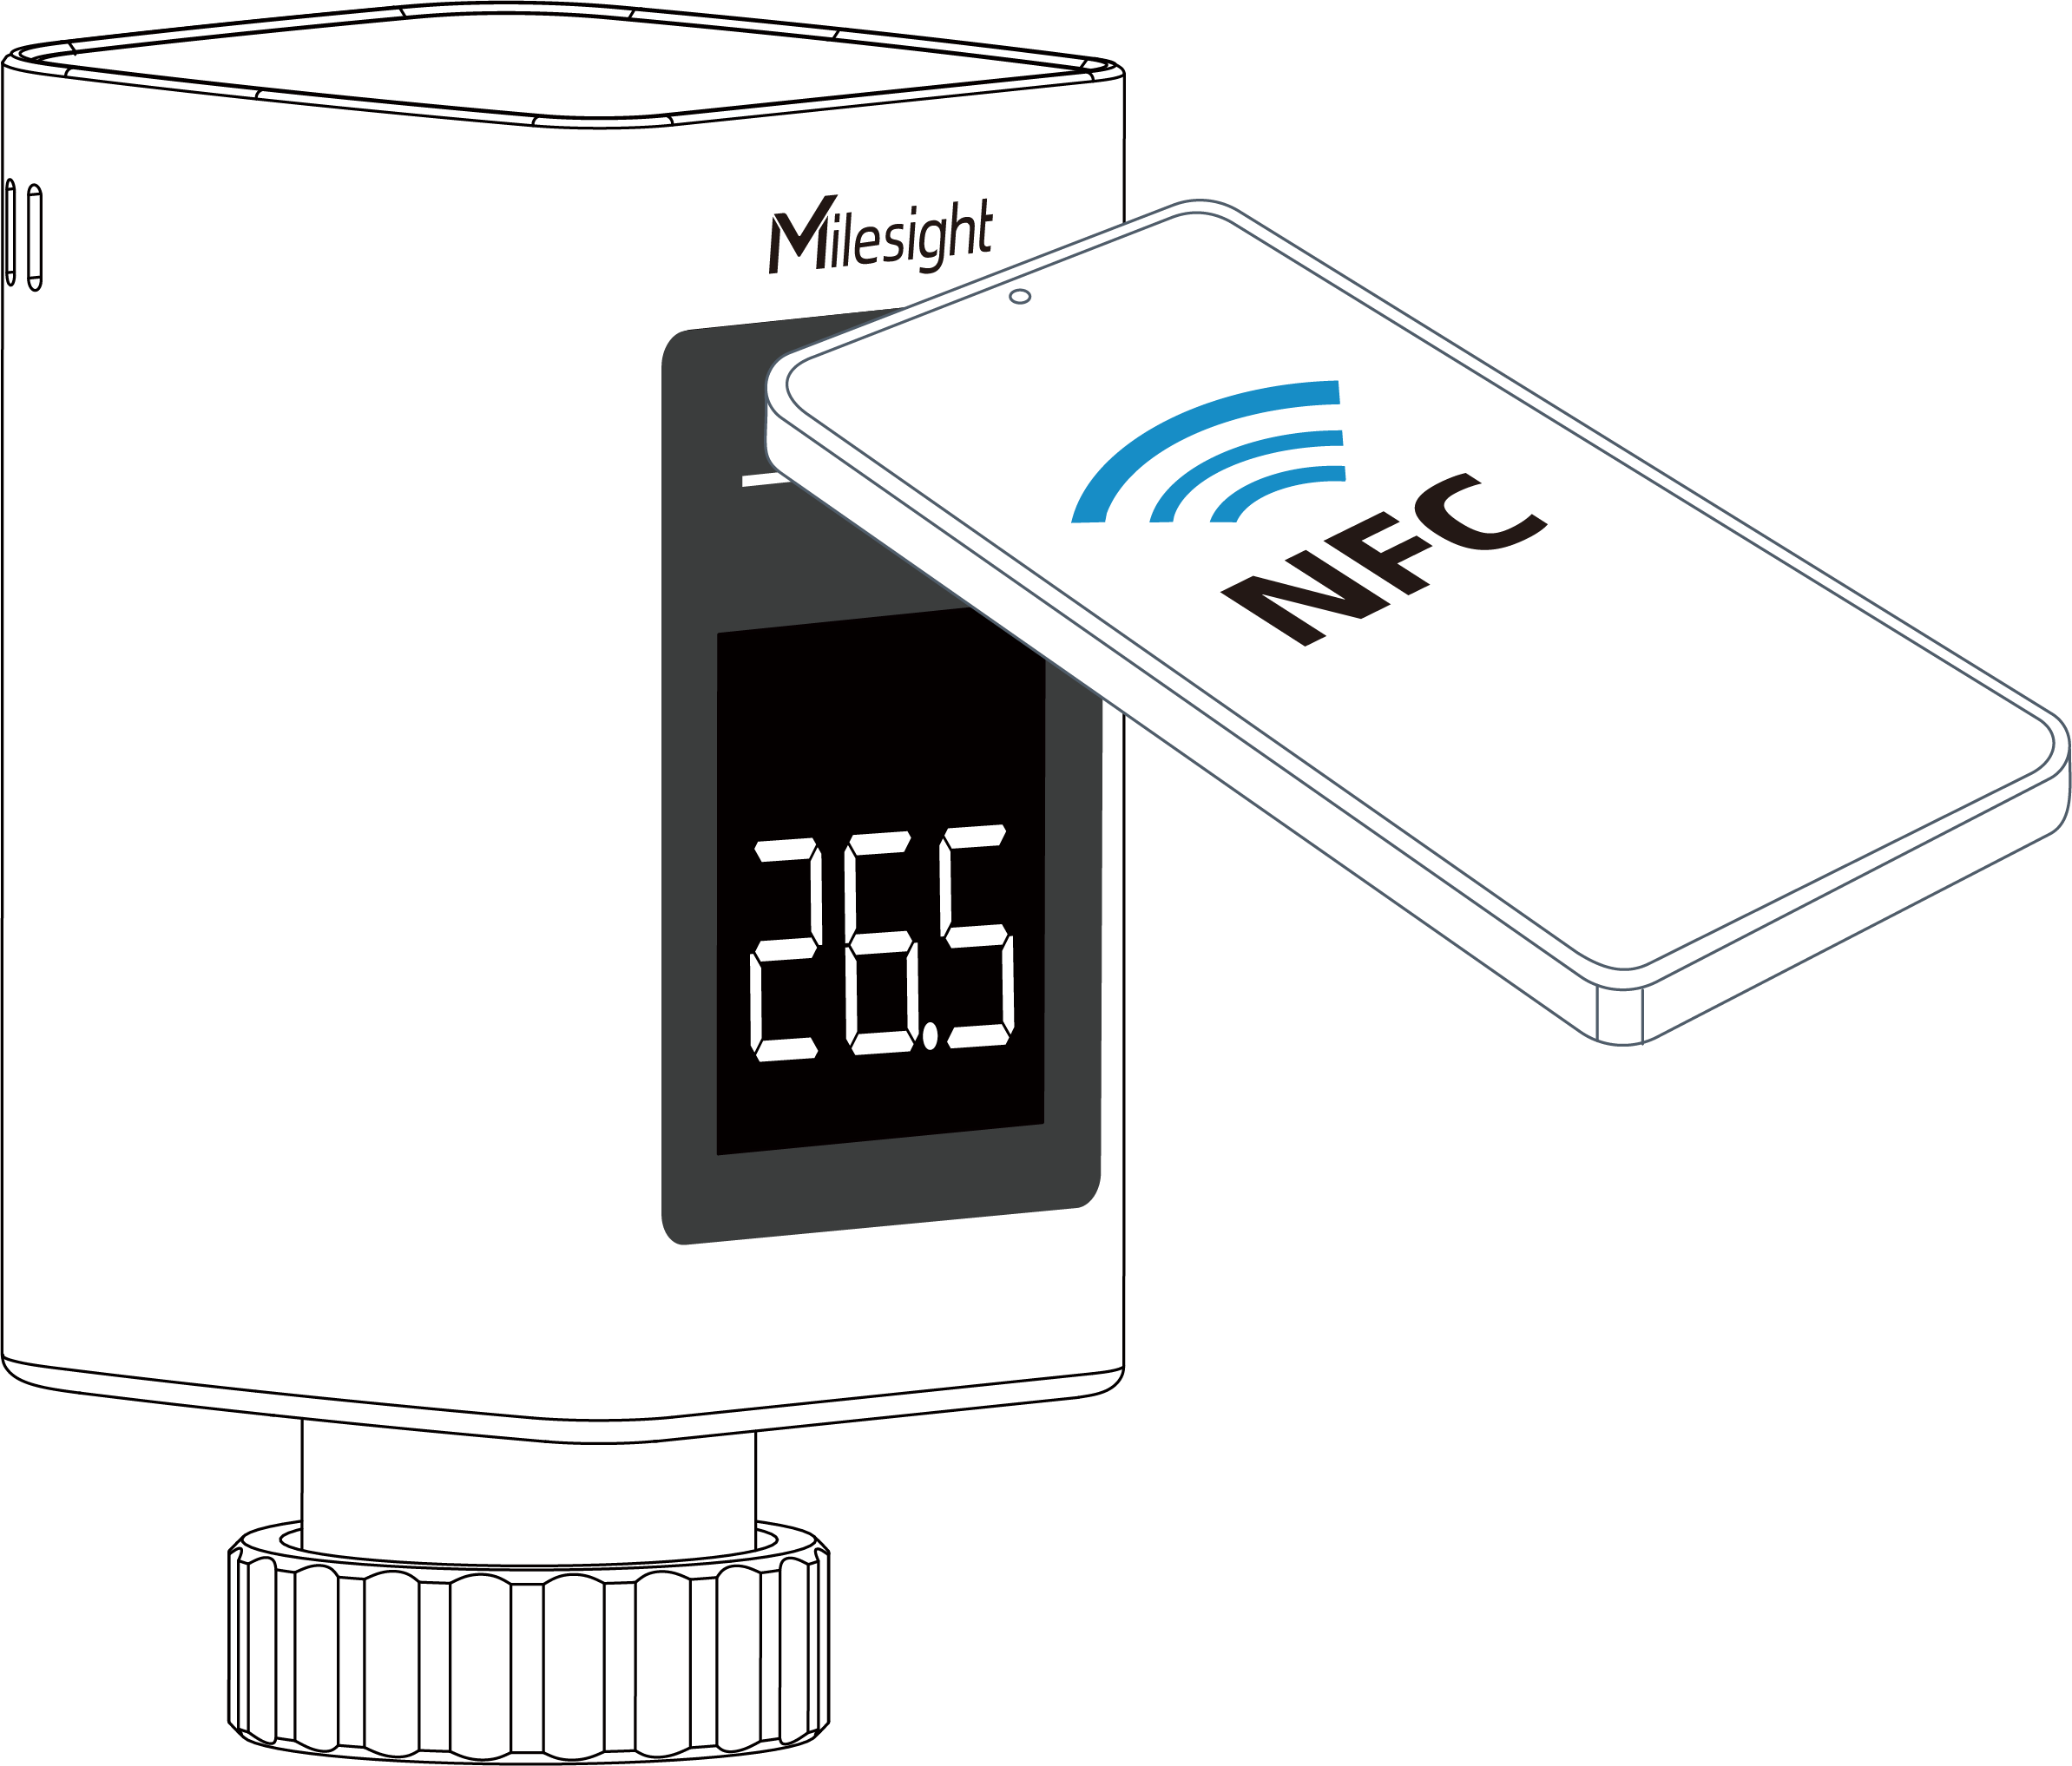
- In the ToolBox app, go to Settings > LoRaWAN to obtain the
following device information.
Parameters Description DevEUI Available under Settings > LoRaWAN in the ToolBox app or on the device label. Application Key Application key (AppKey) for OTAA mode. Default: DevEUI + DevEUI. - Add the device to the LoRaWAN network server. Make sure the network uses the same frequency band as the device.
- Confirm that the device has joined the network and that the network disconnection icon has disappeared.
- Open the ToolBox app and access the device via NFC. For more
details, refer to Access the Device Using NFC.
- Verify Operation.
Press any button once to wake the display. Then press + or − and confirm that the displayed setting changes accordingly.
- (Optional) Secure the Device.Secure the theft-deterring collar to the valve base plate using a screw and a nut.