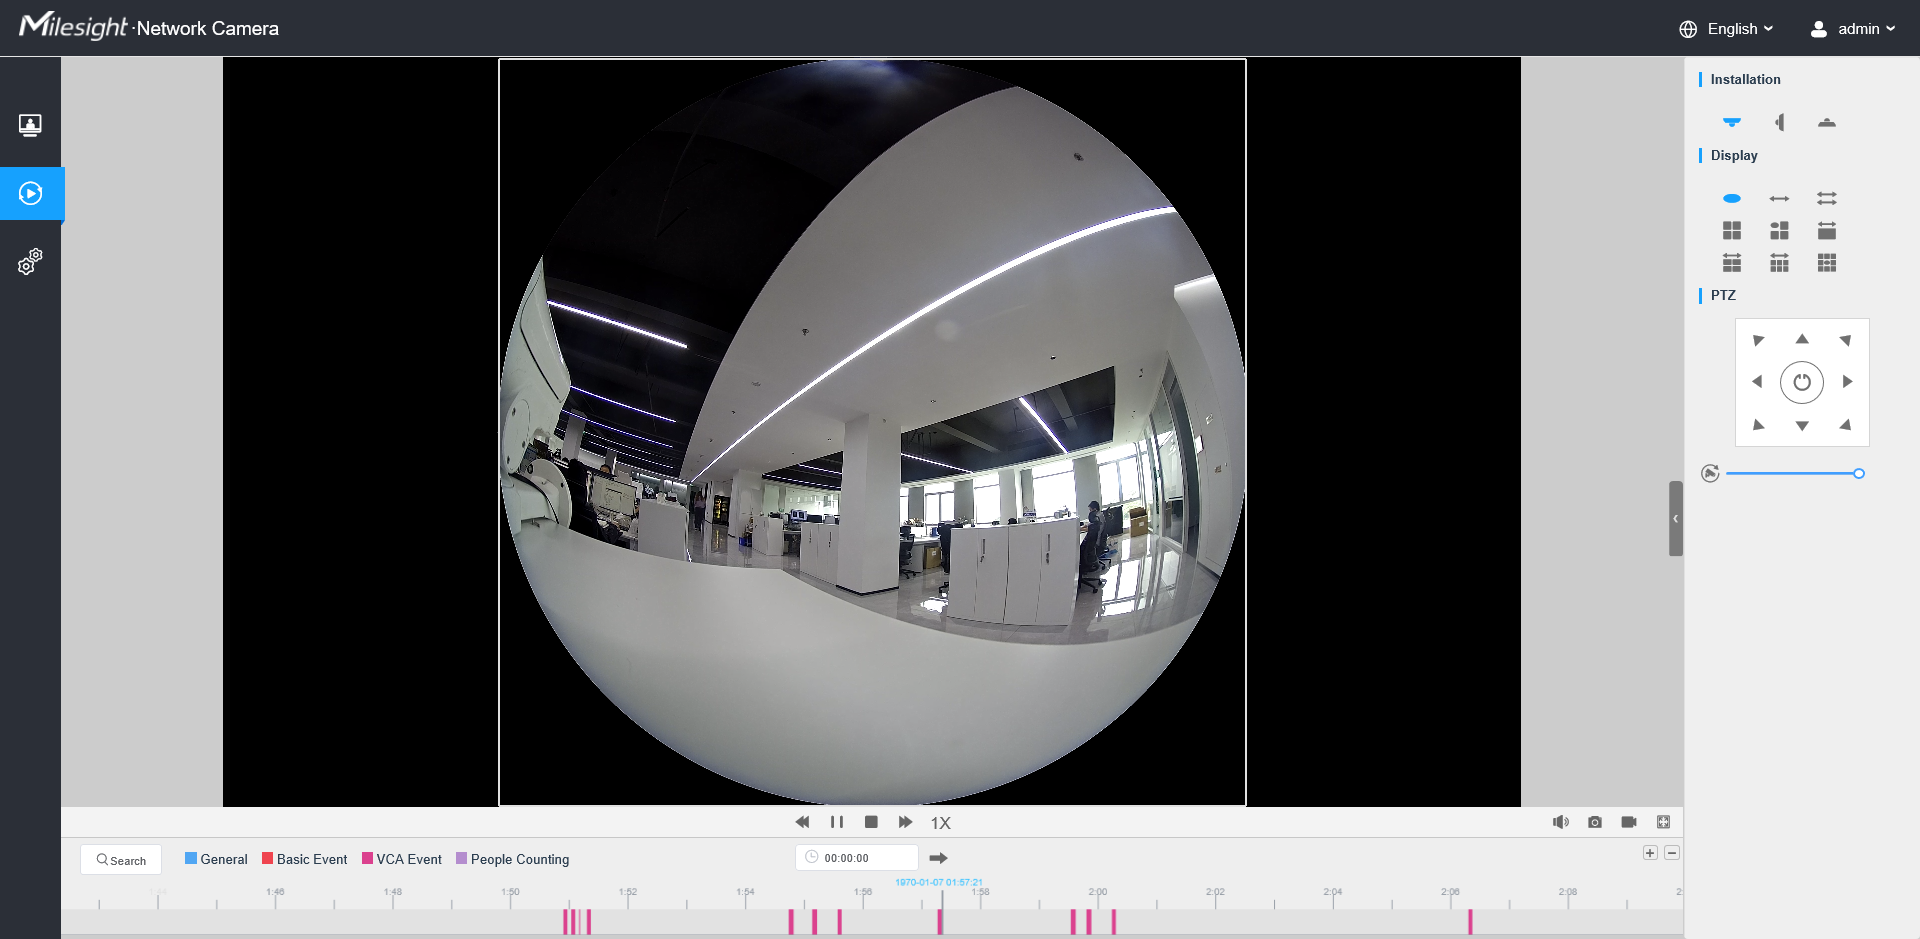
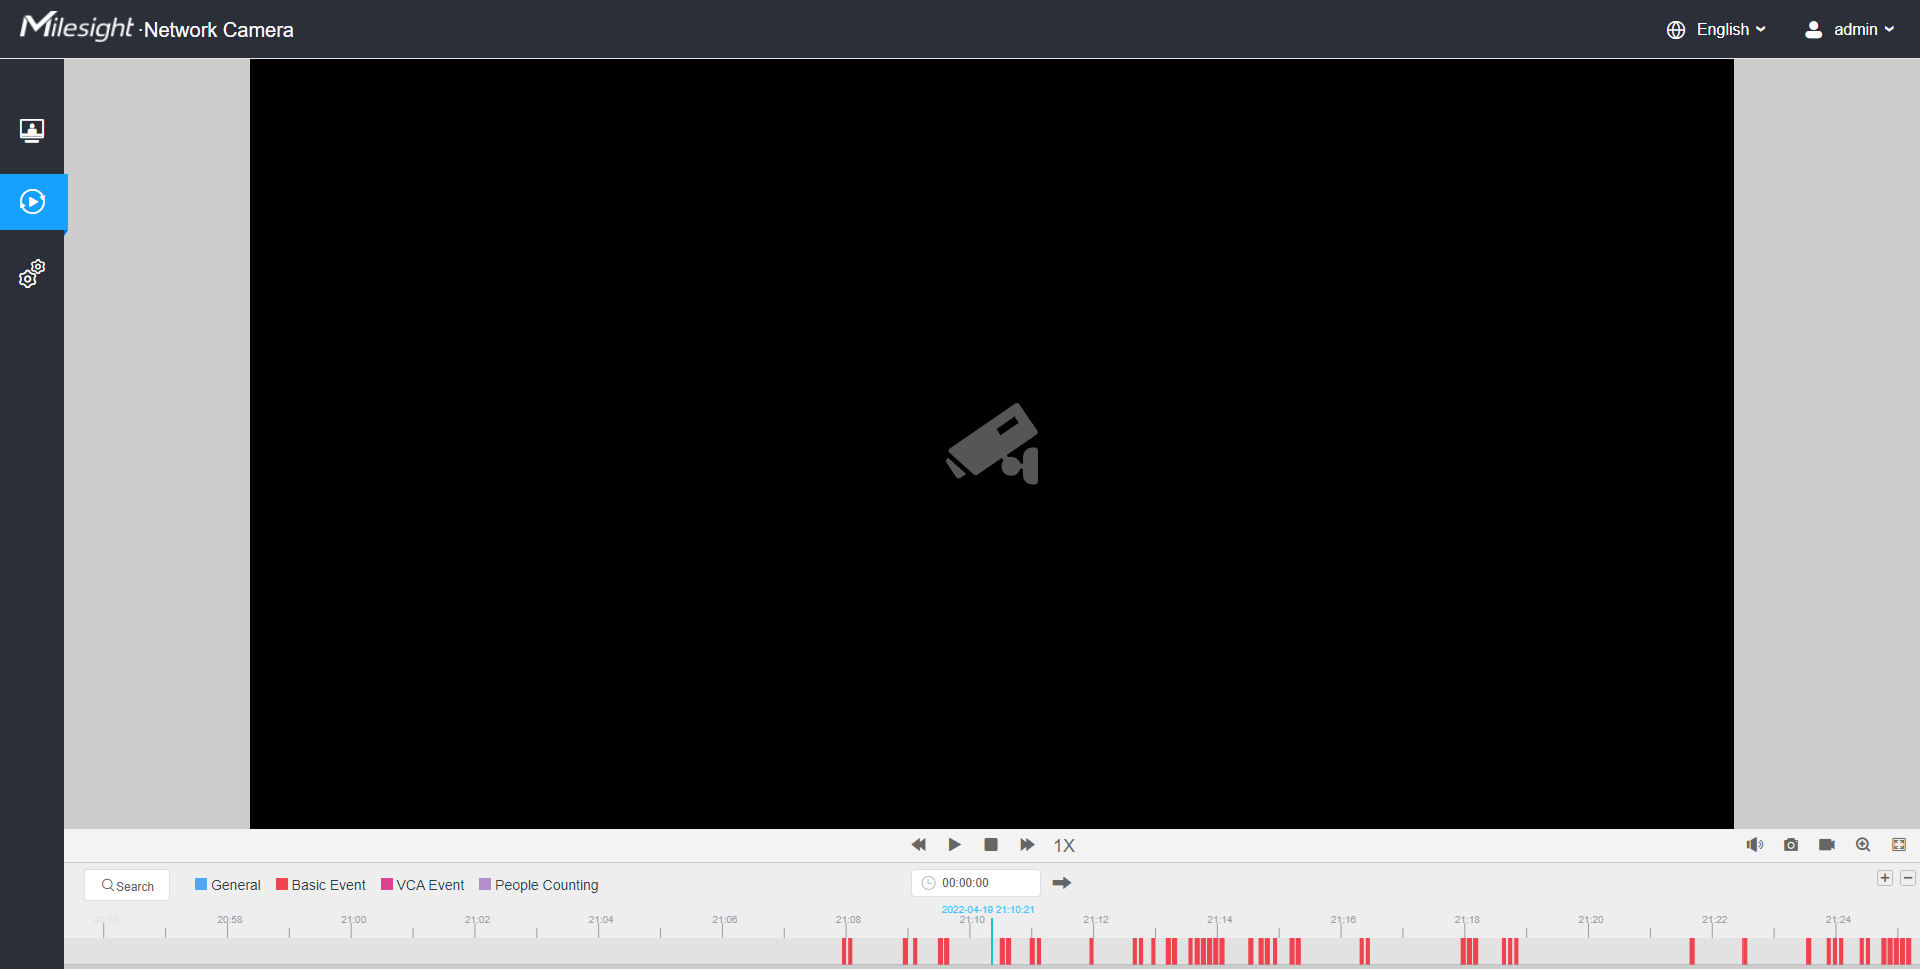
Playback
Click ![]() to
enter playback interface. In this part, you can search and playback the recorded video
files stored in SD cards or NAS. The Playback interface is as below:
to
enter playback interface. In this part, you can search and playback the recorded video
files stored in SD cards or NAS. The Playback interface is as below:
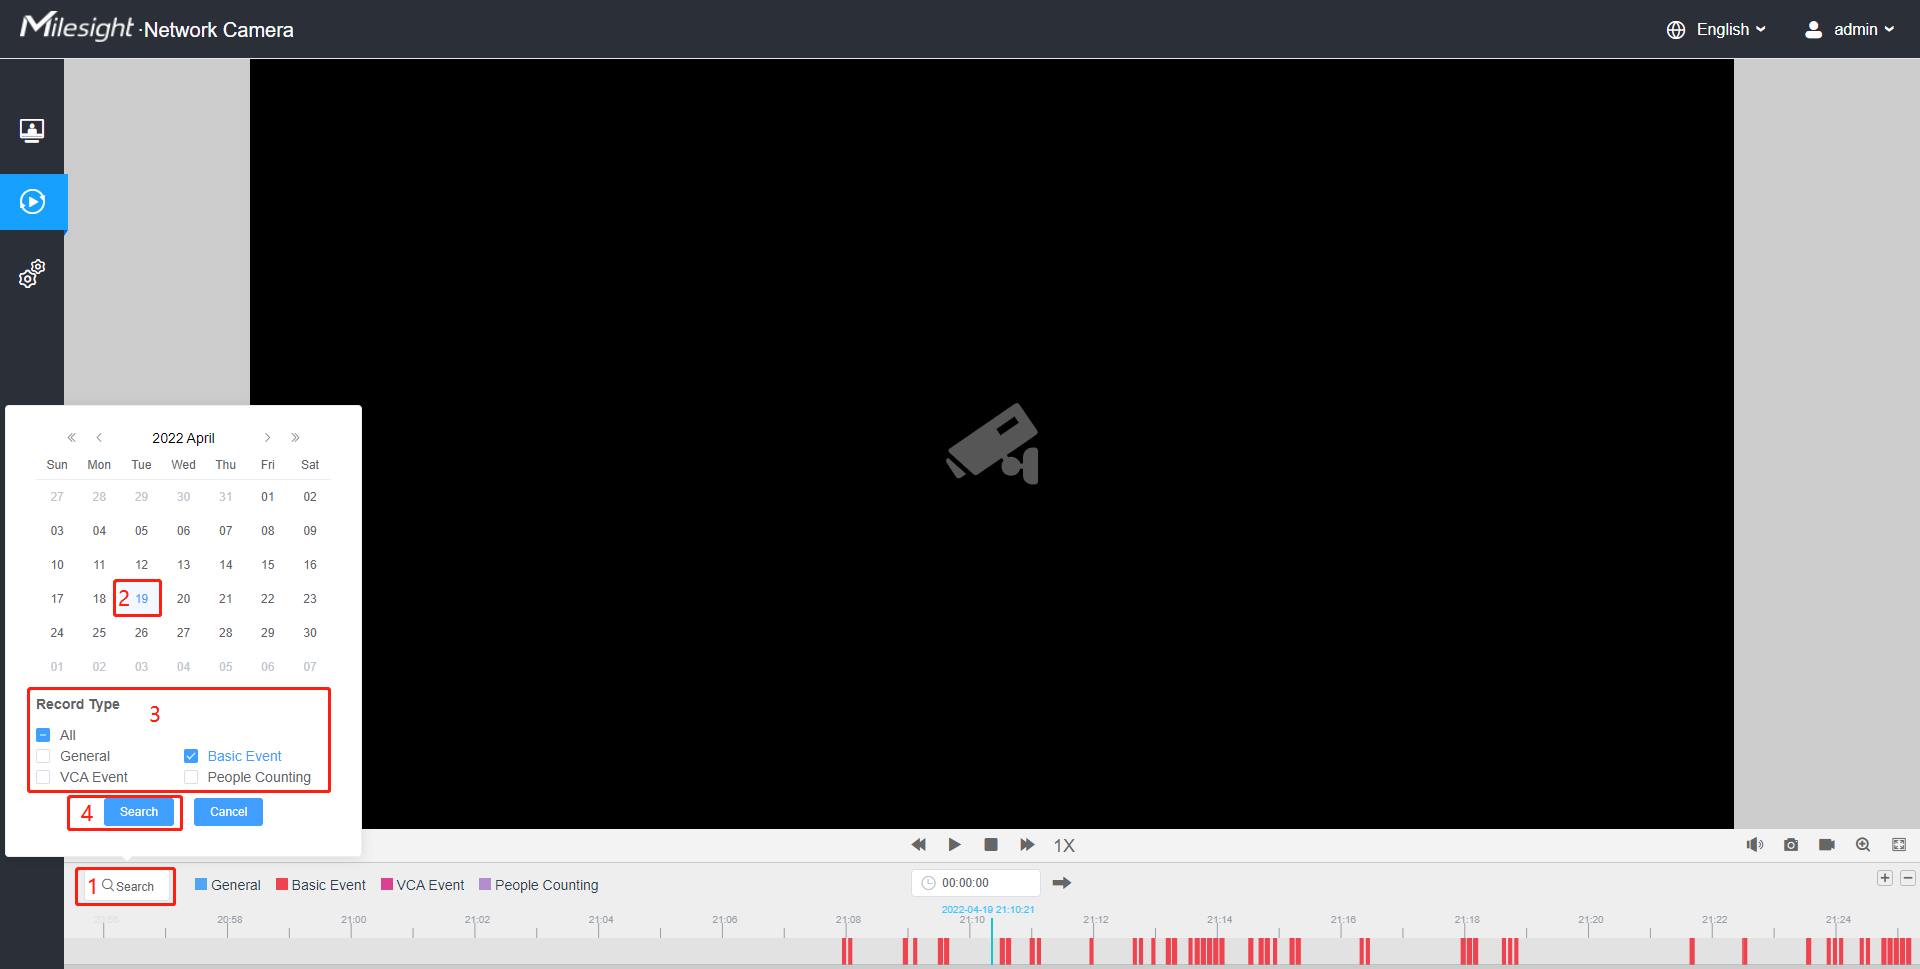
Step1: Click the “Search” botton, choose the data and record type when the window pops up.
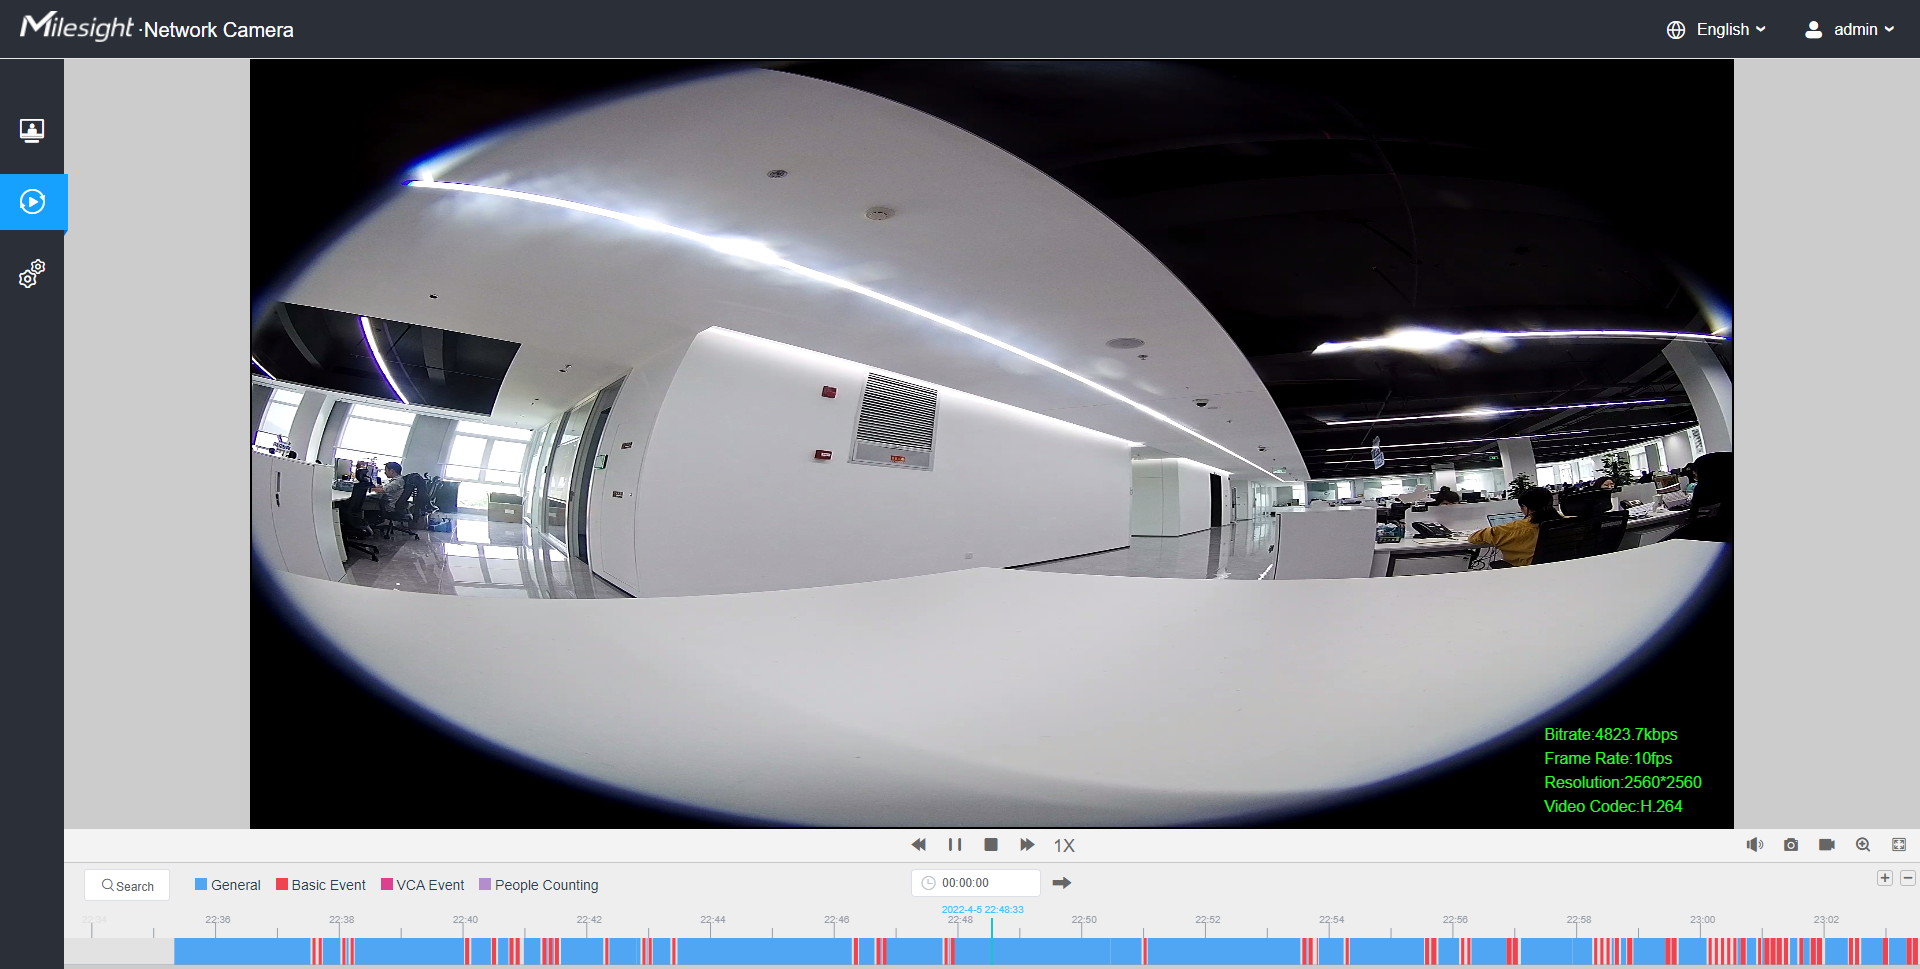
Step3: Click![]() to
play the video files found on this date. The toolbar on the button of playback interface
can be used to control playing progress.
to
play the video files found on this date. The toolbar on the button of playback interface
can be used to control playing progress.
| No. | Parameter | Description |
|---|---|---|
|
Choose date to search recorded videos. |
||
Search the recorded videos by record type ( All/General/Basic Event/VCA Event/People Counting). The timeline will show different colors according to selected record type as below:
|
||
| 1 | Speed Down/Speed Up/Speed |
Adjust the speed of video playback. Speed Down: Includes 0.5X and 0.25X for Play. Speed Up: Includes 2X and 4X for Play. Speed: The default playback speed is 1X |
| 2 | Play/Pause |
Play/Pause the video. |
| 3 | Stop |
Stop the video. |
| 4 | Search Time |
Select the time that want to locate. |
| 5 | Jump |
Go To. |
| No. | Parameter | Description |
|---|---|---|
| 1 | Mute |
Click to enable the audio. |
| 2 | Snapshot |
Click to take a snapshot. |
| 3 | Start/Stop recording |
Click to start/stop recording. |
| 4 | Digital Zoom |
Click to zoom on/off . |
| 5 | Full Screen |
Full Screen. |
| 6 | Time Expand/Narrow |
Time narrow/expand. |
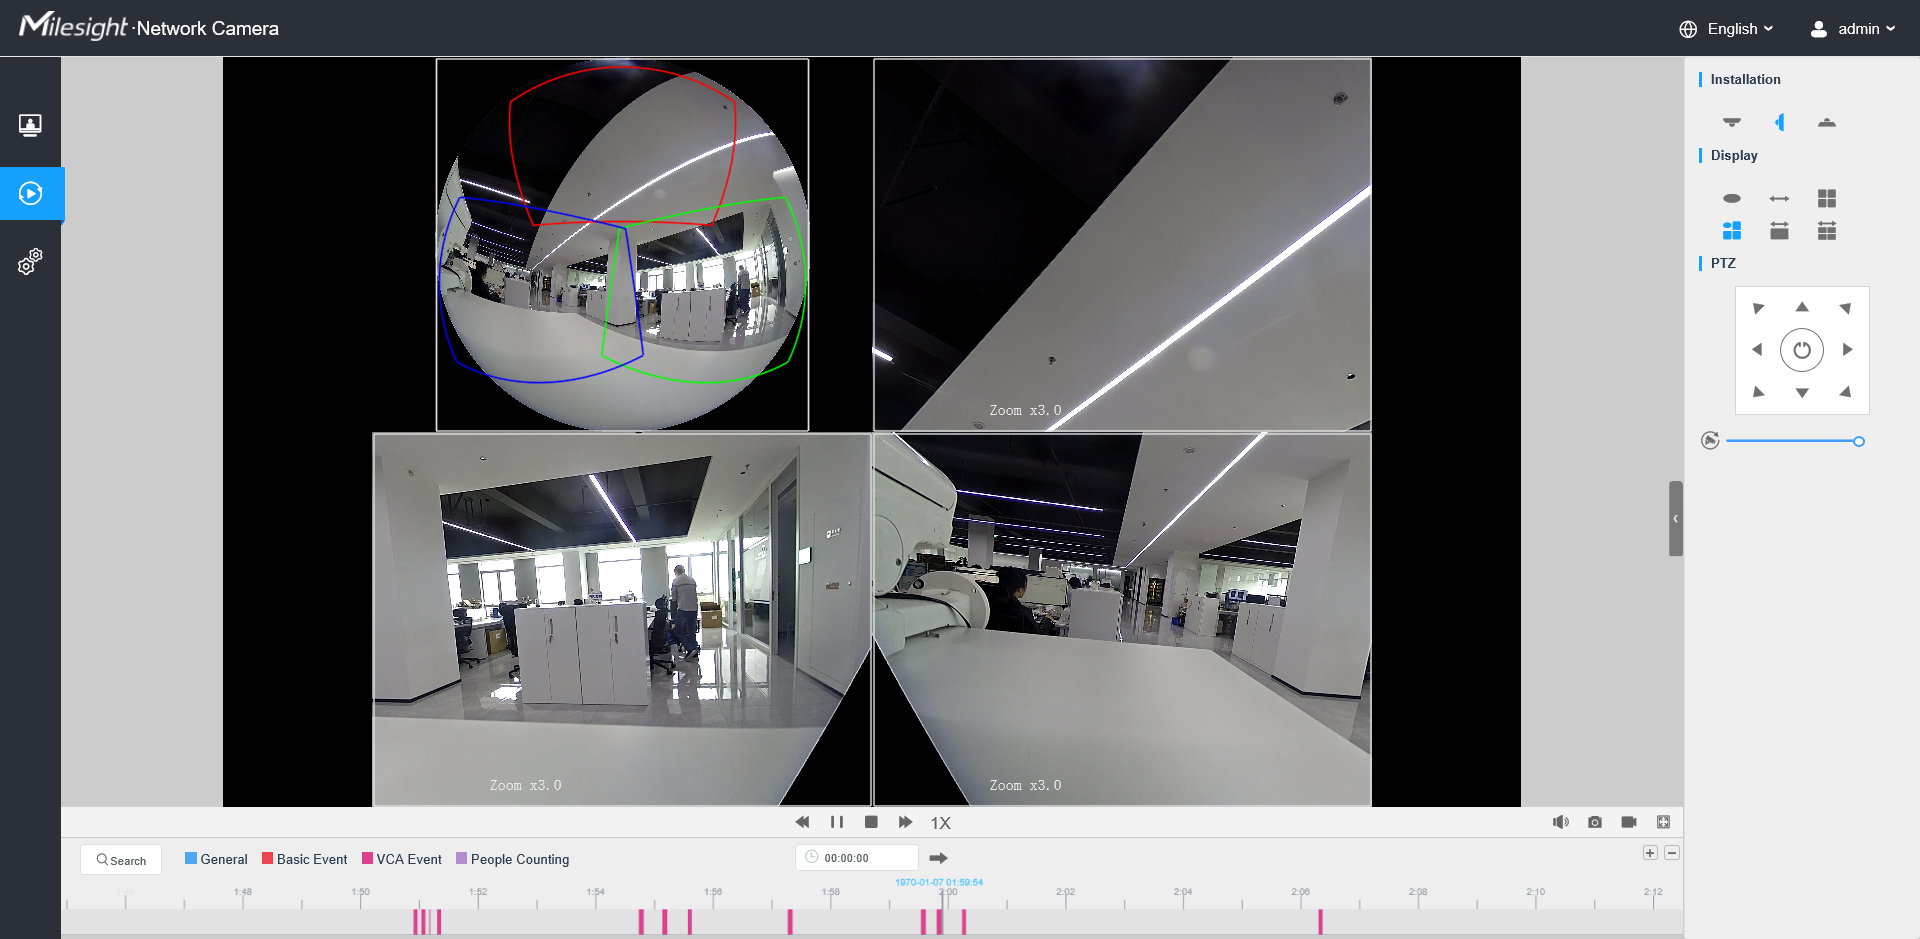
Step4: If the recording contains the original fisheye view(1O), it supports client-side dewarping based on the original view in the playback interface. Click to play the video files, then you can select different installation modes and display modes as shown below. It also supports PTZ function for panoramic view and regional views.