6.1 Live Video
After logging in the network camera web GUI successfully, user is allowed to view live video as follows.

| No. | Parameter | Description |
|---|---|---|
| 1 | Live Video |
Click to access the live view page. |
| 2 | Playback |
Click to access the playback page. |
| 3 |
|
Click to access the configuration page. |
| 4 | Click to select system language. | |
| 5 | Display the user name and click to logout. | |
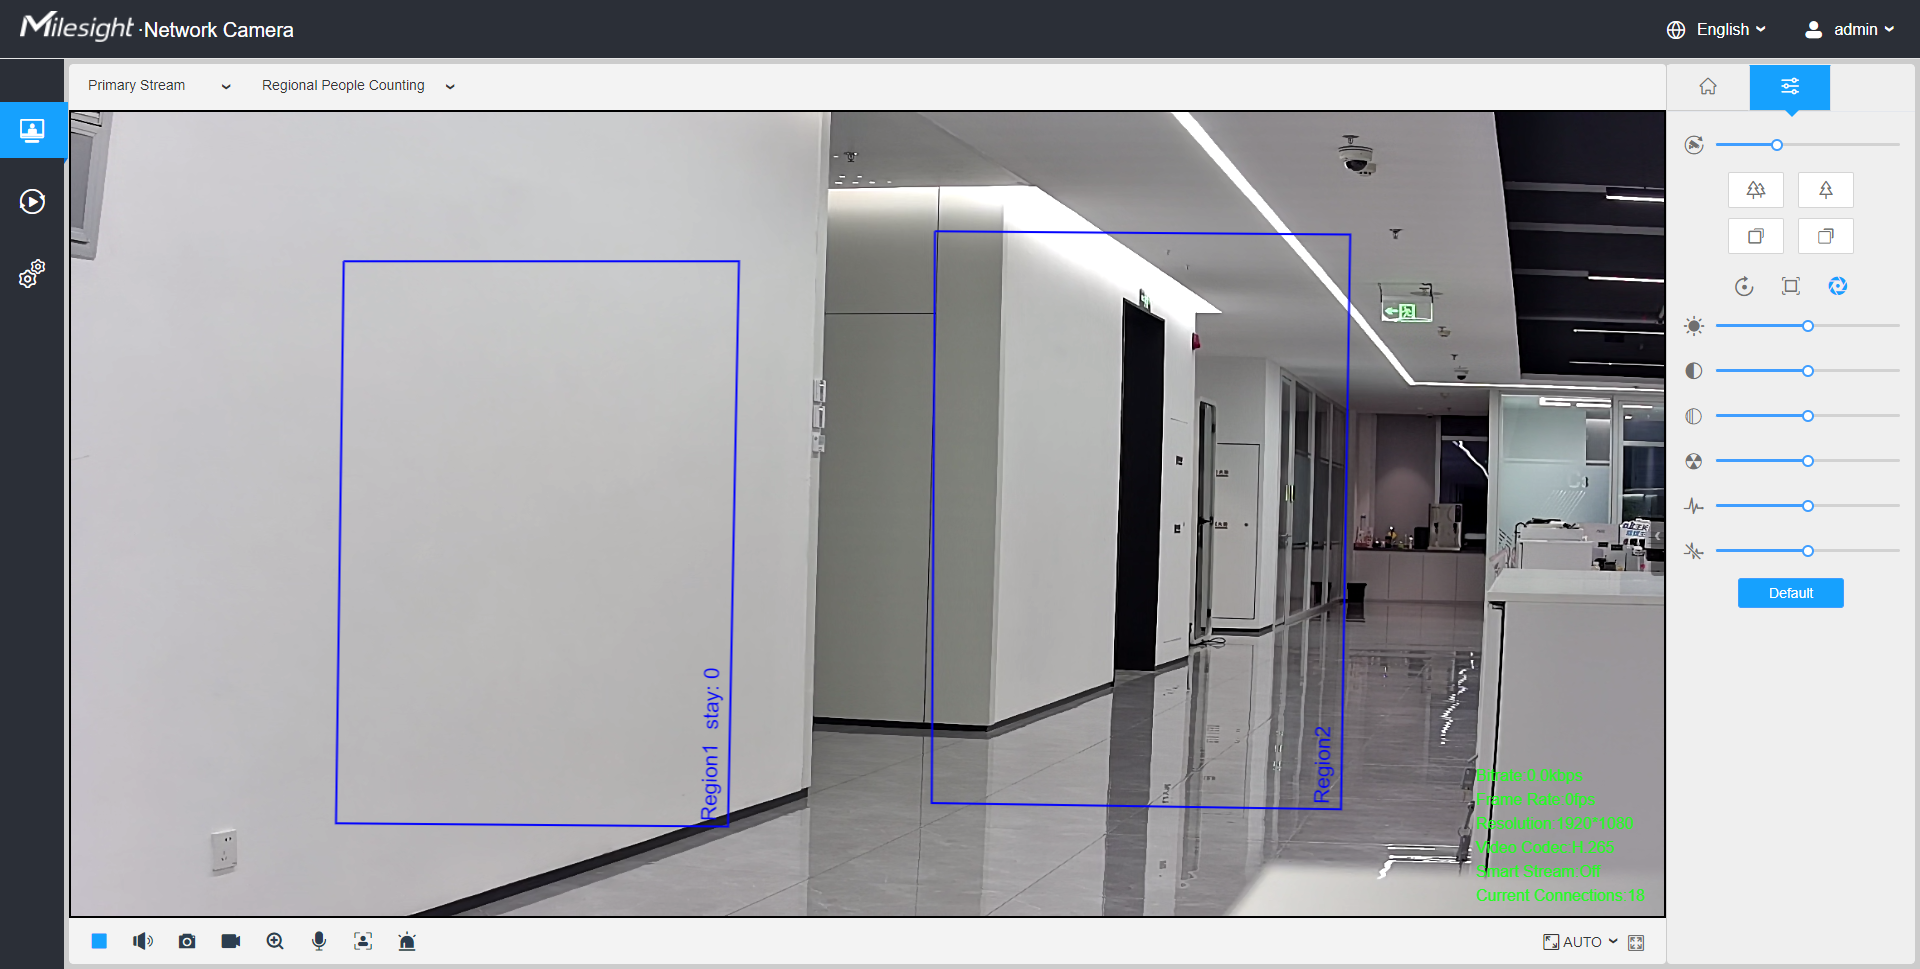
| 6 | Choose the stream (Primary/Secondary/Tertiary) to show on the current video window. | |
| 7 | Choose the options (Hide Detection
Region/Region Entrance/Region Exiting/Advanced Motion/Line
Crossing/Loitering/People Counting/Object Left/Object
Remove/Regional People Counting) to hide/display detection
region on the current video window.
Note: The People Counting/Regional People
Counting is optional for MS-Cxxxx-xPA. |
|
| 8 |
|
When recording, the icon appears. |
| 9 | Alarm |
When an alarm of VCA event was triggered, the icon appears. |
| 10 | Alarm |
When an alarm of people counting was triggered, the icon appears. |
| 11 | Alarm |
When an alarm of Motion Detection was triggered, the icon appears. |
| 12 | Alarm |
When an alarm of Hard Hat Detection was triggered, the icon appears. |
| 13 | Alarm |
Except for the kinds of alarms above, when other alarms were triggered, the icon appears. |
| 14 | Stop/Play |
Stop/Play live view. |
| 15 | Snapshot |
Click to capture the current image and save to the configured path. The default path is: C:VMS\+-1\ IMAGE-MANUAL. |
| 16 | Start/Stop Recording |
Click to Start Recording video and save to the configured path. The default path is C:VMS\+-1\MS_Record. Click again to Stop Recording. |
| 17 | Digital Zoom |
When enabled, you can zoom in a specific area of video image with your mouse wheel. |
| 18 | Manual Output |
Manually trigger Camera Alarm Output. |
| 19 | Window Size |
Click to display images at a window size. |
| 20 | Full Screen |
Click to display images at full-screen. |
| 21 | Face Detection |
Click to enable the Face Detection
Mode. Note: Only appears when your camera is MS-Cxxxx-xPC/PE. |
| Zoom: Adjust the Zoom length of the
lens. Note: Only work when your camera is equipped with motorized
lens. |
||
| Focus-/Focus+: Adjust focus of the
lens. Note: Only work when your camera is equipped with motorized
lens. |
||
| Iris-/Iris+: Adjust Iris of the
lens. Note: Only work when your camera is equipped with motorized
lens. |
||
| Focus Speed: To adjust the speed of focus.
Note: Only work when your camera is equipped with auto focus
lens. |
||
| Zoom-/Zoom+: Click to zoom in and zoom
out. Note: Only work when your camera is equipped with auto focus
lens. |
||
| Focus-/Focus+: Click to focus near or far of
the lens. Note: Only work when your camera is equipped with auto focus
lens. |
||
| Lens Initialization, Auxiliary Focus and Auto Iris. Note:
|
||
| Brightness: Adjust the Brightness of the scene. | ||
| Contrast: Adjust the color and light contrast. | ||
| Saturation: Adjust the Saturation of the image. Higher Saturation makes colors appear more "pure" while lower one appears more “wash-out”. | ||
| Sharpness: Adjust the Sharpness of image. Higher Sharpness sharps the pixel boundary and makes the image looks “more clear”. | ||
| 2D DNR/3D DNR: Adjust the noise reduction level. | ||
| Default: Restore brightness, contrast and saturation to default settings. |