3.6.7 Camera Maintenance
Milesight NVRs support both Online Upgrade and Local Upgrade of Milesight Cameras. Also, Milesight NVRs support batch maintenance of cameras including Import&Export Configuration, Reboot, Reset, etc., making Milesight NVRs become the central management site to manage the cameras more easily.
Local Upgrade
Step 1.Click "Browse" and select the corresponding firmware you downloaded in your USB.

Step 2. Check if you need to reset settings to factory default (except IP Address and User Information) after upgrade.
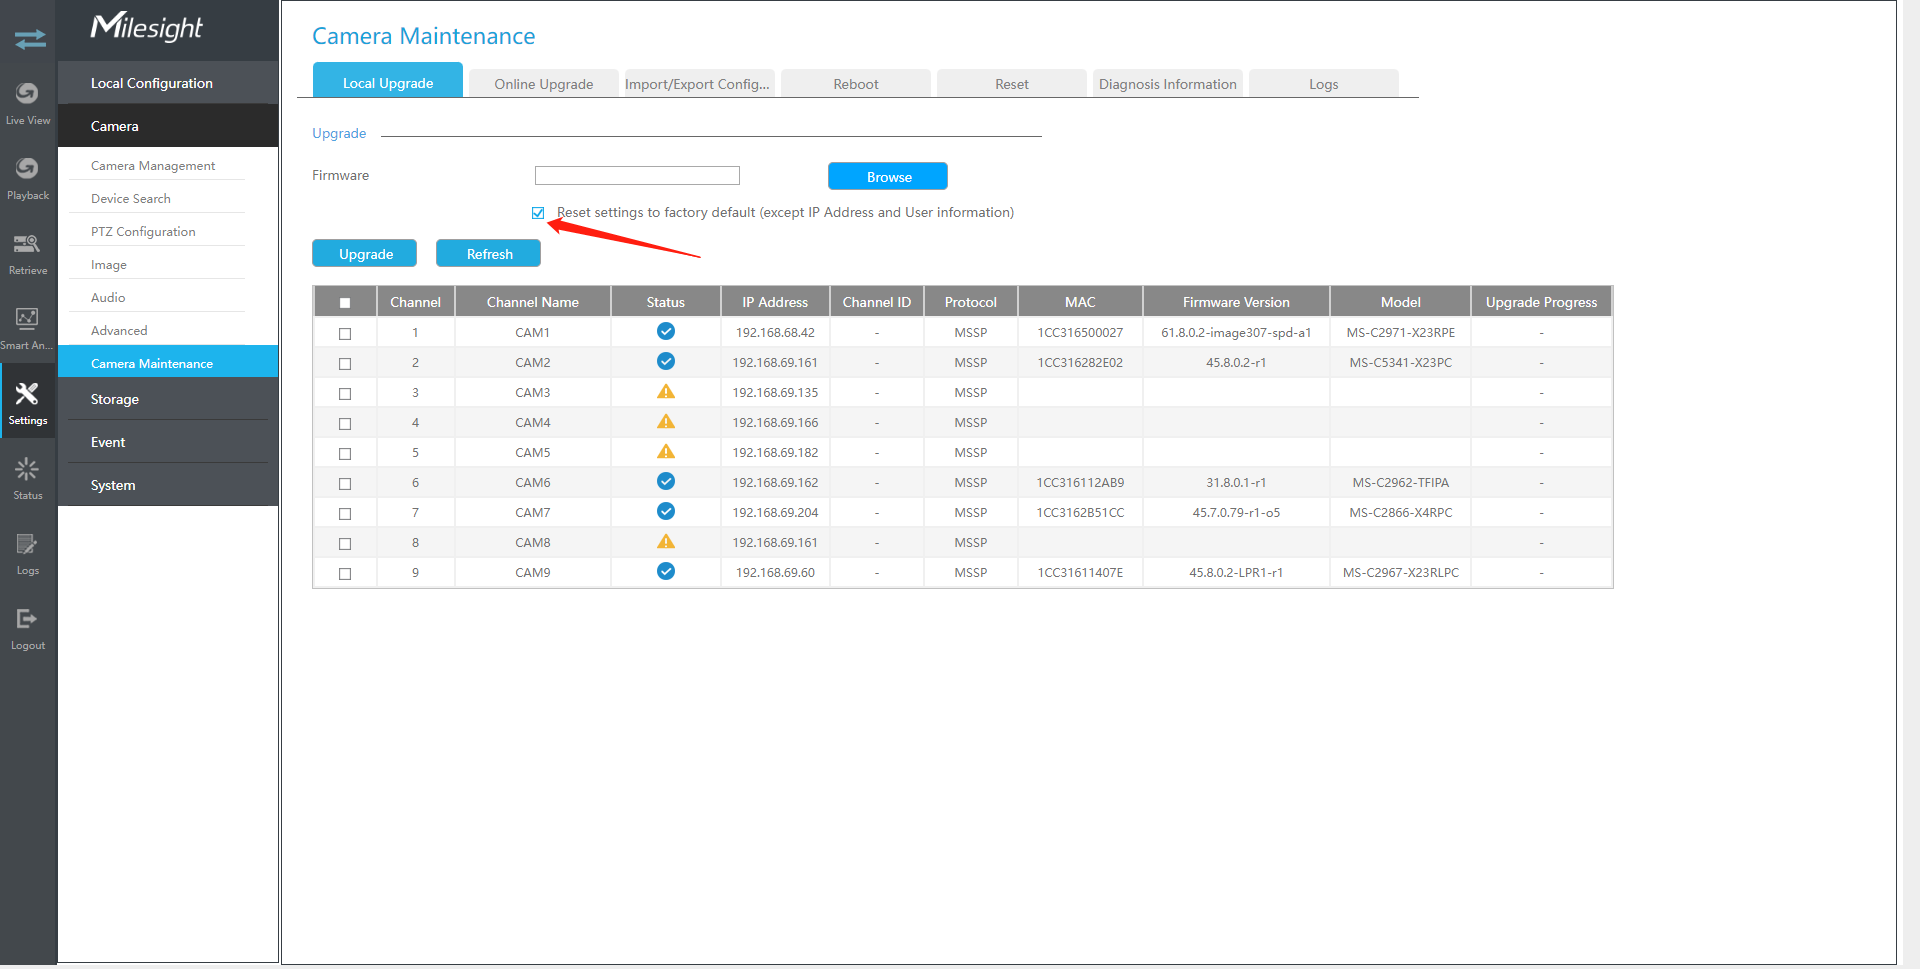
Step 3. Choose the corresponding channel you want to upgrade and click "Upgrade" to upgrade the camera.

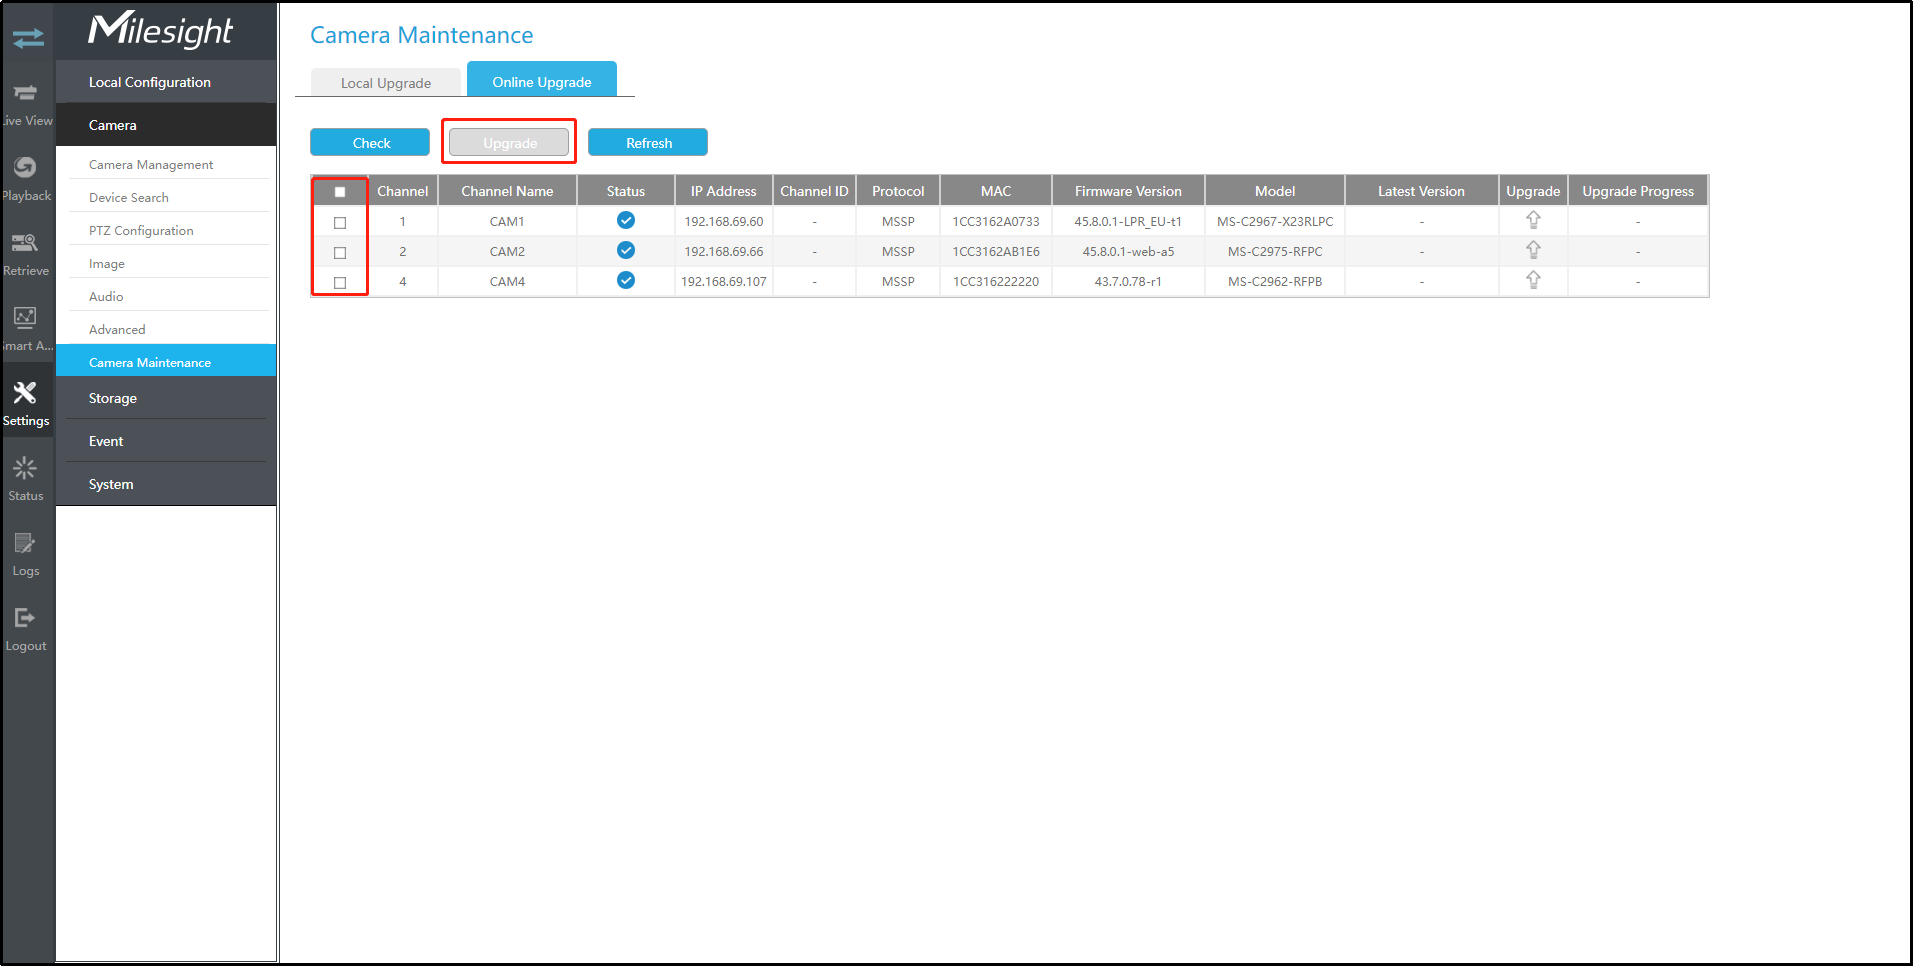
Online Upgrade
Step 1.Click "Check" to confirm whether there is a new version for the camera added to NVR.
If there is a new version for camera, the icon ![]() in corresponding Upgrade column will turn blue and the
latest version will be displayed in Latest Version column.
in corresponding Upgrade column will turn blue and the
latest version will be displayed in Latest Version column.
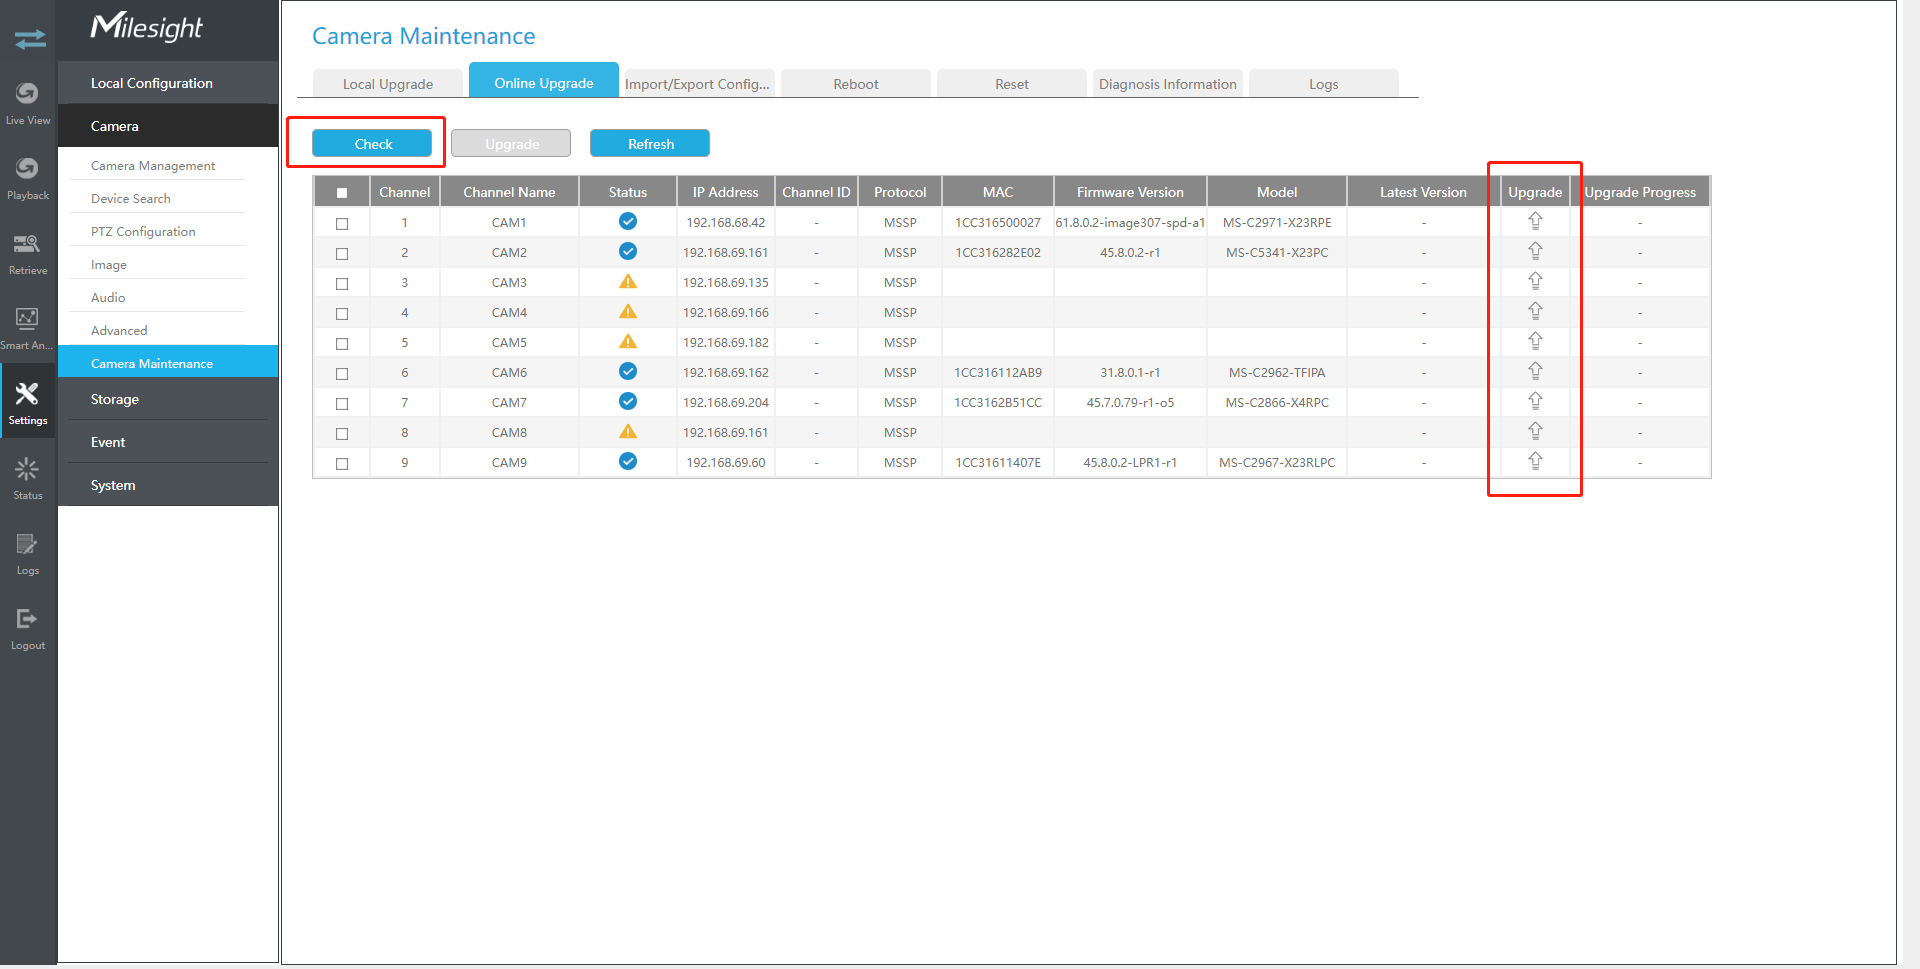
Step 2. There are two ways to confirm the upgrade.
- Click the blue icon in corresponding Upgrade column to upgrade camera.
- A way to achieve batch upgrade. Just select the cameras you want to upgrade and then click "Upgrade" button.
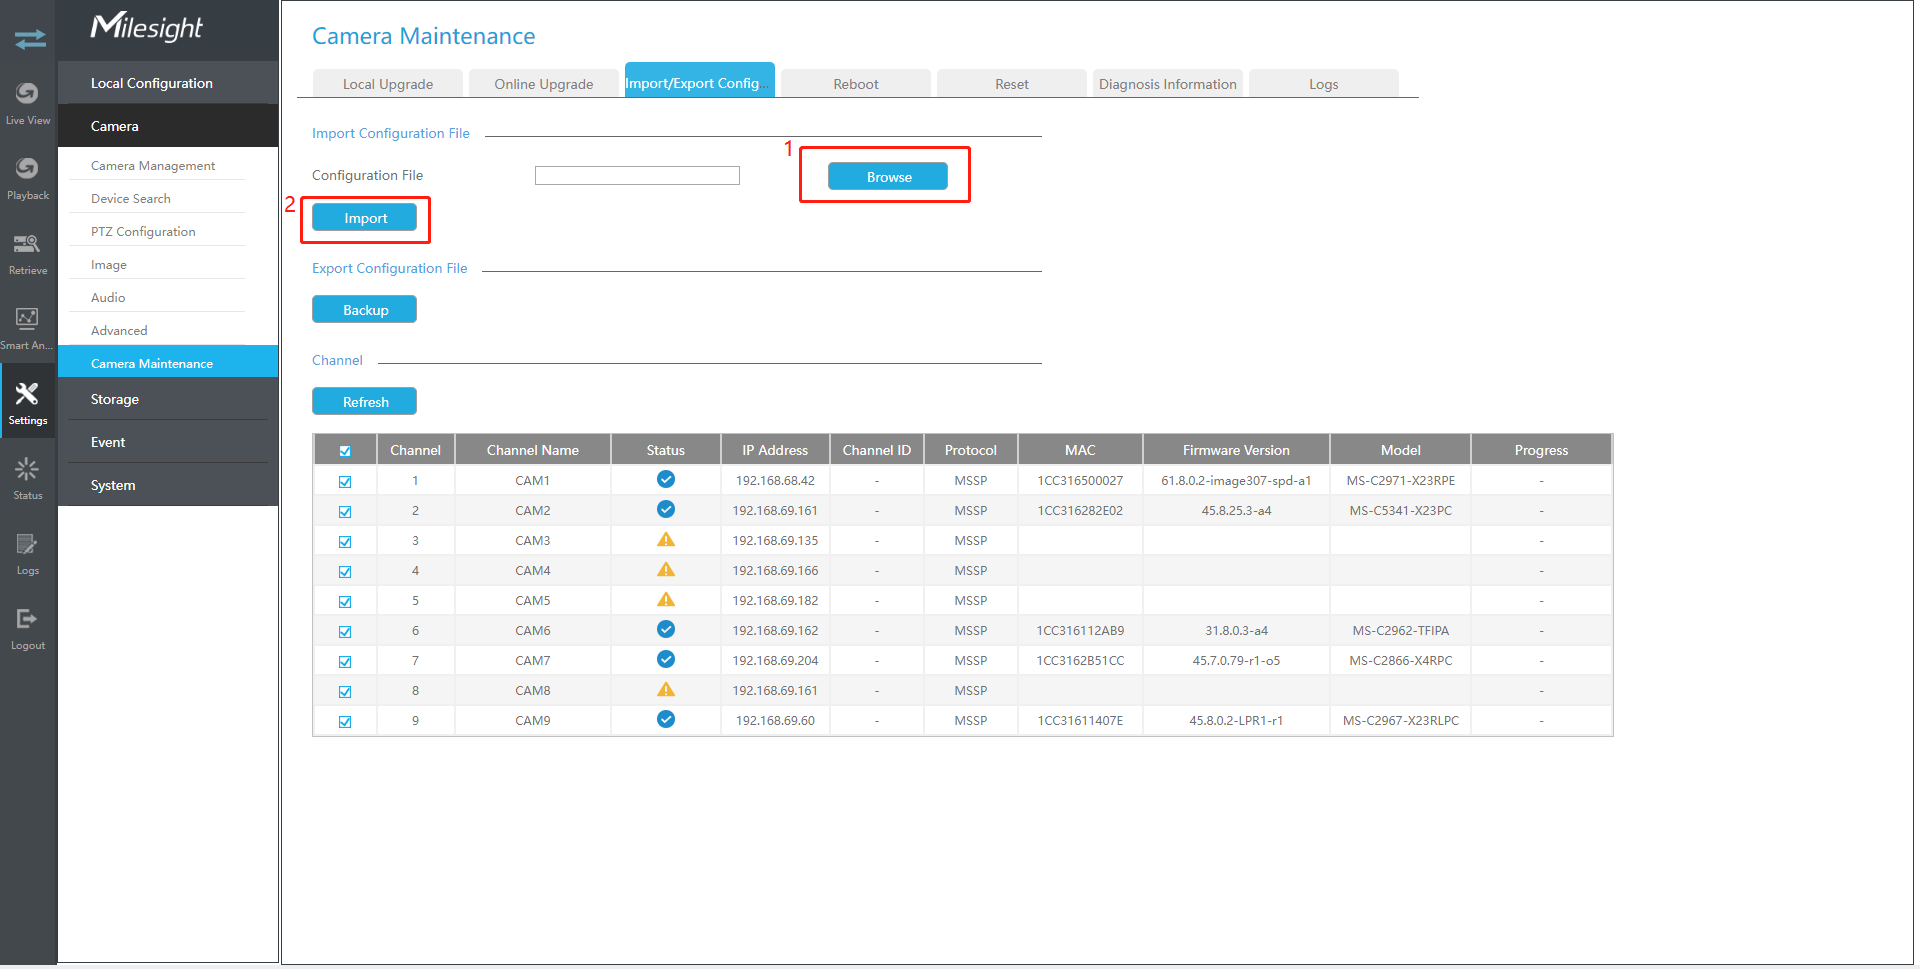
Import/Export Configuration
Step 1. Choose the corresponding channel you want to import/export configuration files.

- Import Configuration File:
Step 2. Click "Browse" and select a .cfg file.
Step 3. Click "Import" to import a configuration file.
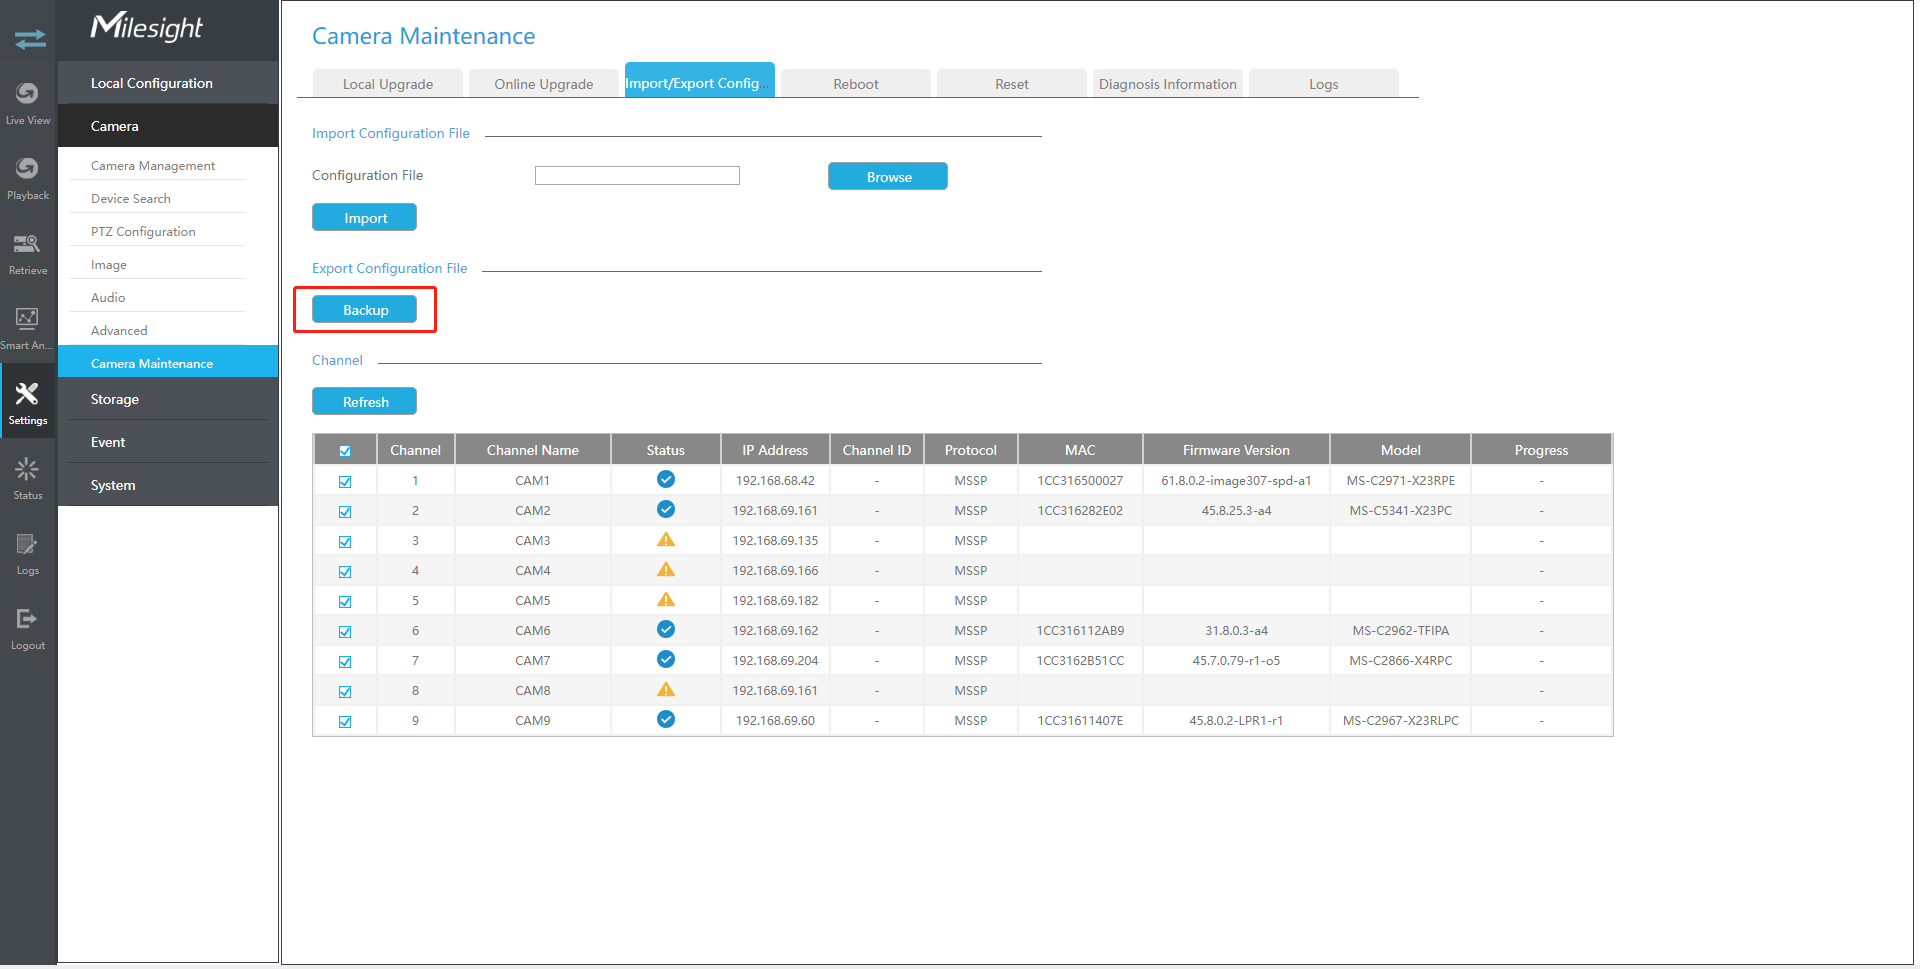
- Export Configuration File:
Step 2. Click "Backup" to export configuration file.
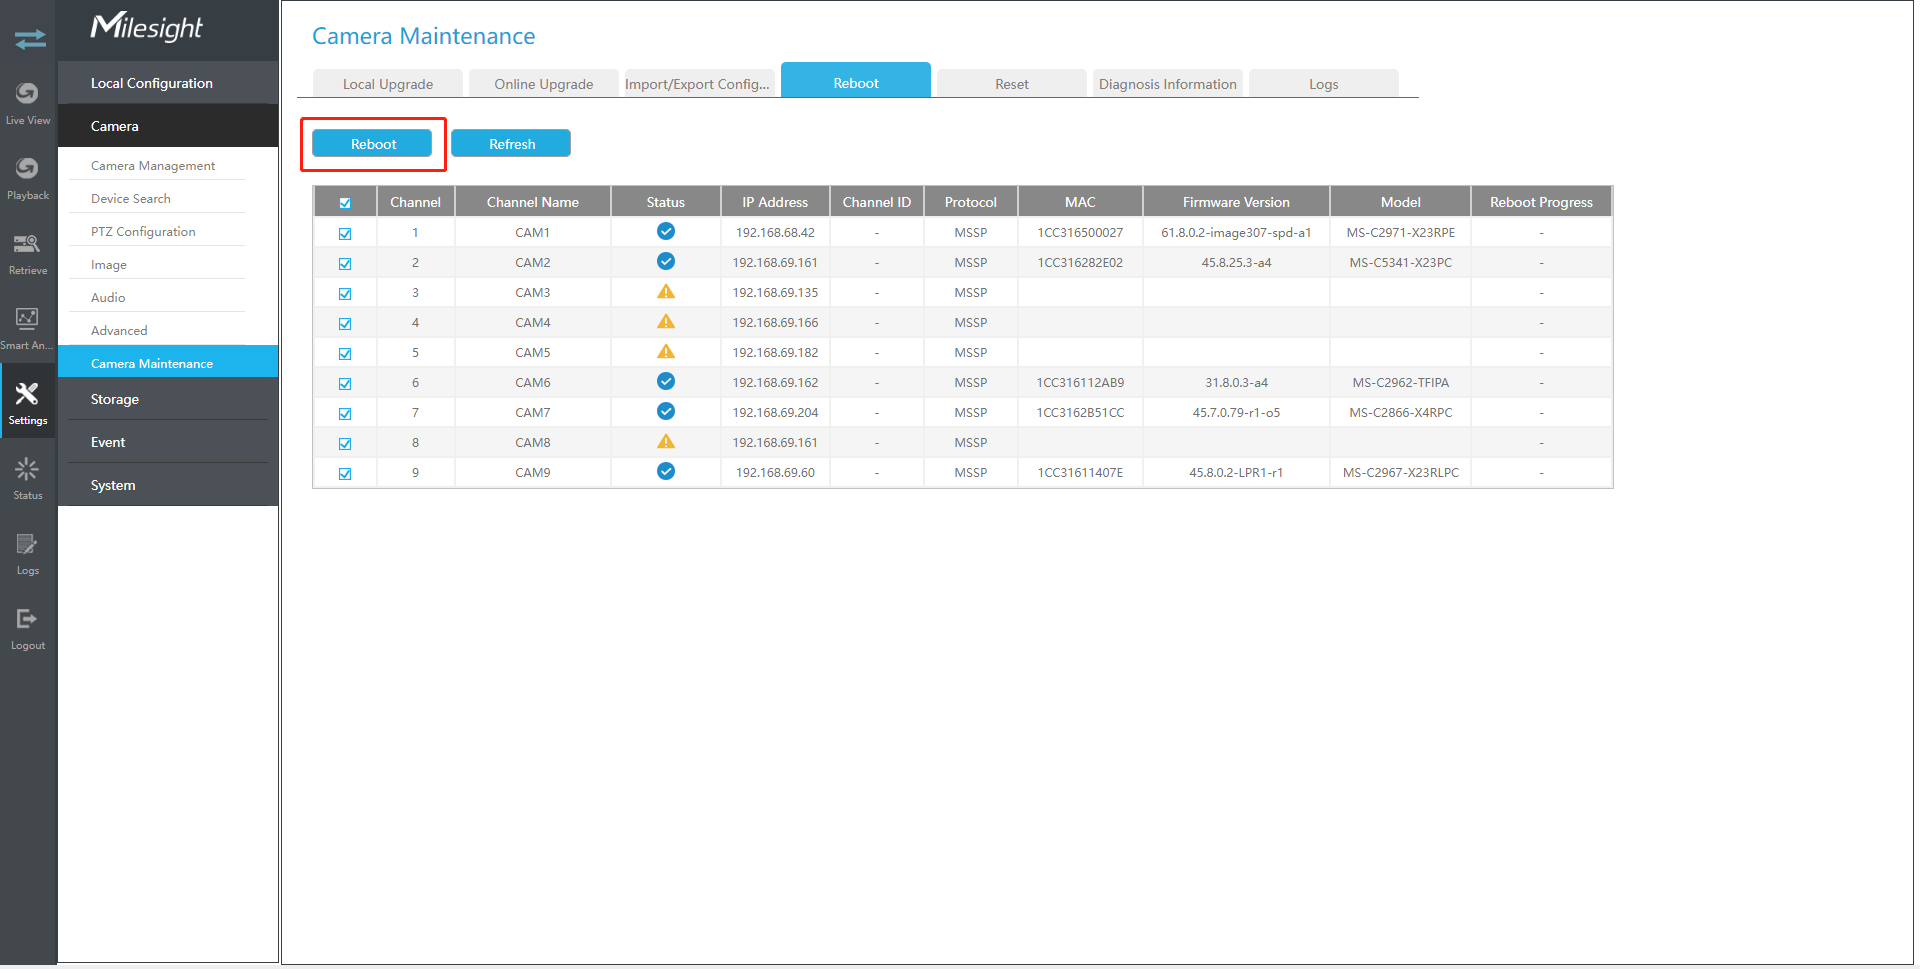
Reboot
Step 1. Choose the corresponding channel you want to reboot.
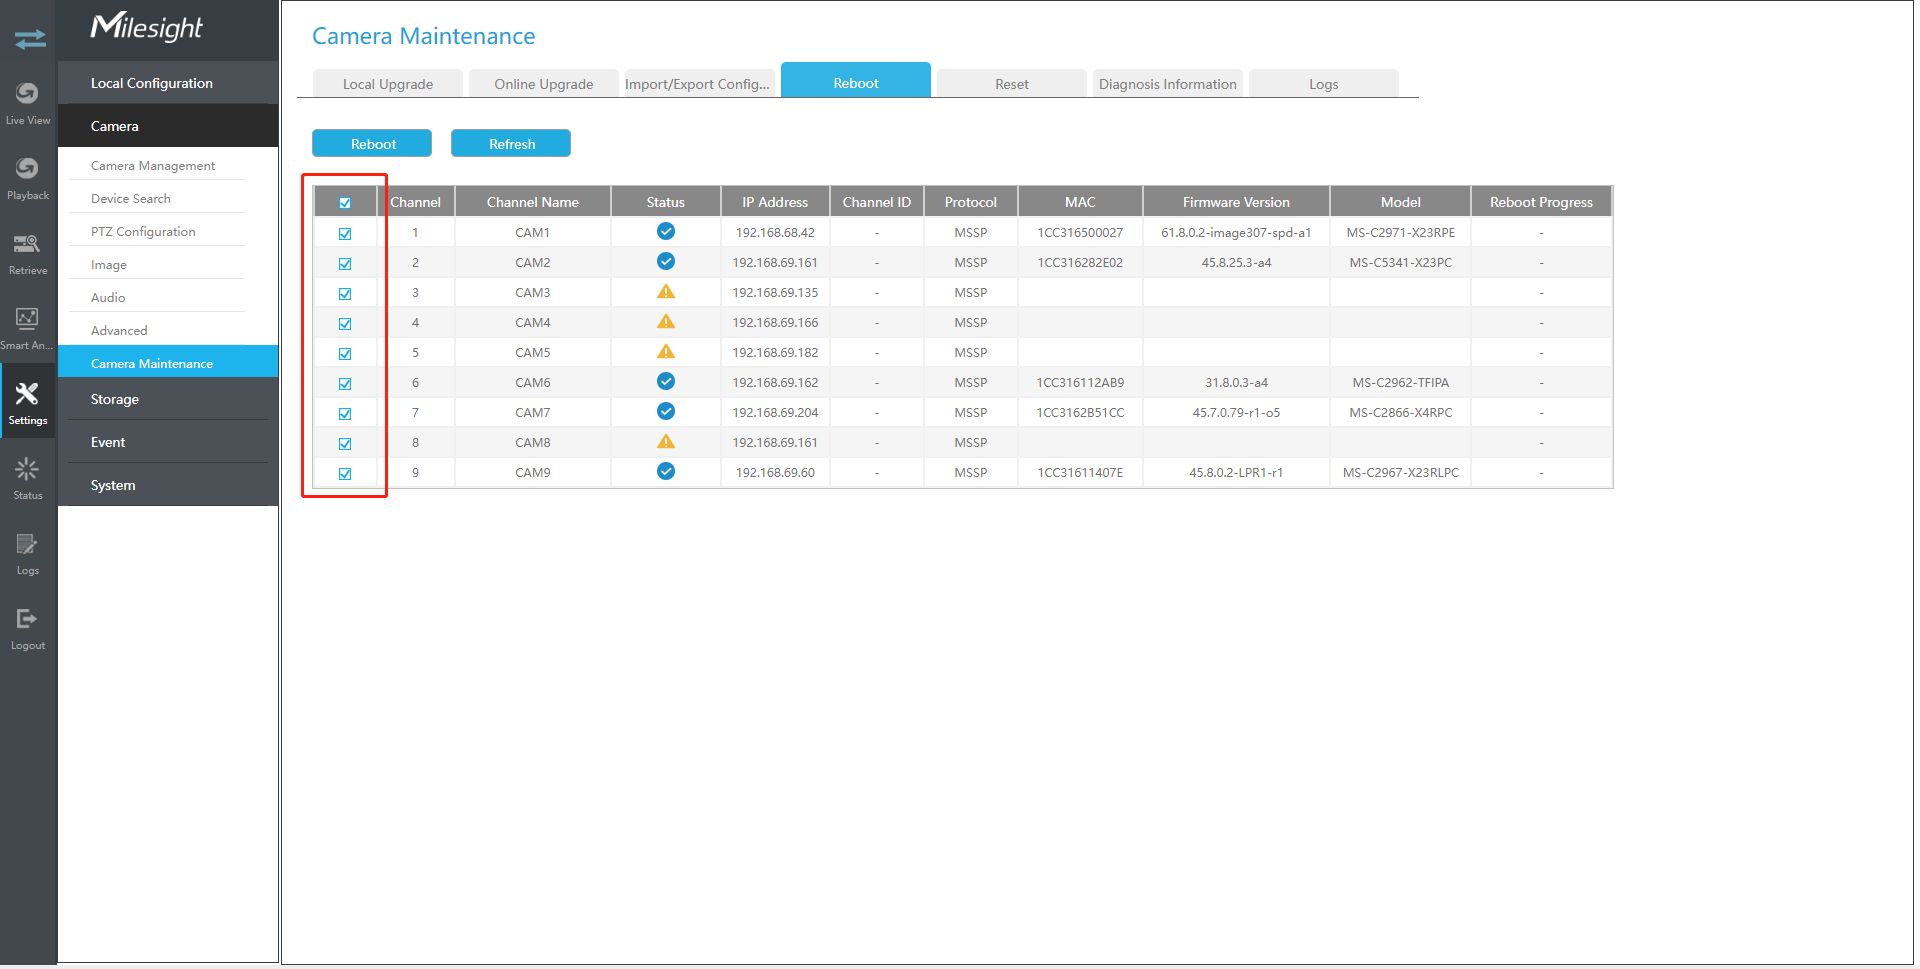
Step 2. Click “Reboot” button to restart the selected channels.
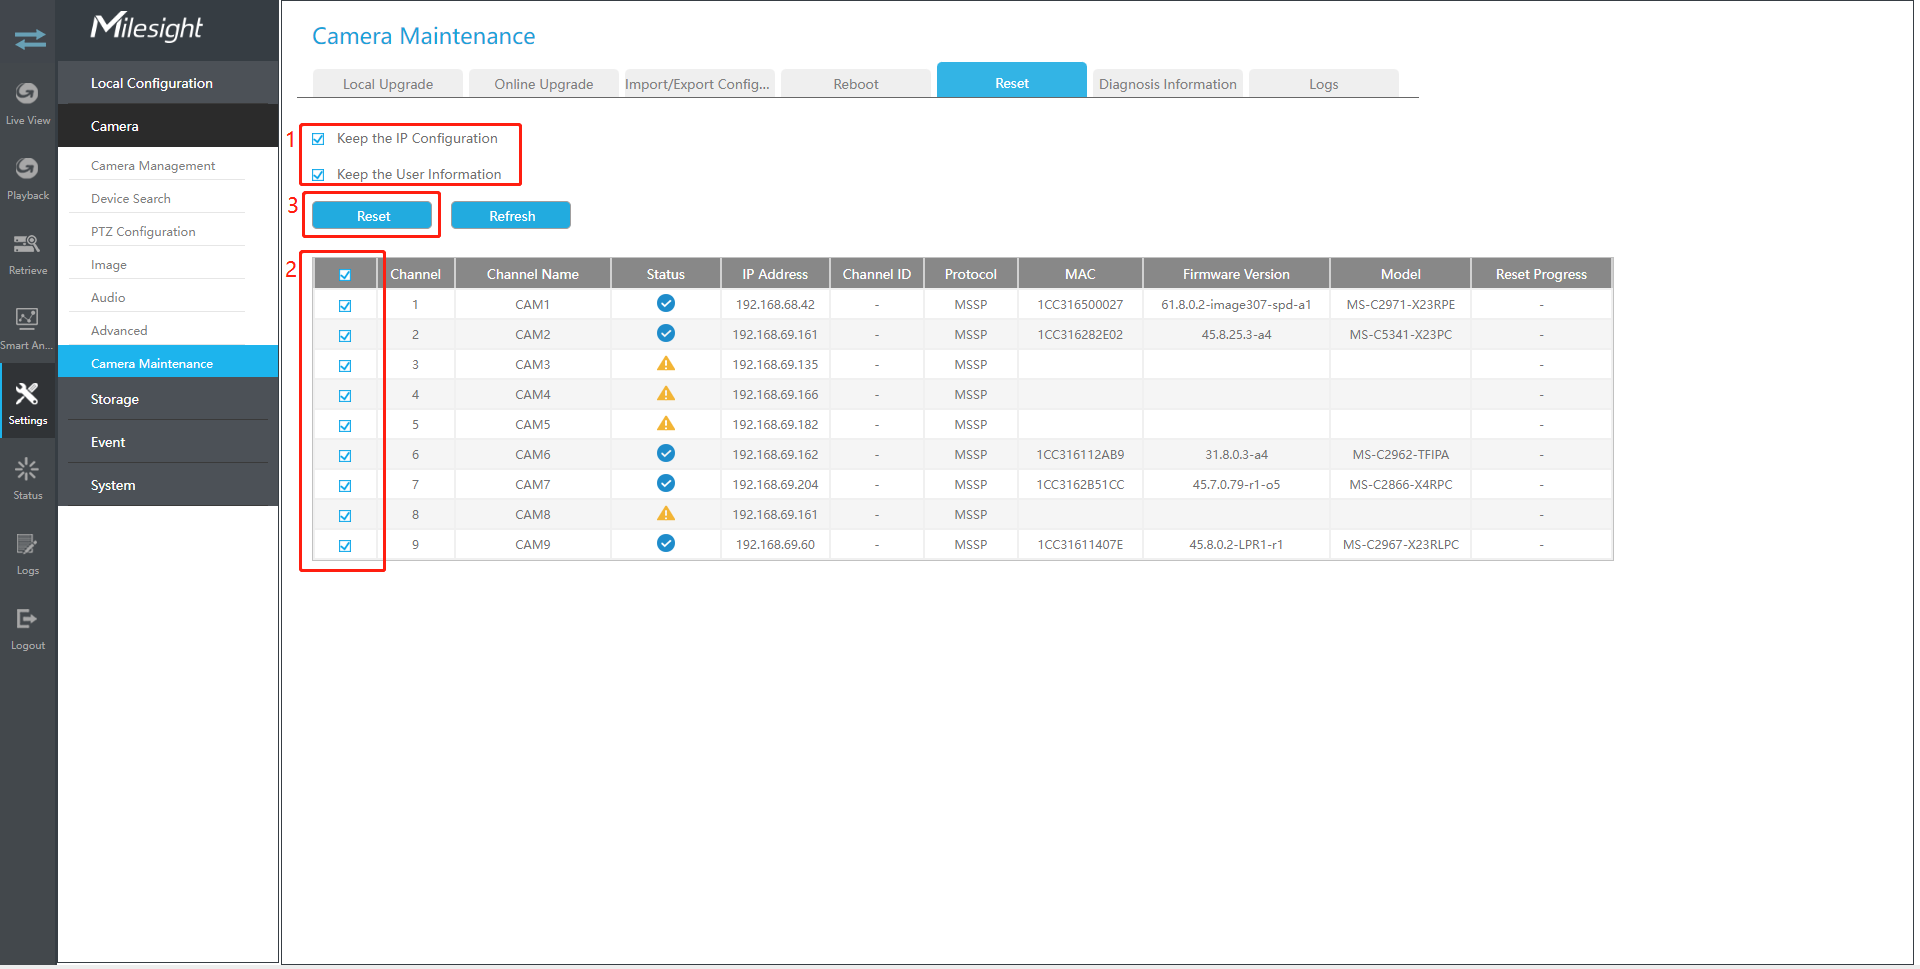
Reset
Step 1. Choose the corresponding channel you want to reset.
Step 2. Enable the “Keep the IP” option to keep the IP configuration when resetting the selected channels. And enable the “Keep the User” option to keep the User configuration when resetting the selected channels.
Step 3. Click “Reset” button to reset the selected cameras to factory default settings.
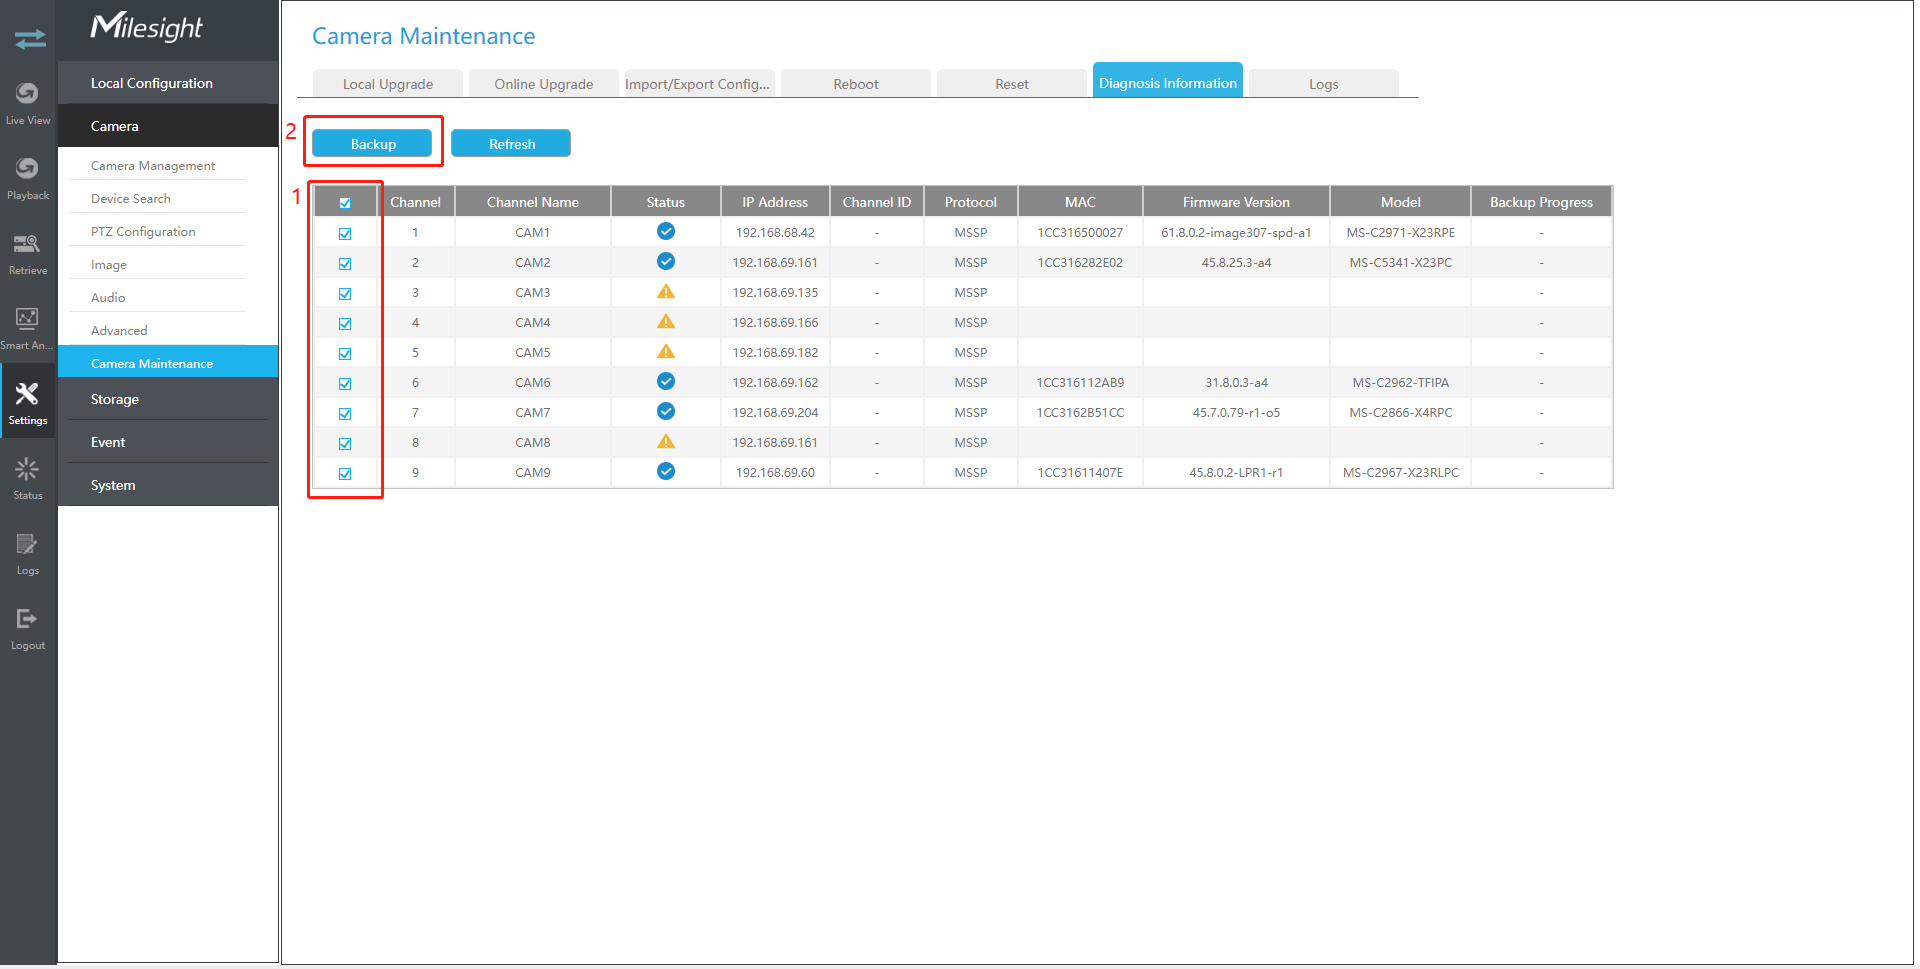
Diagnosis Information
Step 1. Choose the corresponding channel you want to diagnose the information.
Step 2. Click “Backup” button to export the diagnosis file .
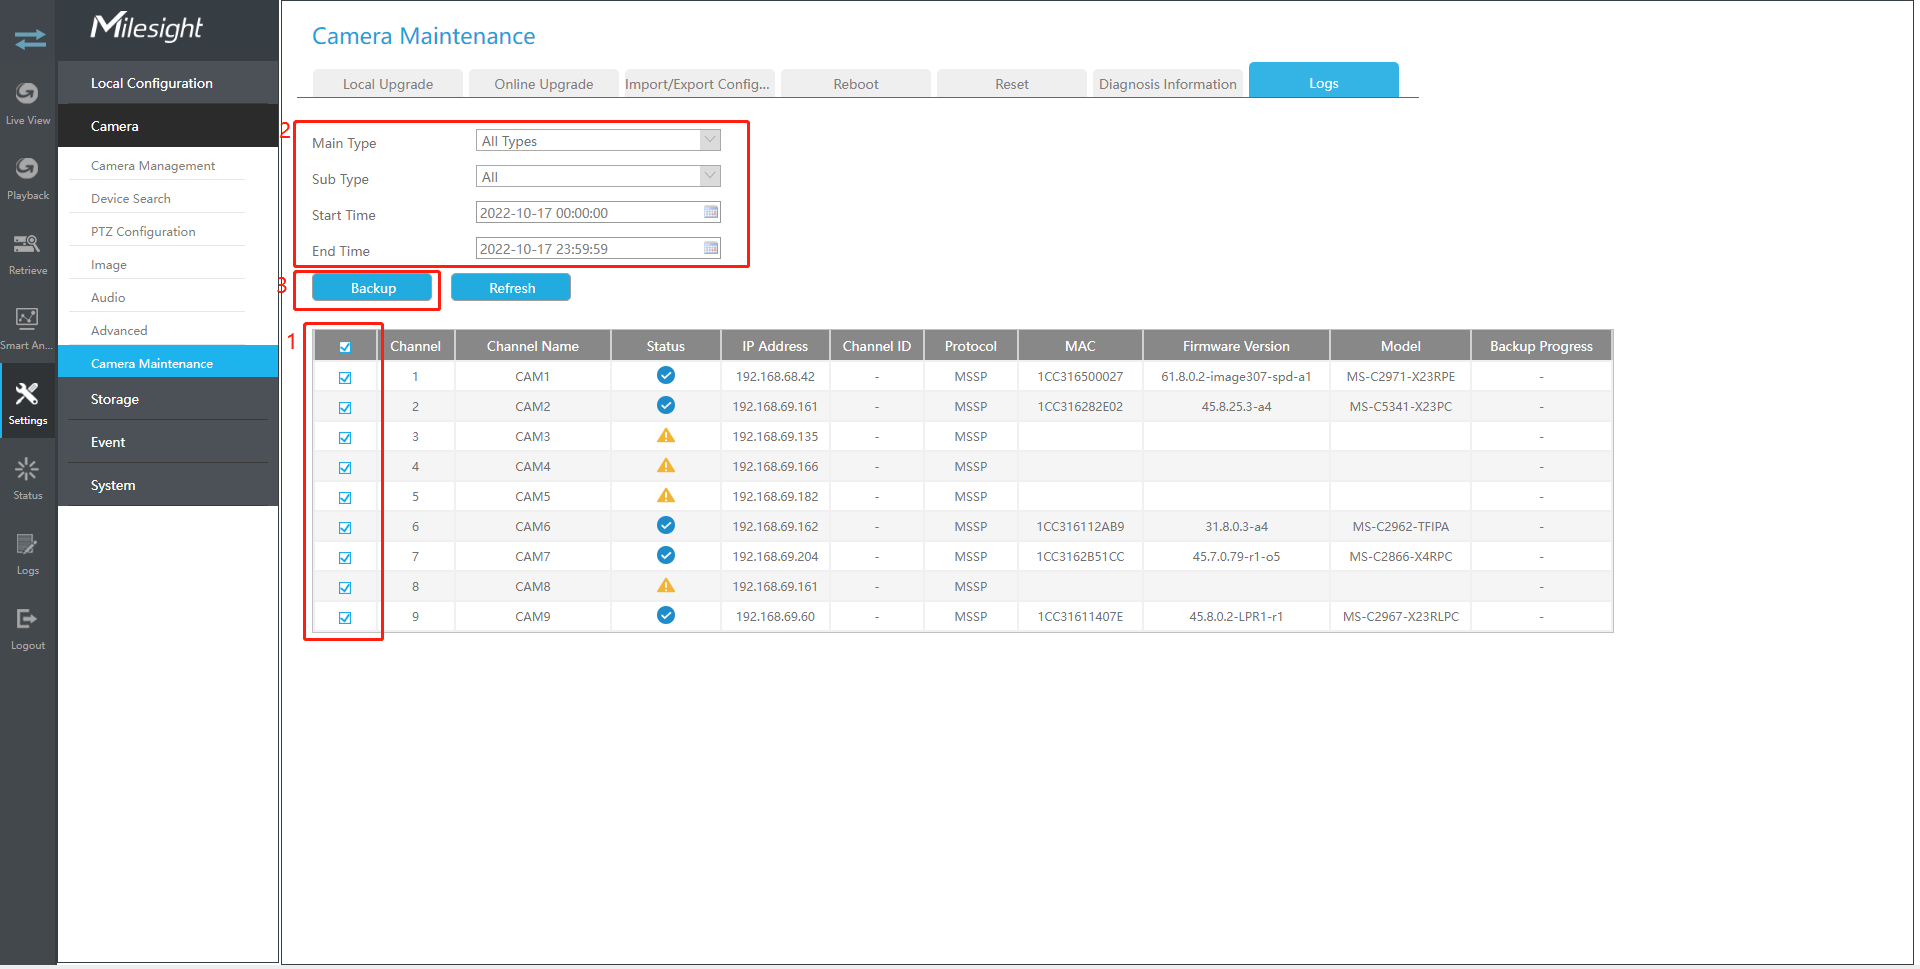
Logs
The user can check, search and export channel logs in Logs interface. By selecting the Main Type, Sub Type, Start Time and End Time, which can narrow down the scale of logs, you can search for logs that you need.
Step 1. Choose the corresponding channel you want to search for logs.
Step 2. Select the Main Type, Sub Type, Start Time and End Time
Step 3. Click "Backup" to export searched logs to media device.