How to add map?
Step1: You can click ![]() button in the left panel to add a new map. A
window will pop up as shown below:
button in the left panel to add a new map. A
window will pop up as shown below:
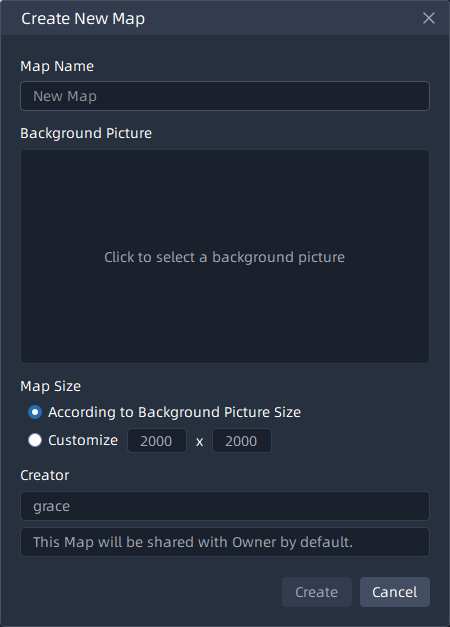
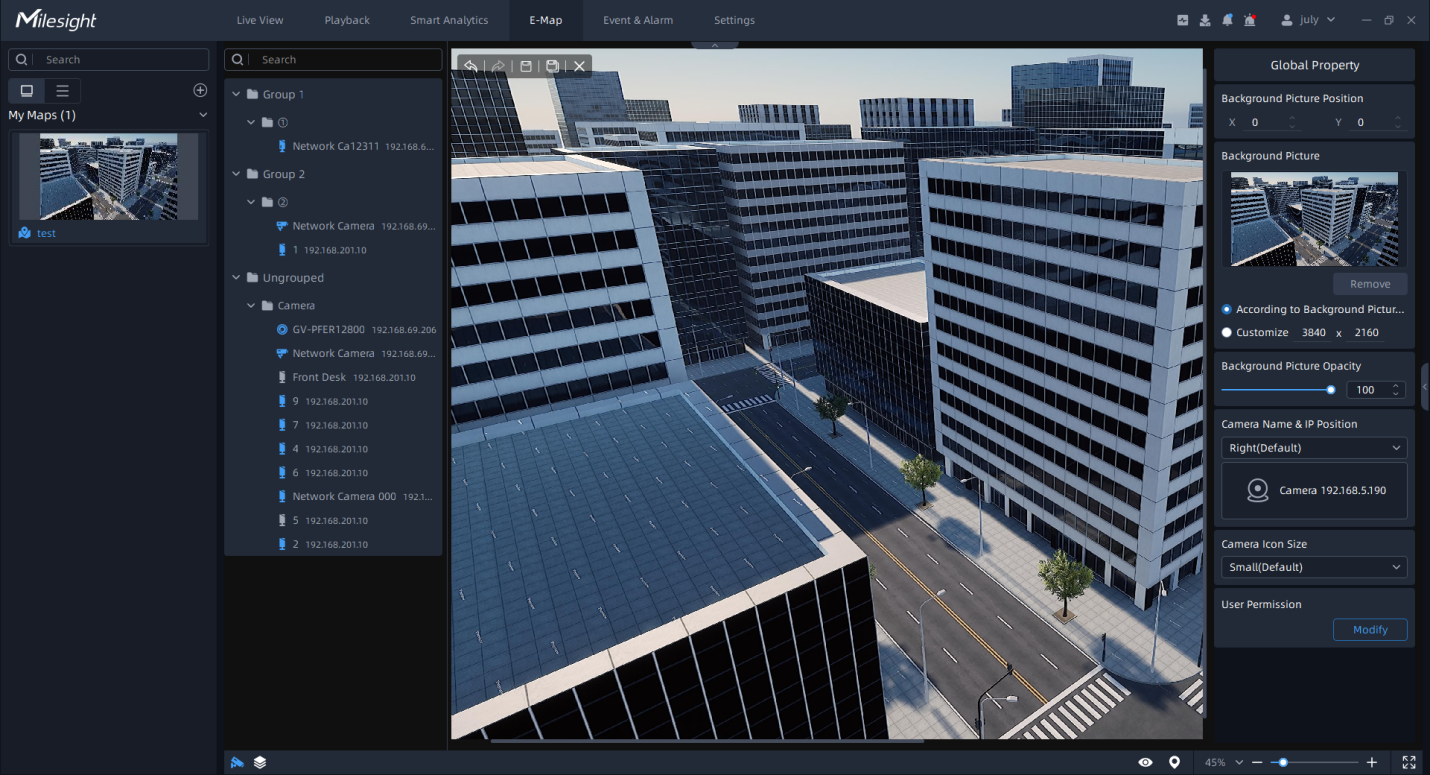
Step2: Name the new map. When Map Size is selected as According to Background Picture Size, you need to click the “Click to select a background picture” to upload a background picture. When Map Size is selected as Customize, you can set the size as needed and don’t need to upload a background picture. If you upload a background picture, the filled size cannot be smaller than the image resolution. Then click the “Create” button. After the map is created, the newly created map starts to be edited by default. The created map will be listed in the left panel of E-map window as shown below:
In the left panel, you can click![]() to set whether to display the list as thumbnails
or text.
to set whether to display the list as thumbnails
or text.
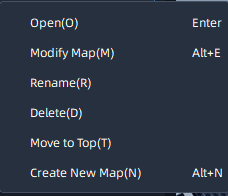
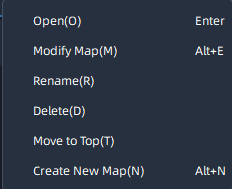
You can right click the added map to pop up a menu window to do some operations, including Open, Modify Map, Rename, Delete, Move to Top and Create New Map as shown below.
In the Global Property panel, you can set Map Size, Background Picture Opacity, Camera Name & IP Position, and Camera Icon Size in the right panel.
Step3: Drag and drop the different cameras from Camera List to the map. You can click the camera icon which is added in the map to modify the icon property including Icon Position, Opacity, Display Field of View, Event Blink, Switch to Another Camera or Remove From Map in the right panel as below.
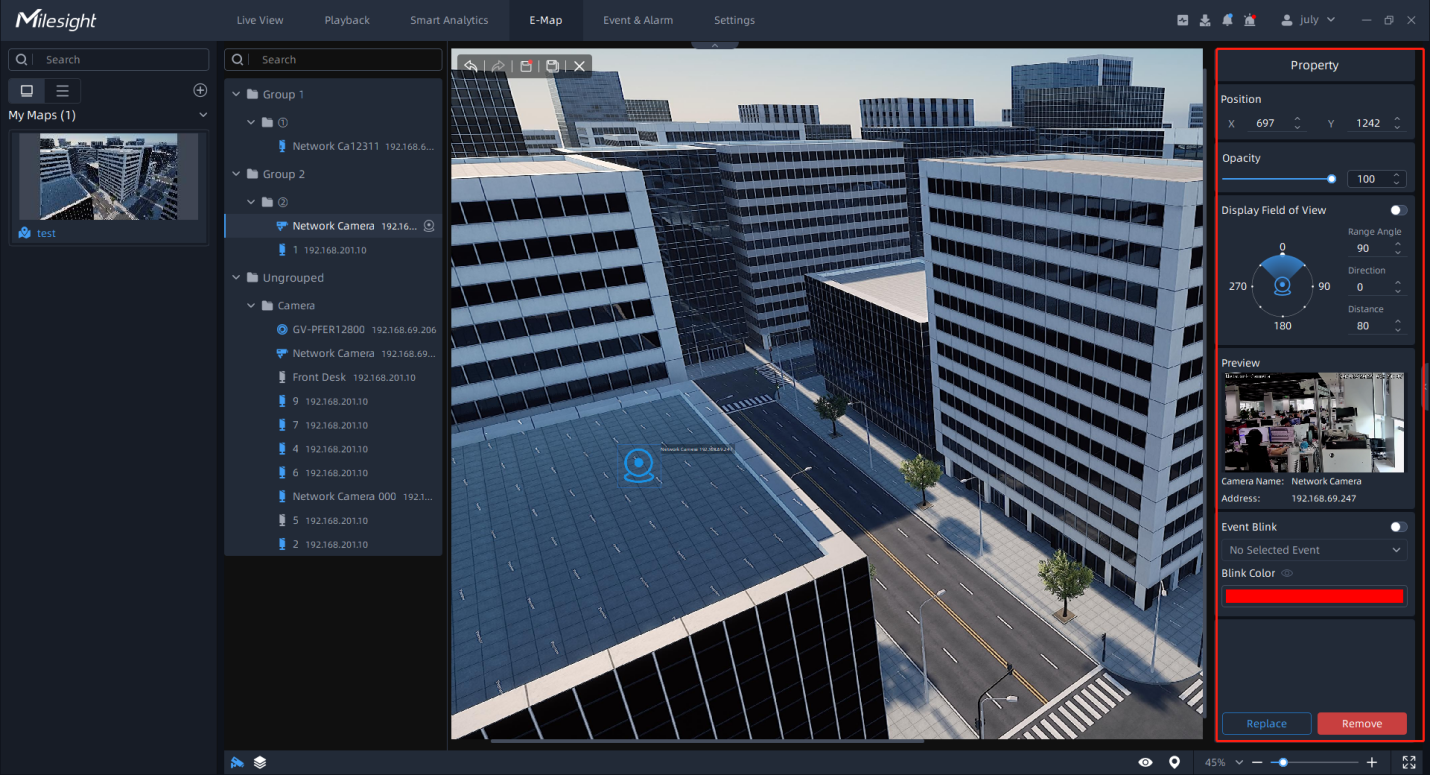
For Event Blink, you can select events as needed and set the Blink Color. When an event occurs on the camera, it will flash with the corresponding color as a reminder.
Step4: Click an element in Layer List and draw on the map. After drawing, press Esc to exit drawing. You can click the drawn element to modify the property including Position, Opacity, Appearance as below.
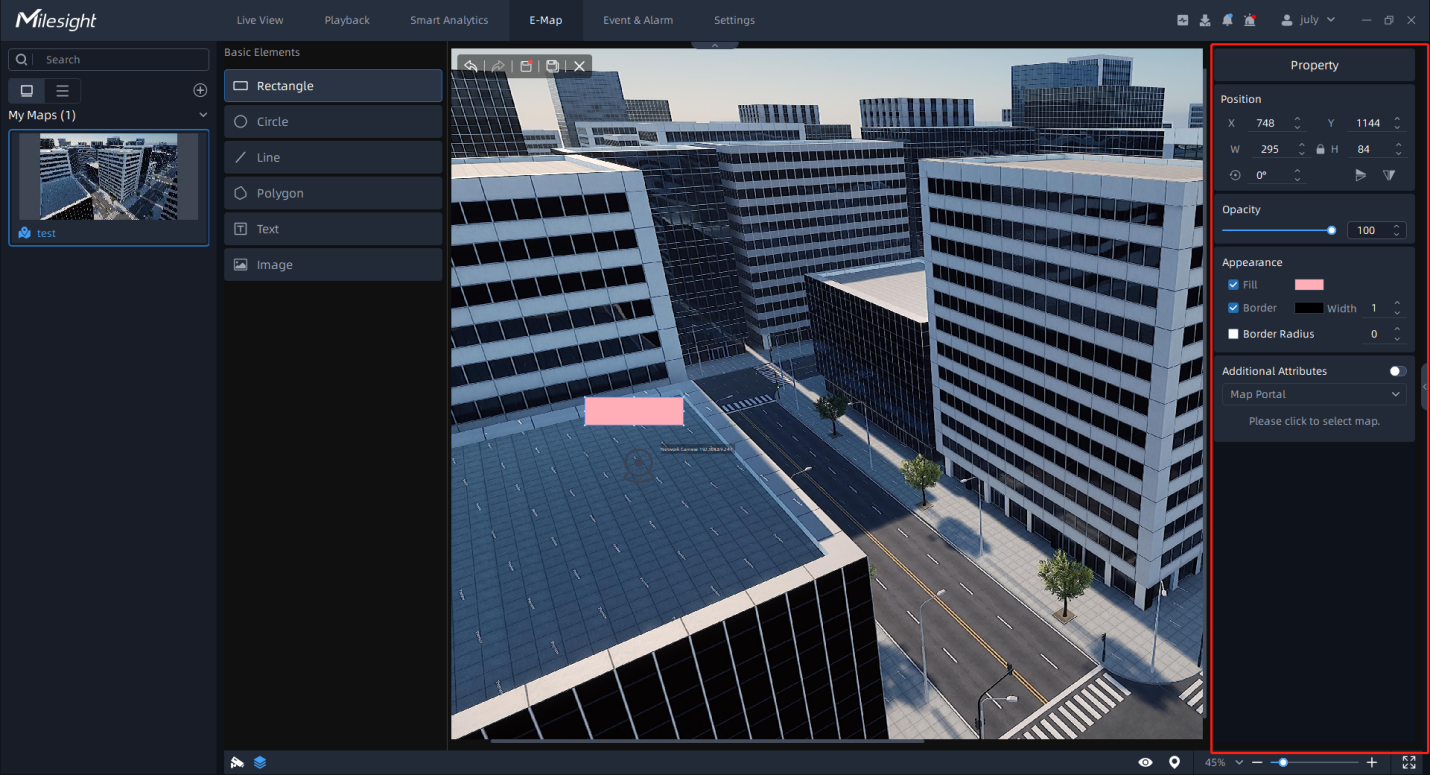
For rectangles, circles, and polygons, it can be set as a portal. Enable Additional Attributes and click to select added maps.
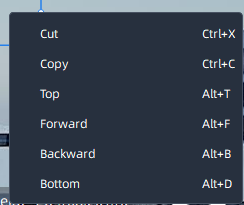
You can right click the added element to pop up a menu window to do some operations, including Cut, Copy, Top, Forward, Backward and Bottom as shown below.
Step5: When setting, you can click ![]() button to undo an action or click
button to undo an action or click ![]() button to redo an action.
After setting, you can click
button to redo an action.
After setting, you can click ![]() button to save your settings for the map or click
button to save your settings for the map or click ![]() button to save as a new
map. And click
button to save as a new
map. And click ![]() button
to exit edit mode and view the added map.
button
to exit edit mode and view the added map.
Step6:After saving the settings and exiting the edit mode, you can double-click
the map to switch to view. And you can click ![]() icon to preview the live view of cameras and use
top toolbar of the thumbnail window. Also you can click the element to jump to the
corresponding map.
icon to preview the live view of cameras and use
top toolbar of the thumbnail window. Also you can click the element to jump to the
corresponding map.

If the map is in a non-editing state, you can right click the added map to pop up a menu window to do some operations, including Open, Modify Map, Rename, Delete, Move to Top and Create New Map as shown below.
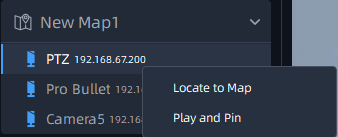
Also, you can click ![]() and you will see the device tree , and right-click the camera on it to
pop up a menu window to do some operations, including Locate to Map, Play and Pin as
shown below.
and you will see the device tree , and right-click the camera on it to
pop up a menu window to do some operations, including Locate to Map, Play and Pin as
shown below.