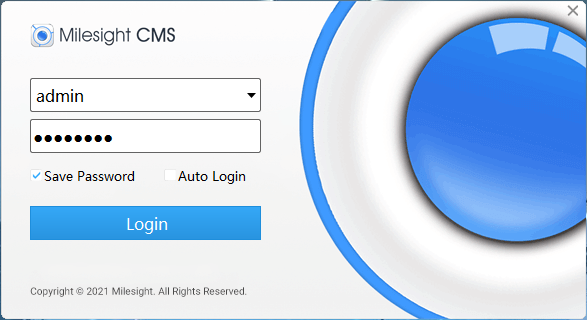
2.2.1 Login
Double click the icon ![]() to start the software, then choose the user and enter the
password, the default account Username is: admin; Password is: password. You can check
the checkbox to remember the password, then you can auto login by choosing Auto
Login.
to start the software, then choose the user and enter the
password, the default account Username is: admin; Password is: password. You can check
the checkbox to remember the password, then you can auto login by choosing Auto
Login.
After login into the system, you can see the Live View page as below:
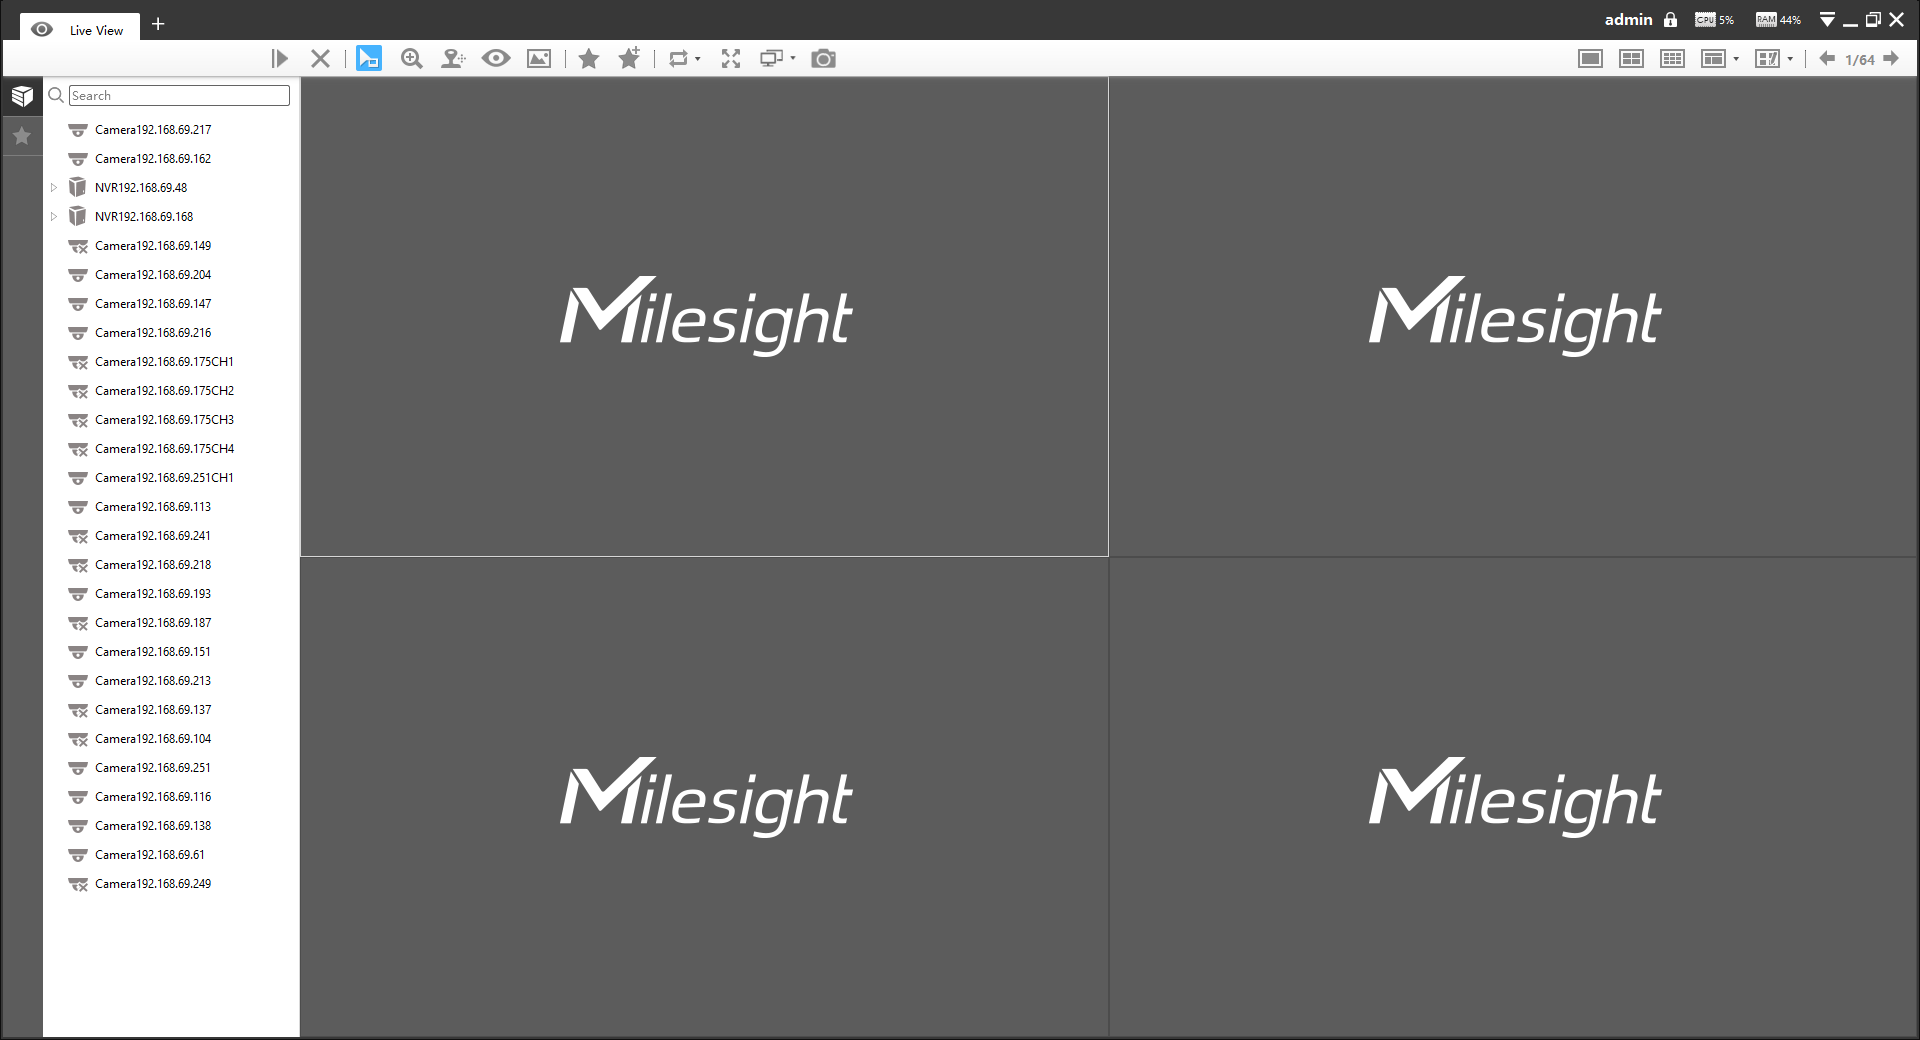
And the meanings of the icons on the top-right are as below:
| Item | Function Introduction |
|---|---|
|
User name |
|
|
Click the button to lock the software, and it needs to enter the password to unlock |
|
|
Menu button |
|
|
Minimize the interface |
|
|
Restore the interface |
|
|
Maximize the interface |
|
|
Close the software |
|
|
Switch to the previous group cameras / next group cameras when click the left arrow / right arrow button. |
|
|
Check the real-time CPU status on PC |
|
|
Check the real-time RAM memory on PC |
Click the Menu button ![]() , the interface is as below:
, the interface is as below:
| Item | Function Introduction | |
|---|---|---|
| General |
Auto Login: Enable this option to automatically login CMS when running it. |
|
|
Run CMS when Windows startup: Enable this option to automatically run CMS when Windows startup. |
||
|
Run CMS as Administrator: Enable this option to run CMS as administrator. |
||
| General |
Quick Exit: Enable this option, you can close the CMS in one click without confirming the password. |
|
|
Language: There are 14 different languages available. |
||
|
Log Retention Period: Six different periods are available(1, 2, 3, 4, 5 and 6 Weeks), and you can also set the log retention period to permanent. |
||
|
Video Save Path: Click
Note: Please don’t
save Recording files under the installation path. The recorded
files would be deleted when CMS was uninstalled if they were
saved under installation path. |
||
|
Snapshot Save Path: Click
Note: Please don’t save Snapshot files under the
installation path. The recorded files would be deleted when CMS
was uninstalled if they were saved under installation
path. |
||
| General |
Play Mode: Select different modes to meet your needs.
|
|
|
Recycle Mode: You can enable or disable Recycle Mode
for video recording.
|
||
| Display |
Video Card Info: You can check the video card information of this server where CMS is installed, including Vendor, Renderer and Version. |
|
|
Rendering Method: There are three options available, including Direct3D, OpenGL and RGB. If the video can’t be previewed successfully, please adjust this option to try again. |
||
|
High resolution display adaptation: Enable this option to adapt to high resolution monitor. |
||
| Display |
Live Stream Information: Enable this option to display the Live Stream Information in the live view page, including Video Codec, Resolution, Frame Rate and Bitrate. |
|
|
Channel Name: Enable this function to display the channel name in each channel. There are four text positions available, including Top-Left, Top-Right, Bottom-Left and Bottom-Right. And there are three font sizes available, including Small, Medium and Large. |
||
|
Event Detection Region: Enable this function to display the detection region on the live view interface. The detection region will turn red when an event is triggered. There are eight event detection regions available, including Region Entrance, Region Exiting, Advanced Motion Detection, Loitering, Line Crossing, Object Left/Removed, People Counting and Regional People Counting. Only one Event Detection Region can be enabled at the same time Note:
|
||
| Alarm |
Enable Alarm Popup: When the Motion Detection, VCA alarm, Camera / NVR Alarm Input, Audio Alarm, IoT Alarm and NVR Disconnected are triggered, the channel window will pop up. Note:
|
|
|
Alarm Popup Schedule: Set the schedule of channel alarm pop-up. Alarm Audio: Enable this option to Play Audio when Alarm Popup is triggered. You can choose to play Alarm Audio or Live Audio. Audio File: There are two default alarm audios
available. And you can also upload your customized audio.
Live Audio: If the camera supports audio, you can directly play the live audio caught. |
||
|
Advanced |
Dual Stream Connection Mode: Enable this option to optimize the speed of switching stream but will increase the pressure to the network. |
|
|
Maintenance |
Import Configuration File:Click Export Configuration File:Click |
|
|
Information of the CMS, Milesight webpage link and Check for Update. |
||
|
Log out of the current account. |
||
|
Close the software. |
||