4.2 Playback
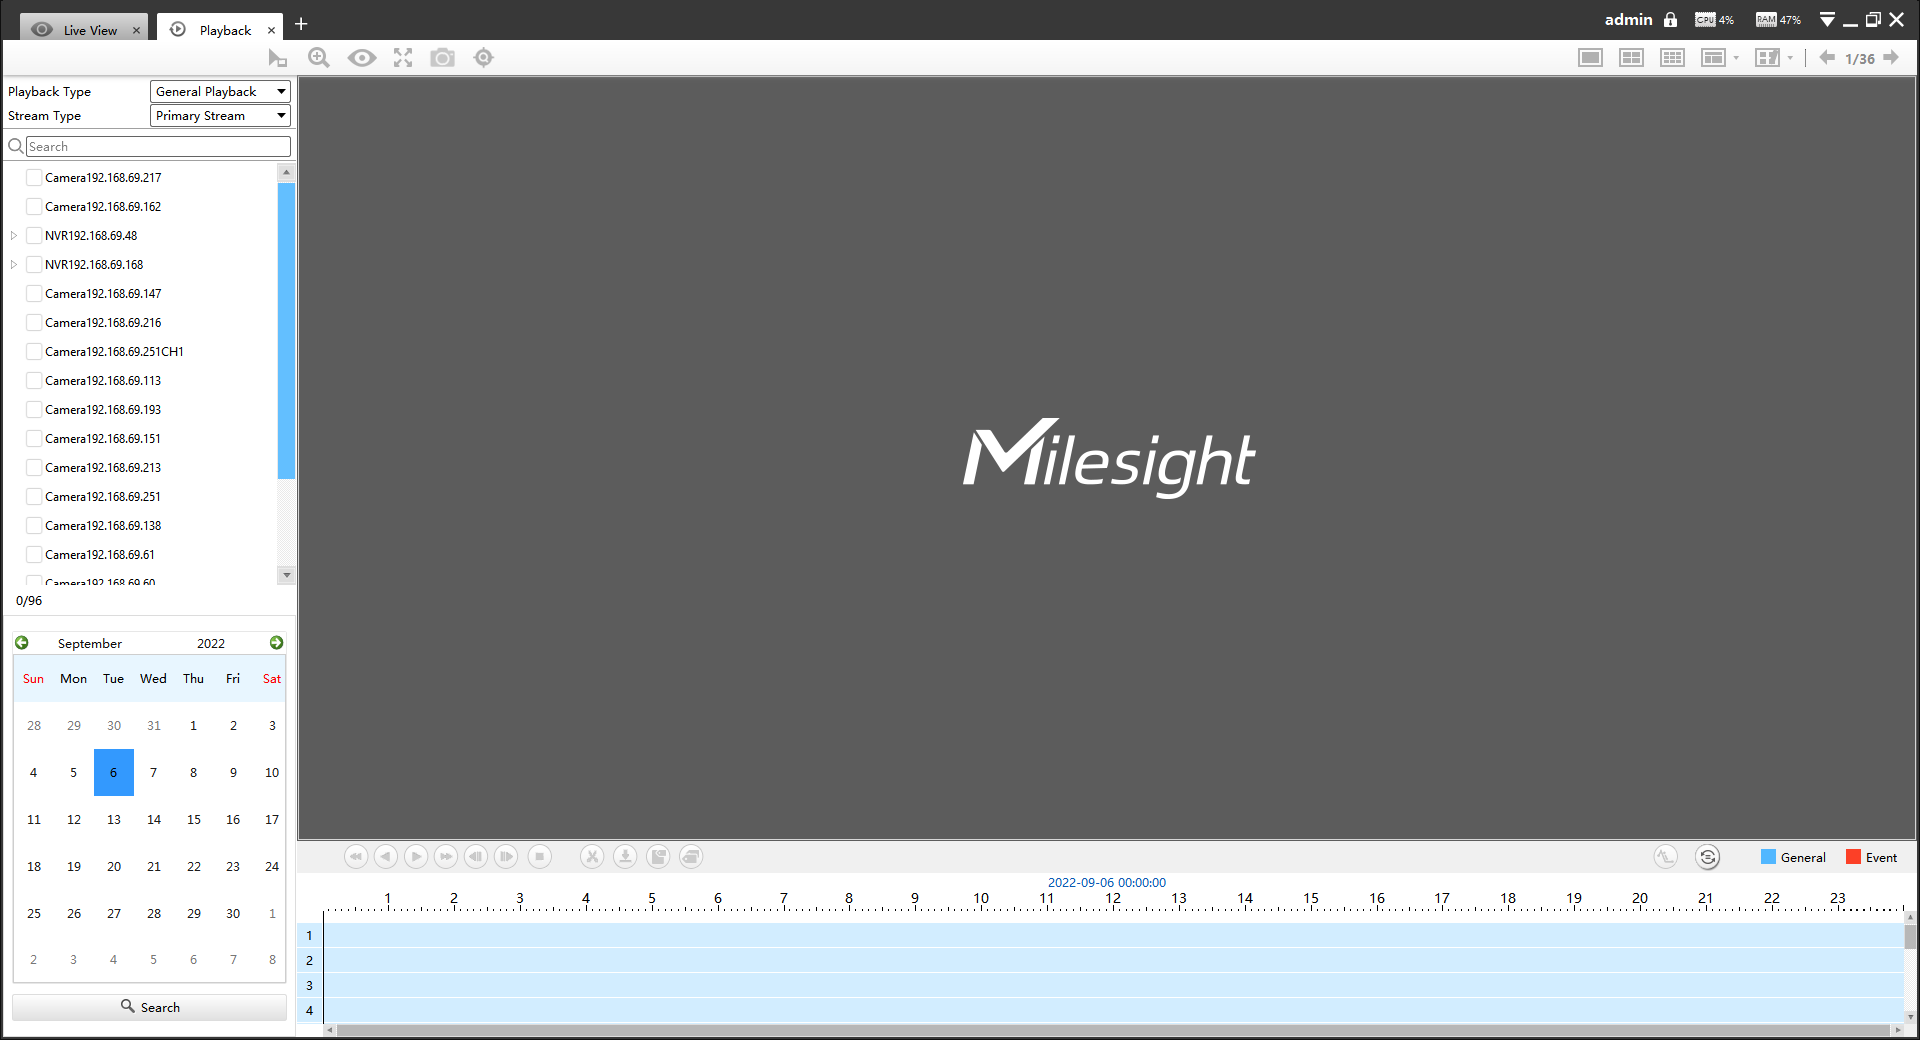
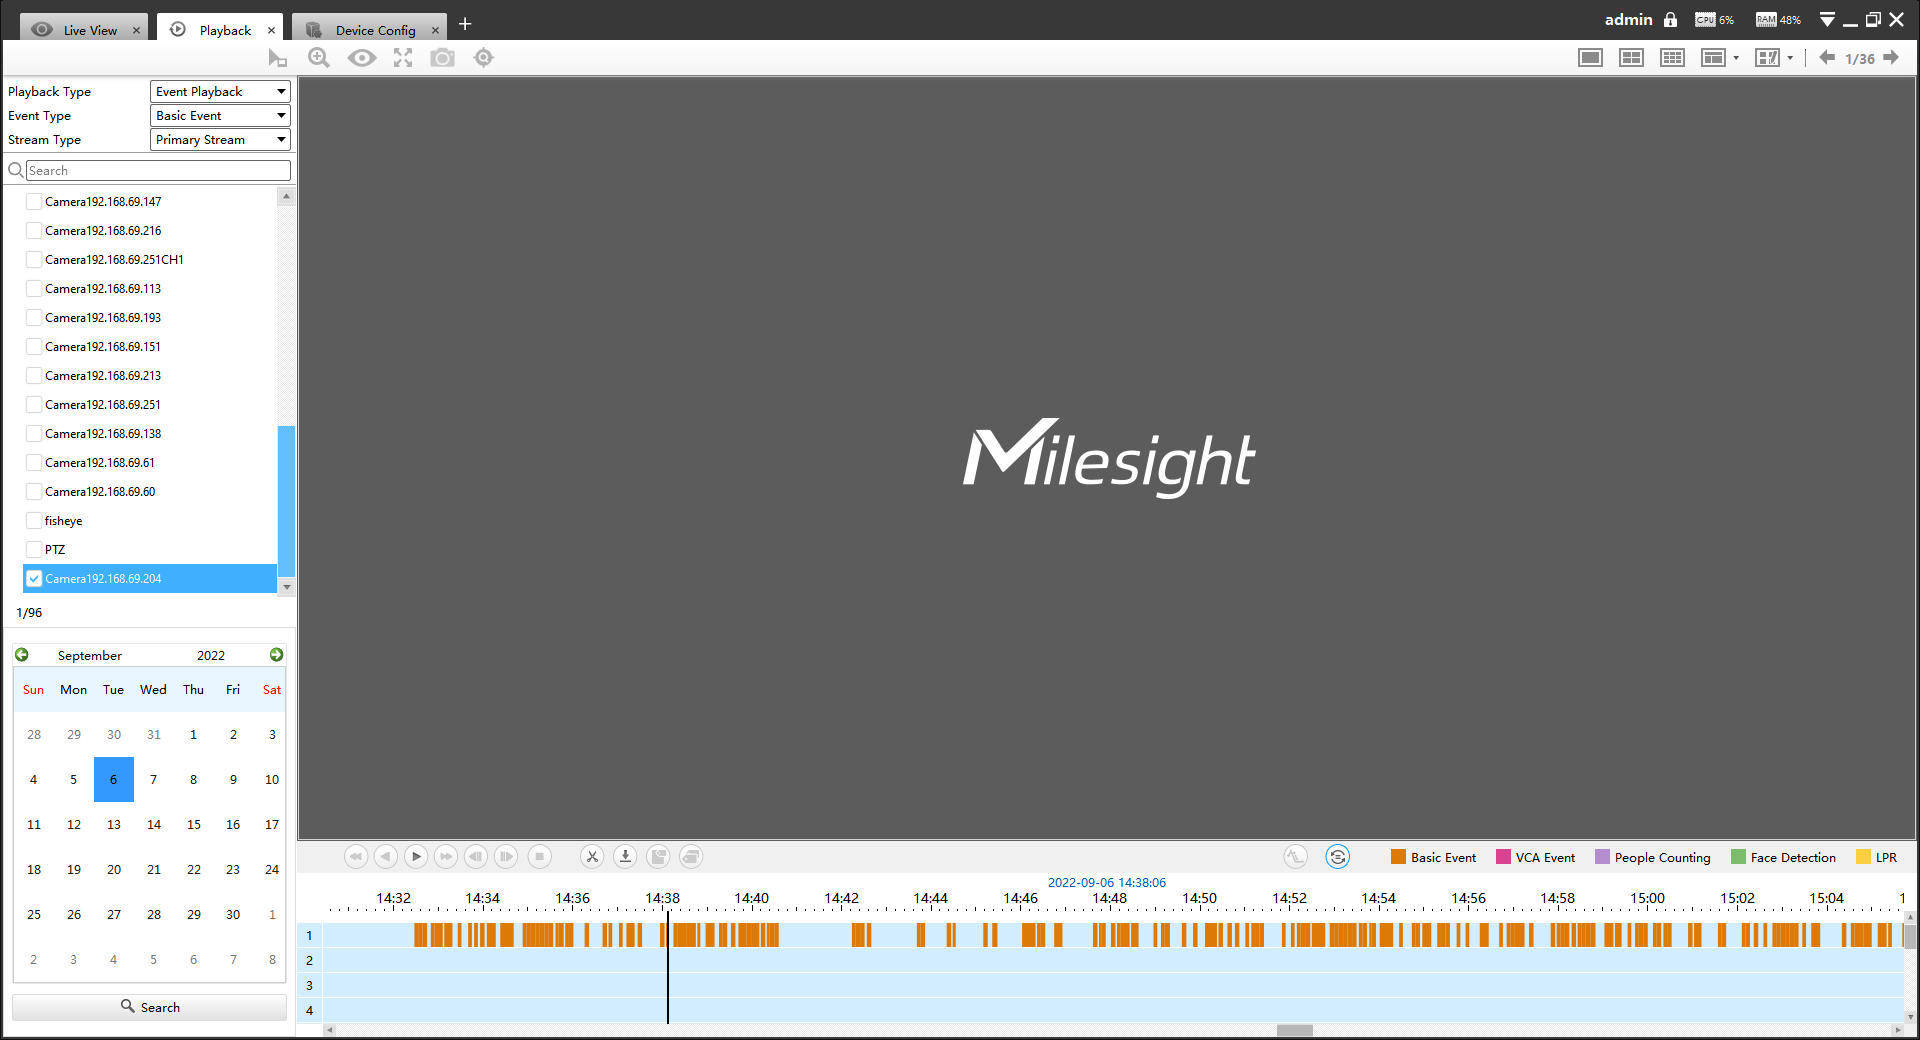
CMS supports playback. It can play recorded files on devices, the Playback page is as below:
The icons on toolbar are as below:


| Item |
Function Introduction |
|---|---|
|
Cursor Mode |
|
|
Click the button will enable digital zoom |
|
|
Fisheye Mode |
|
|
Full Screen |
|
|
Snapshot All Click to take a snapshot of all the channels currently playing on the playback panel, and then there will be a pop-up window as shown below: 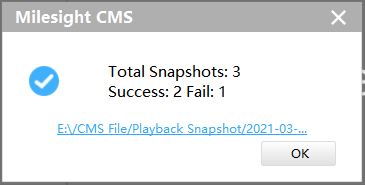 |
|
|
Smart Search Click the icon and draw an area in the Playback window, then CMS will automatically search the video triggered by motion detection within the specific area. 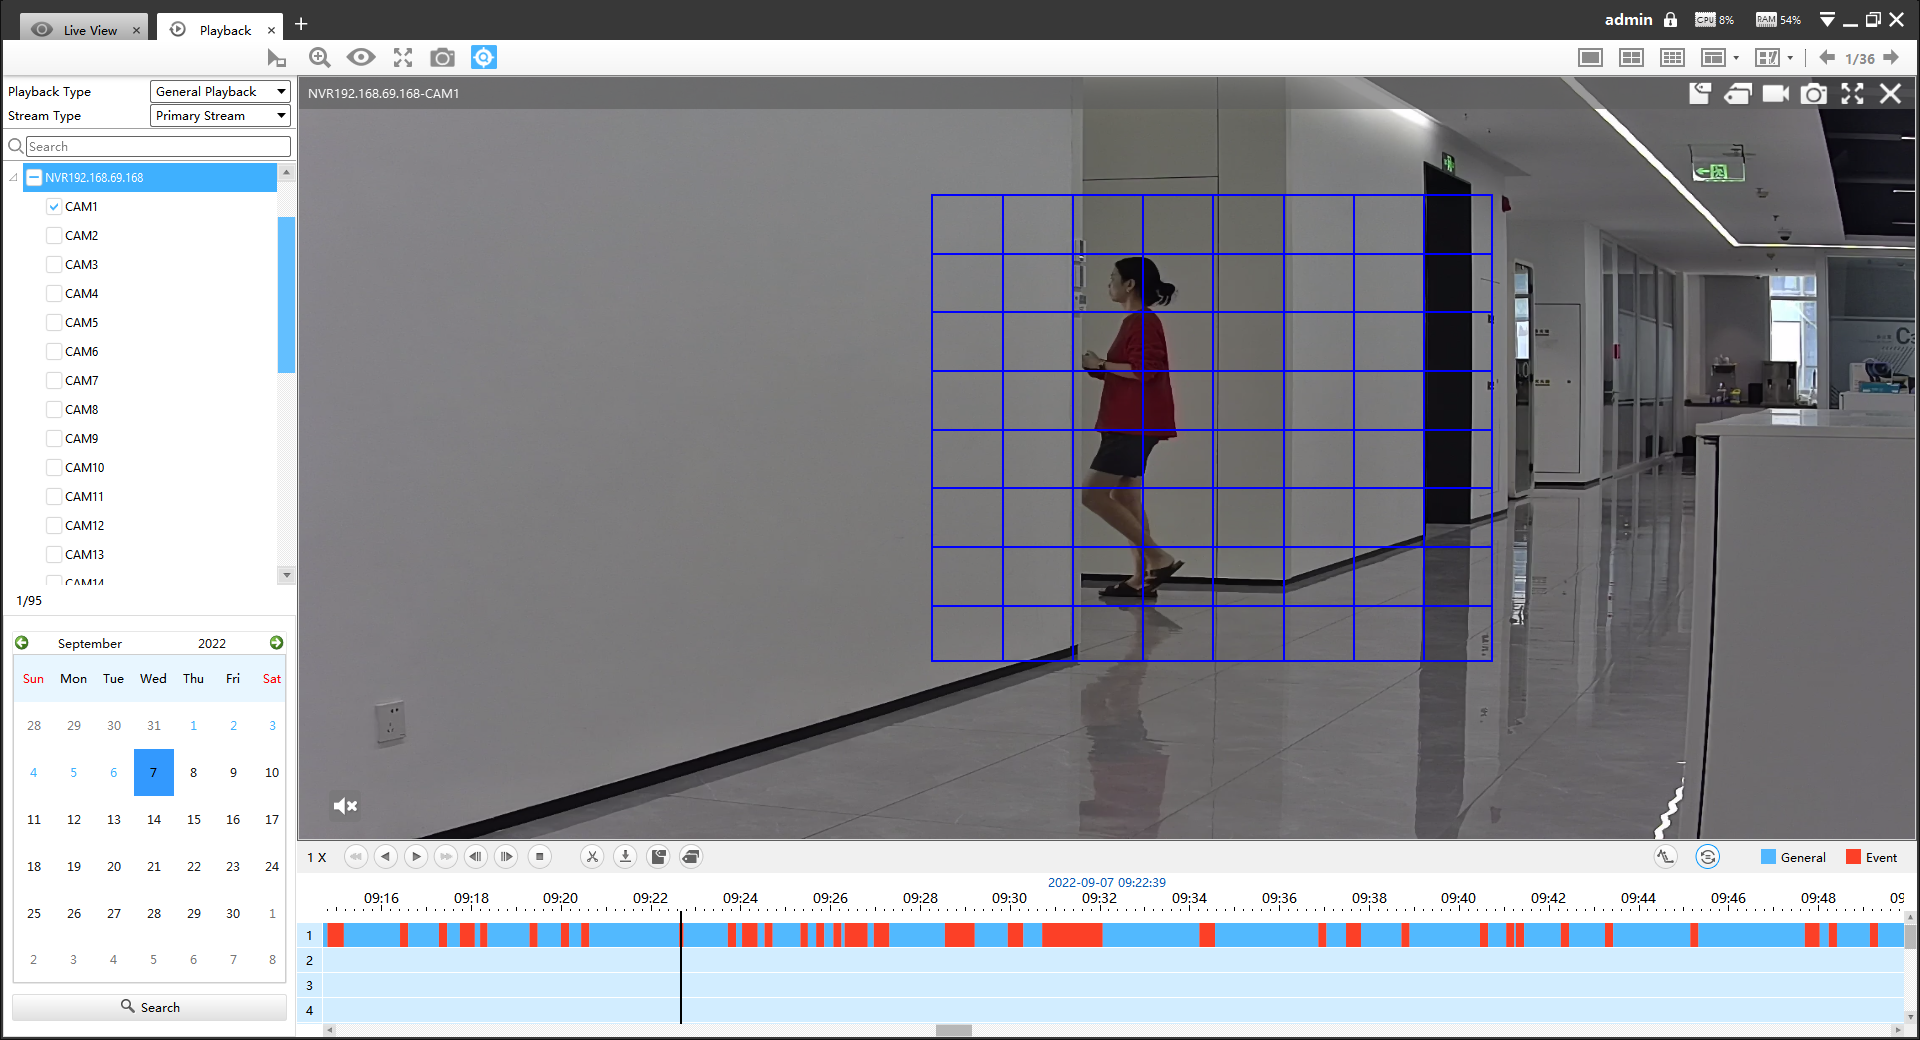 Note:
|
|
|
Speed Down |
|
|
Rewind |
|
|
Play |
|
|
Pause |
|
|
Speed Up |
|
|
Back Single Frame |
|
|
Forward Single Frame |
|
|
Stop |
|
|
Cut |
|
|
Download |
|
|
Quick tag: add a tag for the selected time period with just one click. |
|
|
Custom tag: customize the name of tag as needed. |
You can refer to the steps as below to playback the recorded files:
Step1: Click ![]() button and enter a keyword to search the target
device in the added device list quickly.
button and enter a keyword to search the target
device in the added device list quickly.
Step2: Select the desired devices by checking the checkbox of the devices; the NVR
has List button ![]() to list the
added cameras.
to list the
added cameras.
1. [General Playback]
Step1: Select Stream Type, including Primary Stream and Secondary Stream.
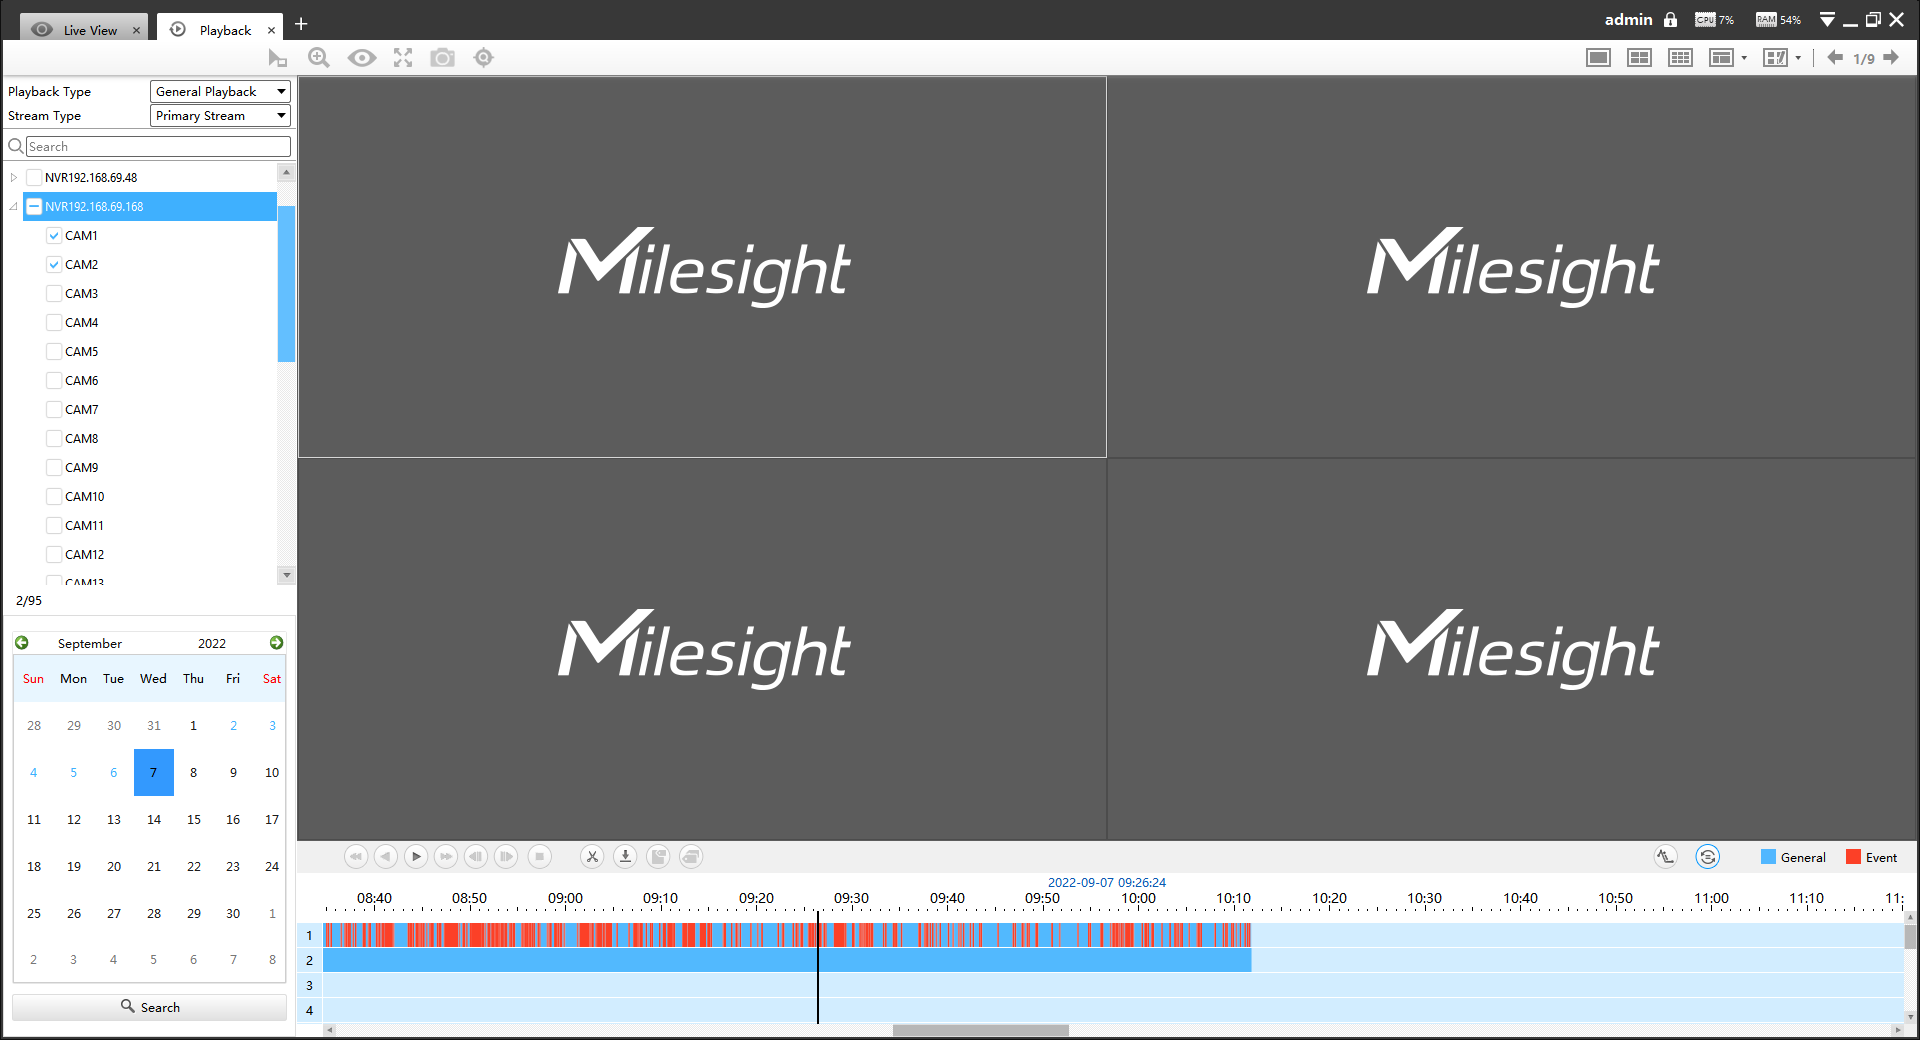
Step2: Choose the date of which typeface is blue(blue means there are recorded files, black means no file and red means weekend), the background will turn to blue once the date is selected; then click the Search button to find the recorded files.
The tool bar can display multi-event records. It shows that in this record period what kind of event has happened. The symbolic meaning of each color is shown below:
Blue—Timing
Red --- Event
Orange --- ANR
Step3: Check the time line to select the time to playback; click the ![]() button to get
the previous/next page of channels; put the mouse on the time line and scroll up or down
to zoom in/out the time.
button to get
the previous/next page of channels; put the mouse on the time line and scroll up or down
to zoom in/out the time.
With this option![]() enabled by default, all selected channels will play the
synchronous recording. If this option is disabled, then it will automatically jump to
the next time point with video recording when the channel has no recording at this
time.
enabled by default, all selected channels will play the
synchronous recording. If this option is disabled, then it will automatically jump to
the next time point with video recording when the channel has no recording at this
time.
Step4: Window border will turn into white once the window has been selected; the first window is the default window.
Step5: Click the Play button to playback; Speed Down, Speed Up and Single Step are available.
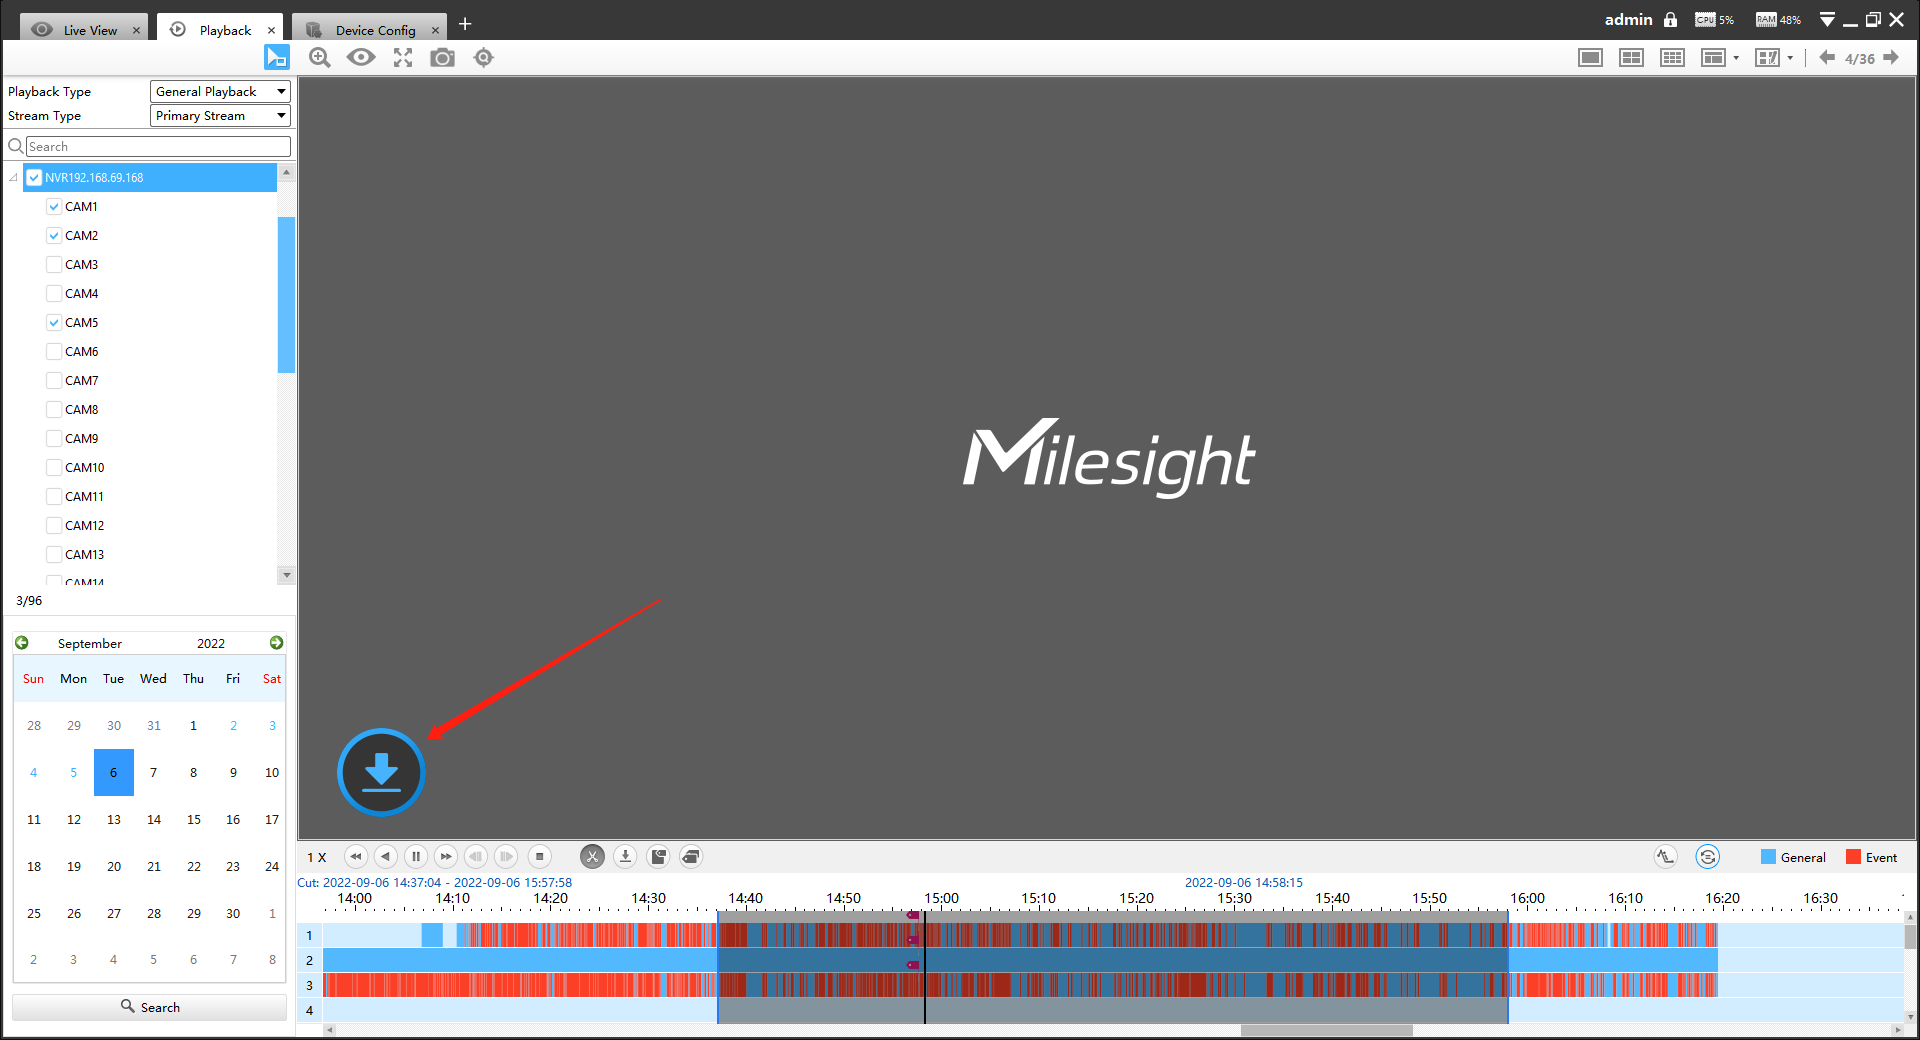
Step6: If you select the NVR, then choose cameras to playback -> click the Cut
button ![]() -> then drag
the timeline to select the start time and end time of video -> click the quick tag
-> then drag
the timeline to select the start time and end time of video -> click the quick tag
![]() or custom
tag
or custom
tag![]() -> Add
tag for the selected time period -> click Download button
-> Add
tag for the selected time period -> click Download button ![]() to back up the NVR playback files.
to back up the NVR playback files.
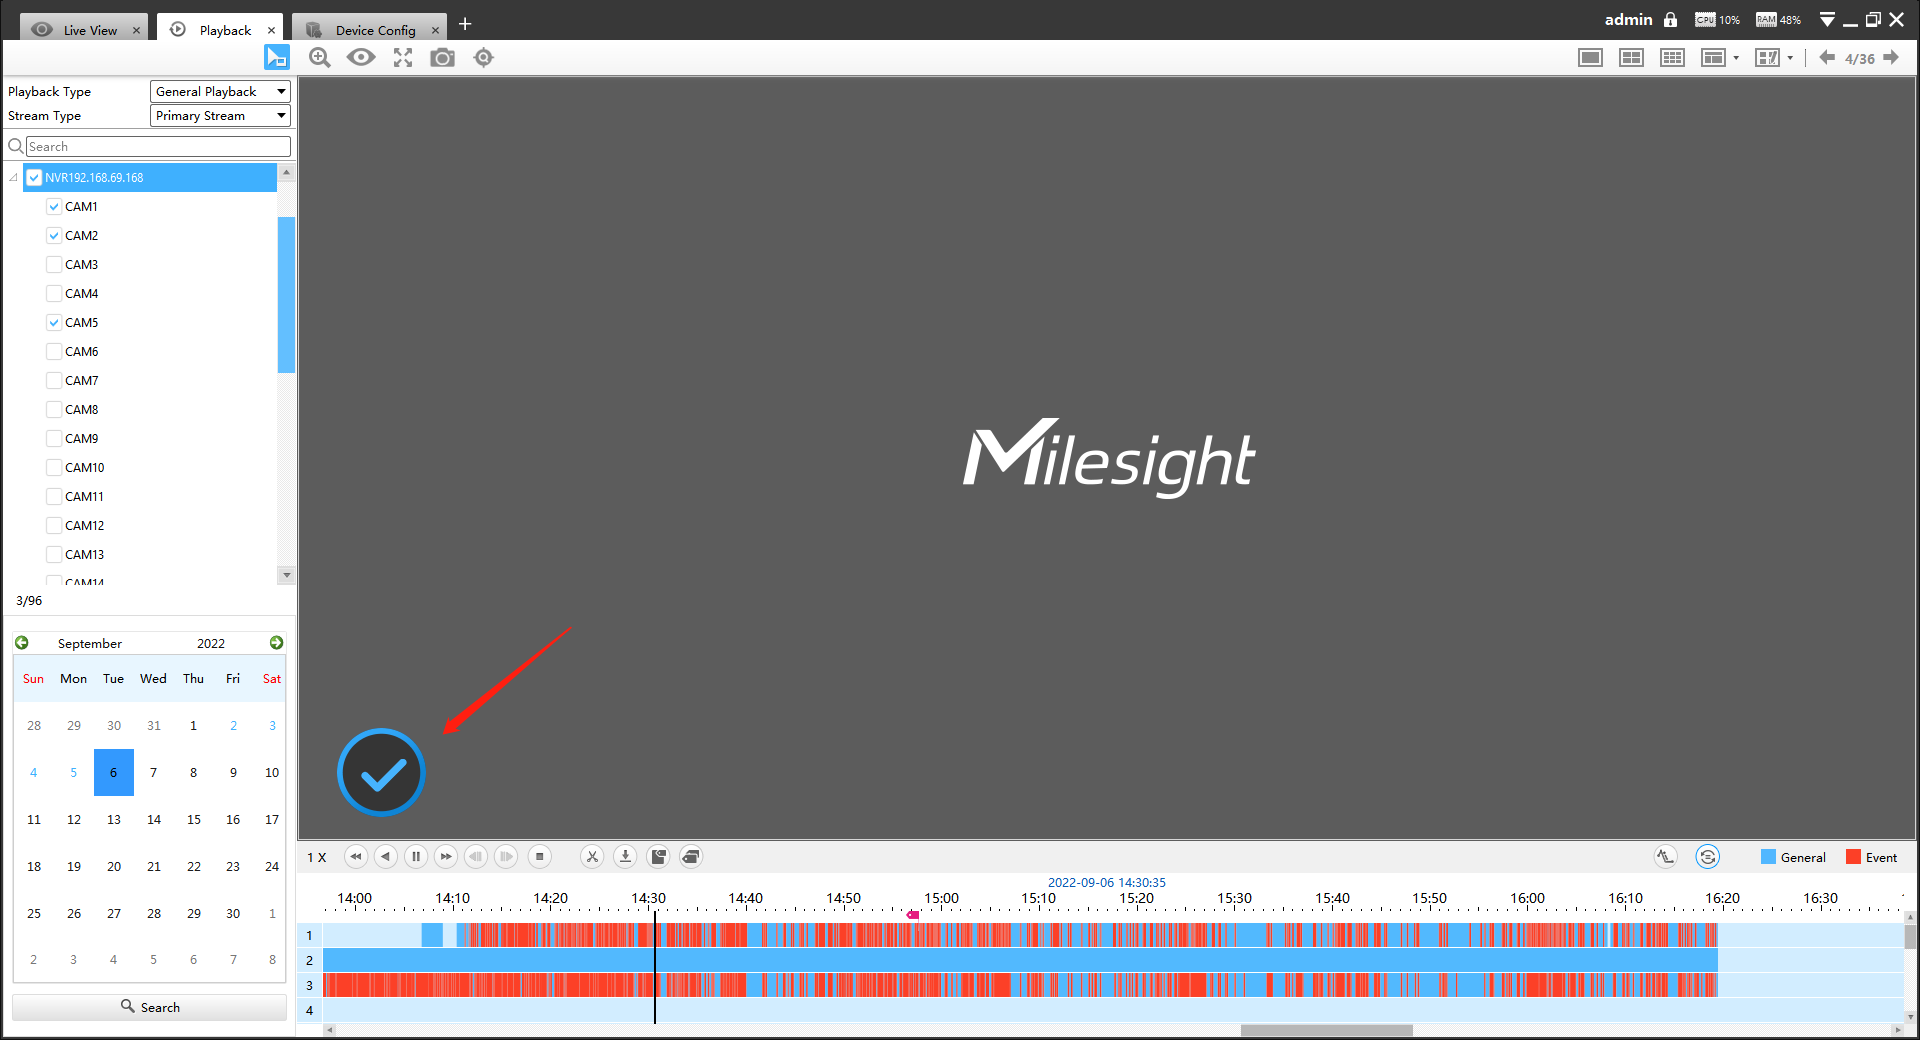
Step7: If you select the camera to playback, then click the Cut button ![]() -> drag the timeline to
select the start time and end time of video -> click Download button
-> drag the timeline to
select the start time and end time of video -> click Download button![]() to back up the
camera playback files.
to back up the
camera playback files.
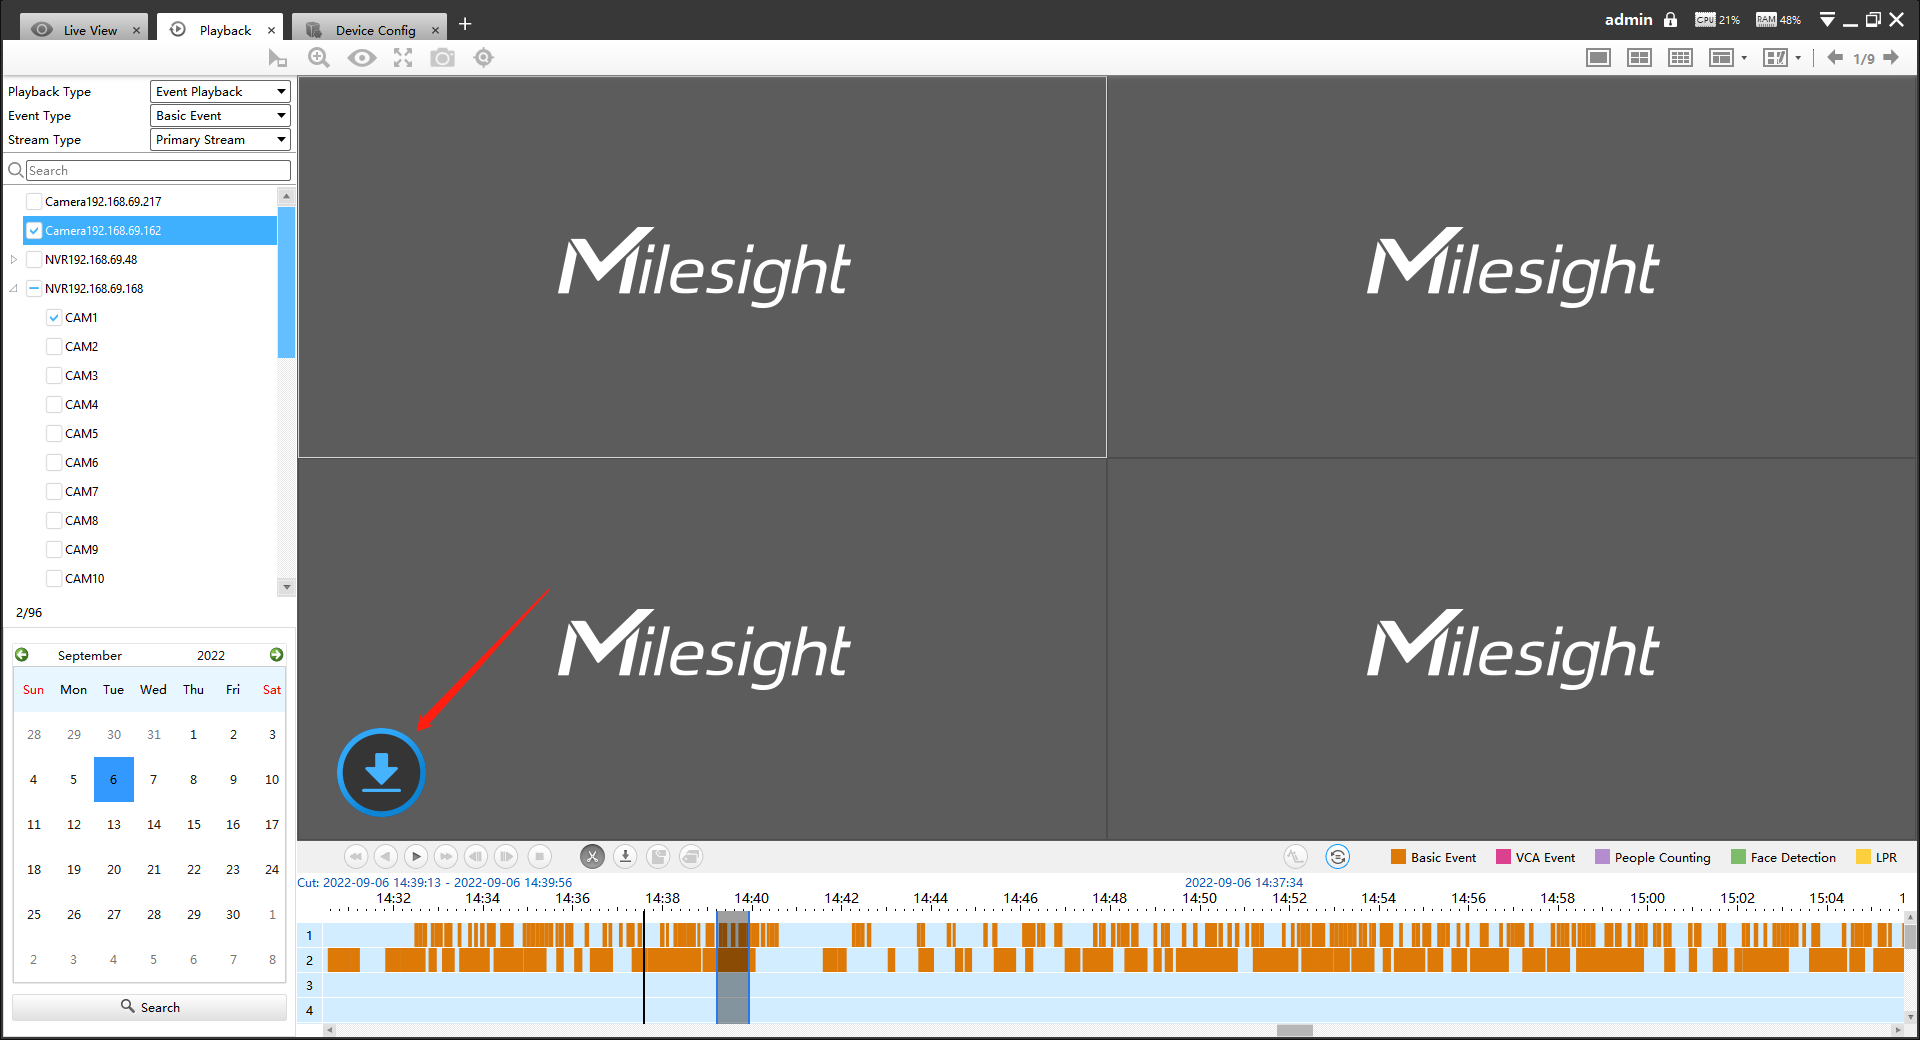
2. [Event Playback]
Step1: Select Event Type, including Basic Event, VCA Event, People Counting, Face Detection and LPR.
Step2: Select Stream Type, including Primary Stream and Secondary Stream.
Step3: Choose the date of which typeface is blue(blue means there are recorded files, black means no file and red means weekend), the background will turn to blue once the date is selected; then click the Search button to find the recorded files.
The tool bar can display multi-event records. It shows that in this record period what kind of event has happened. The symbolic meaning of each color is shown below:
Orange --- Basic Event
Rose Red --- VCA Event
Purple --- People Counting
Green --- Face Detection
Yellow --- LPR
Step4: Check the time line to select the time to playback; click the ![]() button to get
the previous/next page of channels; put the mouse on the time line and scroll up or down
to zoom in/out the time.
button to get
the previous/next page of channels; put the mouse on the time line and scroll up or down
to zoom in/out the time.
With this option![]() enabled by default, all selected channels will play the
synchronous recording. If this option is disabled, then it will automatically jump to
the next time point with video recording when the channel has no recording at this
time.
enabled by default, all selected channels will play the
synchronous recording. If this option is disabled, then it will automatically jump to
the next time point with video recording when the channel has no recording at this
time.
Step5: Window border will turn into white once the window has been selected; the first window is the default window.
Step6: Click the Play button to playback; Speed Down, Speed Up and Single Step are available.
Step7: Click the cut button ![]() -> then drag the timeline to select the start time and end
time of video -> click Download button
-> then drag the timeline to select the start time and end
time of video -> click Download button ![]() to back up the playback files.
to back up the playback files.
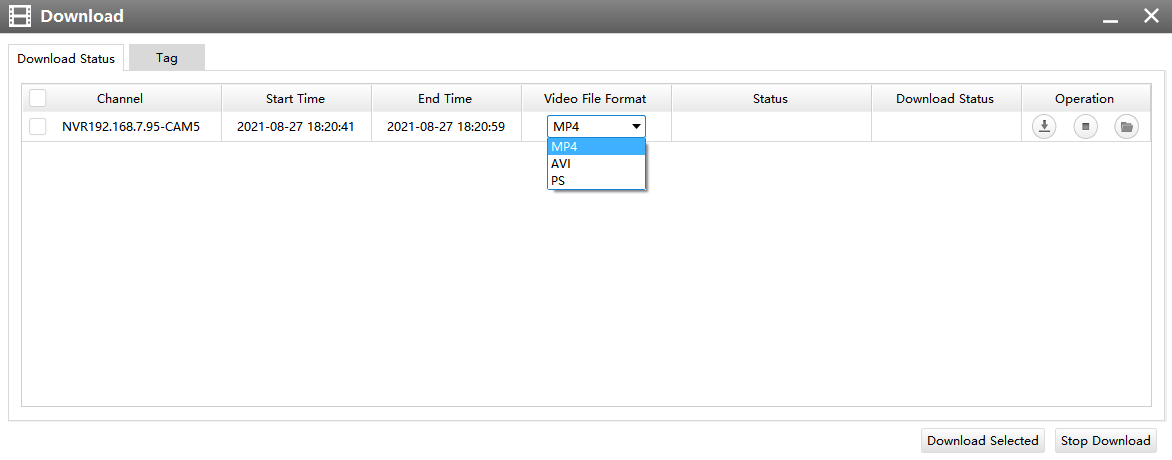
When the Download Status window pops up, you can download recording of NVR added by IP or P2P or Milesight DDNS and choose AVI, MP4 or PS format to export the file as shown below.
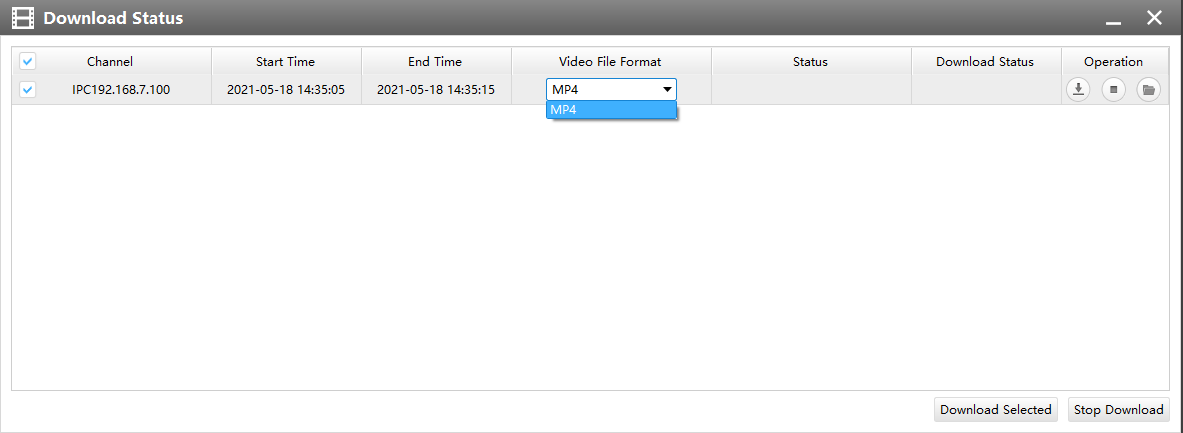
When the Download Status window pops up, you can download recording of camera added by IP or Milesight DDNS and choose MP4 format to export the file as shown below.
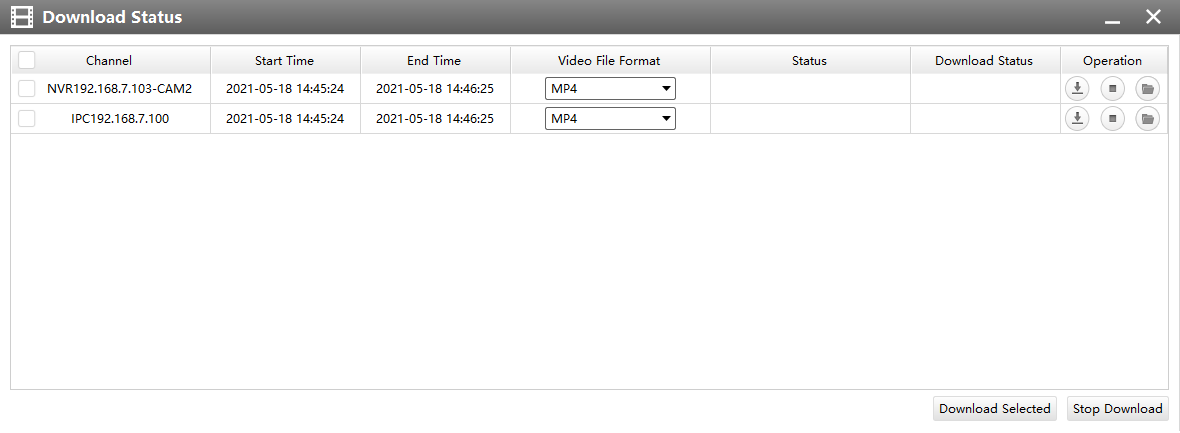
When more than one channel have recording, after you click Download button you can choose the channels that you want to download. The page is as below:
When you minimize the "Download Status" window, it will display the icon ![]() as
shown below.
as
shown below.
When the video file has been downloaded, it will display the icon ![]() as
shown below.
as
shown below.

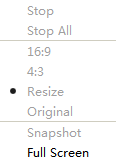
Right-click the window during playback, it will pop up the interface as below:
| Item |
Function Introduction |
|---|---|
| Stop | Stop playing |
| Stop All | Stop all the playback windows |
| 16:9 | Ratio of length to width is 16:9 |
| 4:3 | Ratio of length to width is 4:3 |
| Resize | Suit the size to the windows |
| Original | Keep the size the same as original aspect ratio |
| Snapshot | Capture a snapshot |
| Full Screen | Playback window in full screen |
Step8: If the performance of playback is not good enough, we recommend you to enable transcoding. With transcoding function, remote playback will have a better performance no matter what network environment is.
After successfully searching out video, select the channel you want to transcoding and
click ![]() to expand trancoding panel.
to expand trancoding panel.
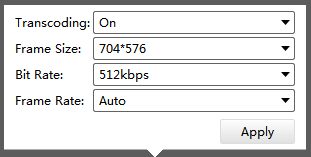
Set Transcoding, Frame Size, Bitrate and Frame Rate according to the network situation. The worse network situation, the lower transcoding parameter.
And click ![]() to make transcoding take effect.
to make transcoding take effect.
3. [Picture Playback]
- Picture Playback supports up to 1 devices for each search.
-
Picture Playback is unavailable on MS-Nxxxx-xxH.
-
Make sure the camera’s version is XX.7.0.79 or above and the NVR’s version is 7X.9.0.14 or above.
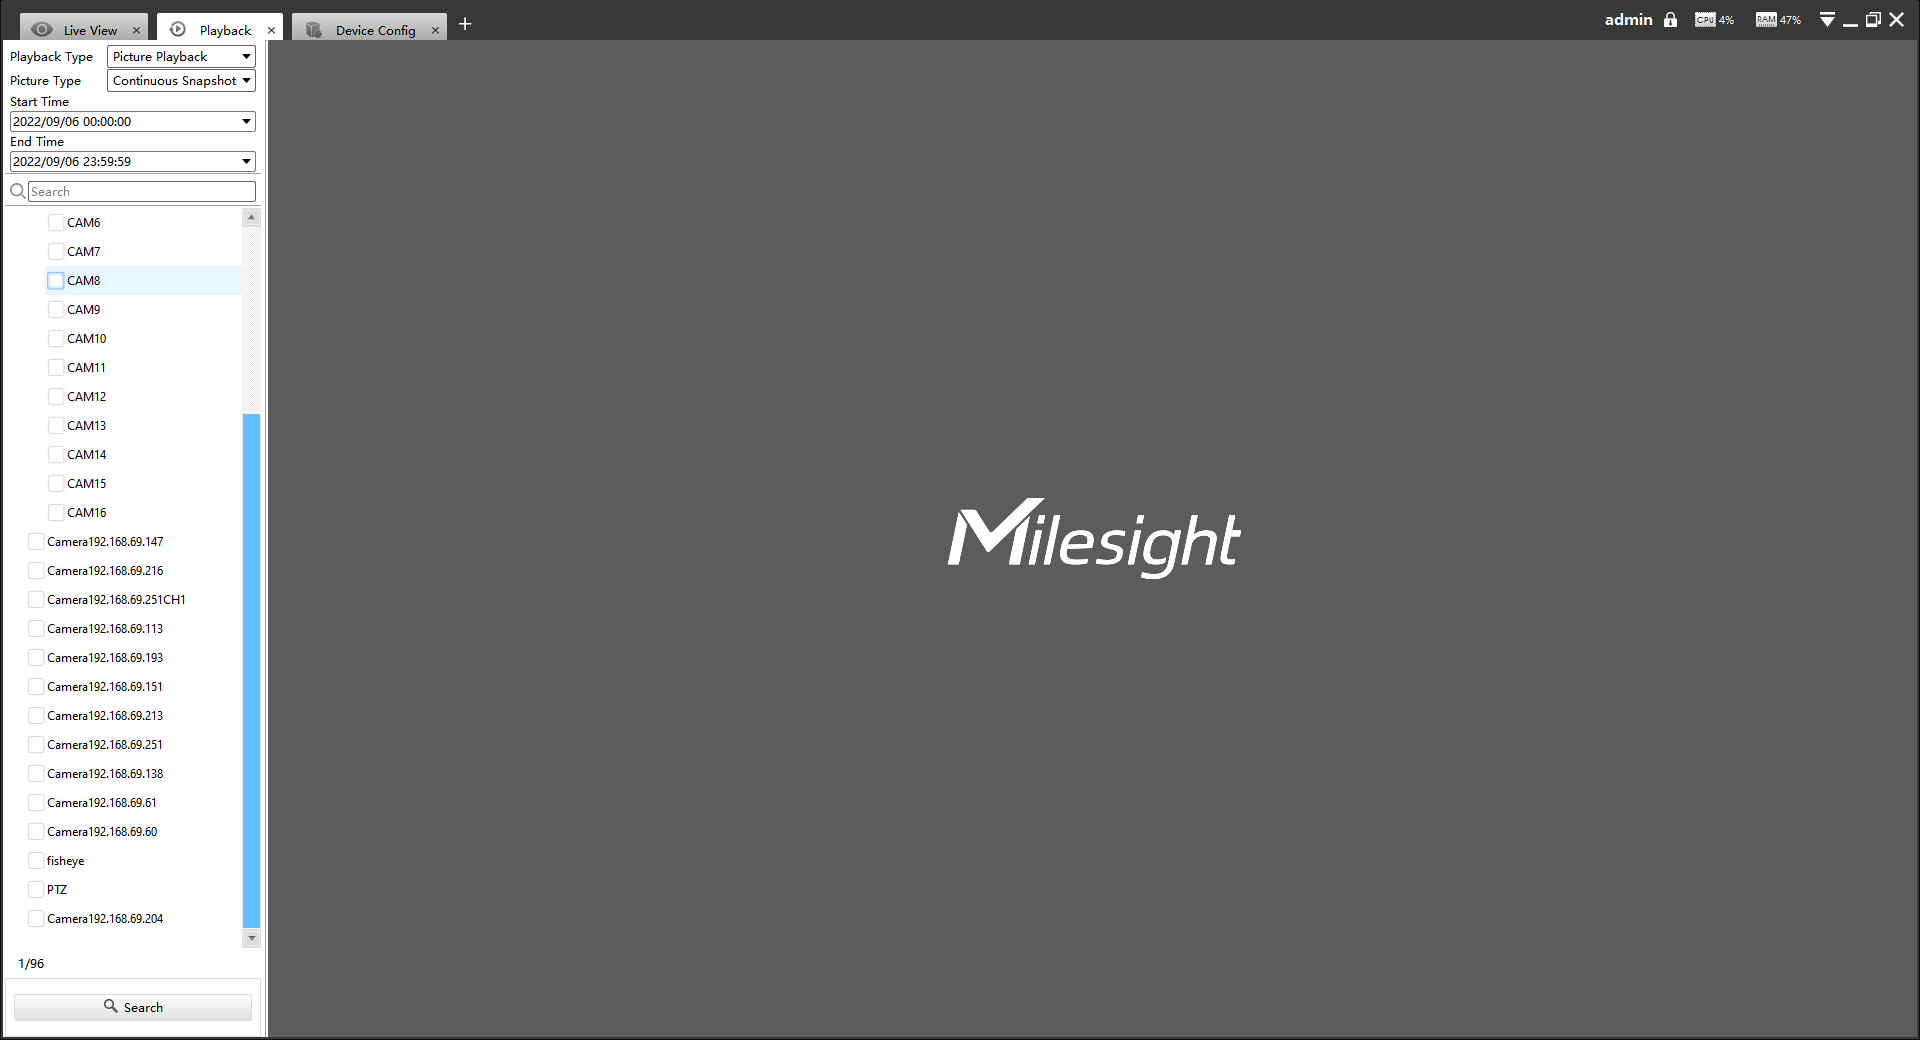
Step1: Select Picture Type, including Continuous Snapshot and Event Snapshot.
Step2: Select the Start Time and End Time of picture playback.
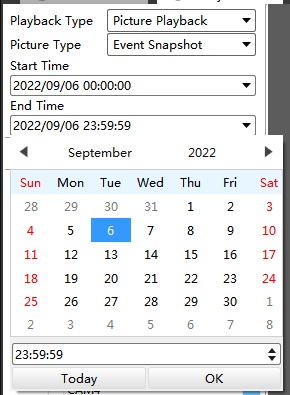
Step3: Click ![]() button to search for playback pictures.
button to search for playback pictures.
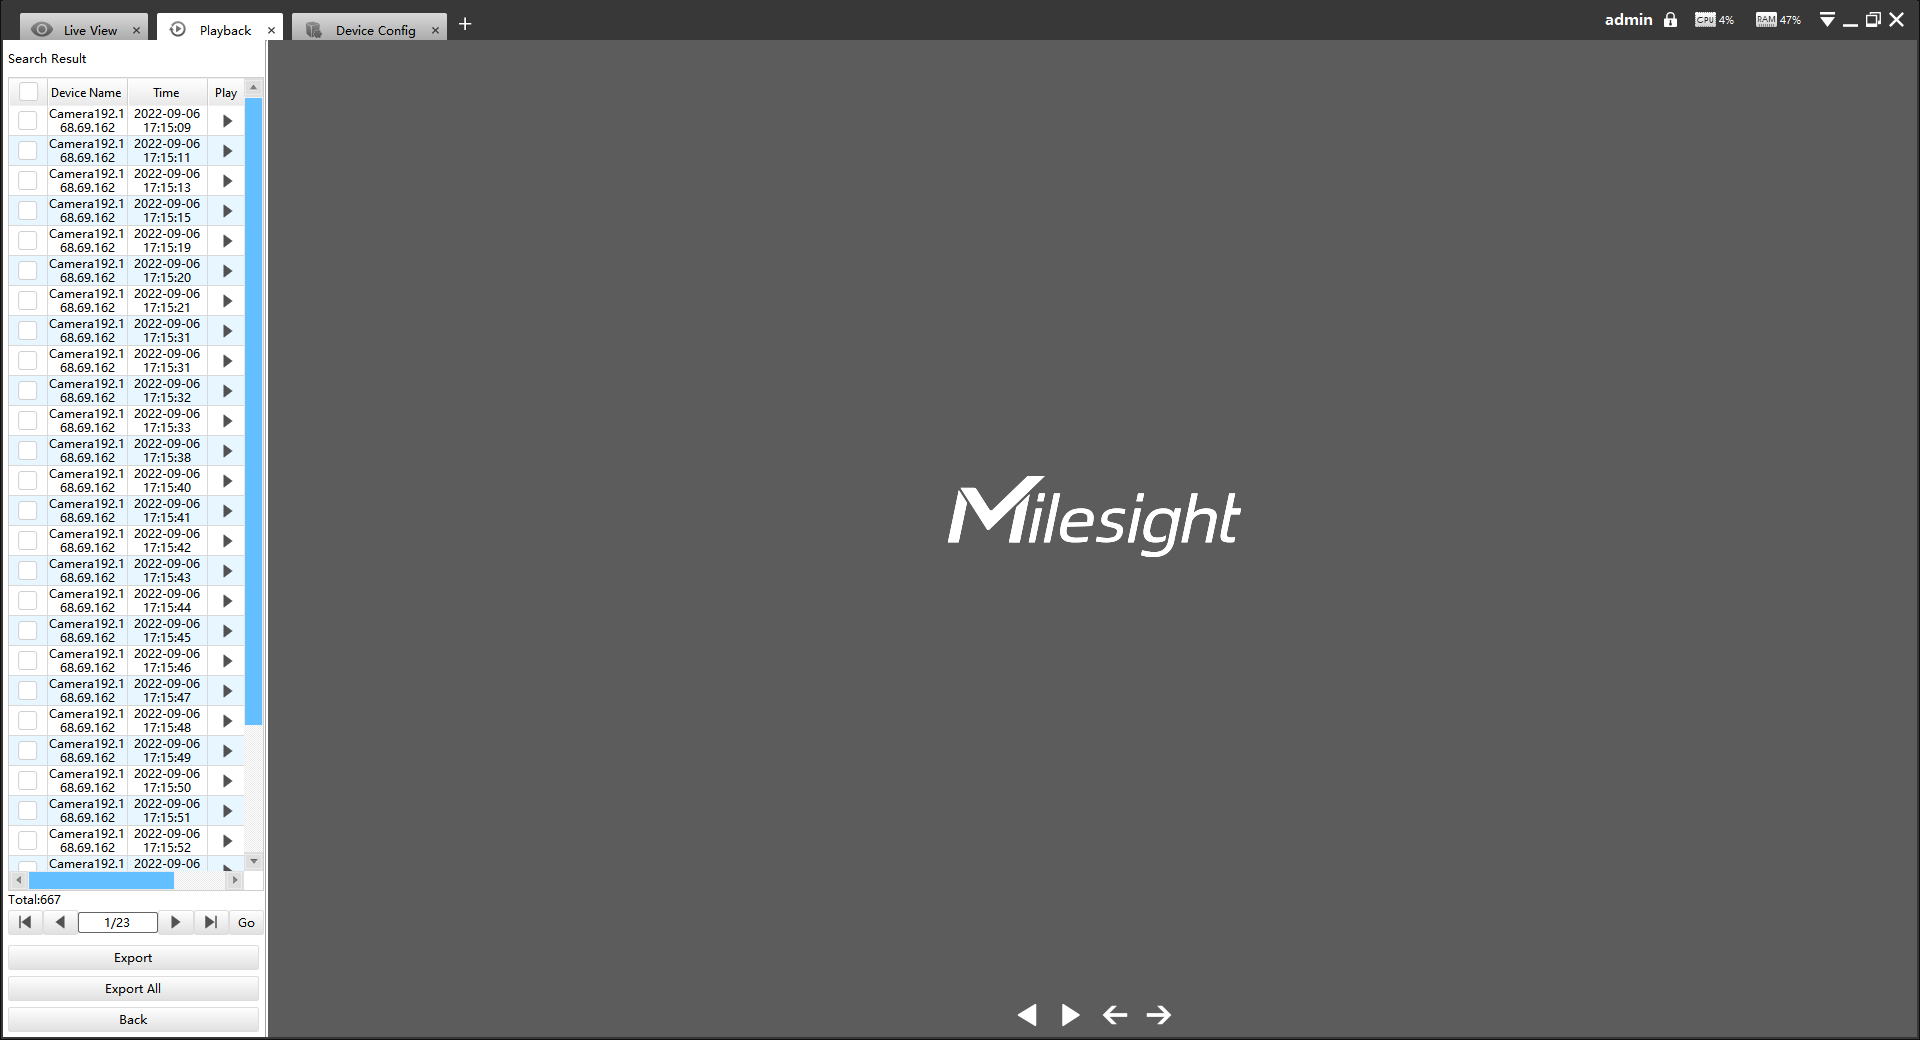
The Search Result page of Picture Playback is as follows:
|
Item |
Function Introduction |
|---|---|
| Click to play the selected result. | |
|
[The first page]/[The last page] button |
|
|
[Pre Page]/[Next Page] button. |
|
| Enter the target page number and click Go to jump. | |
| Click to export the selected results. | |
| Click to export all the search results. | |
| Click to back the playback interface. | |
| Rewind button. | |
| Play button. | |
| Previous button. | |
| Next button. |