Getting Started
This topic will take Milesight Development Platform integration as example to describes the major steps to help you get things up and running quickly even without real devices. Before using, ensure the Beaver IoT is installed and you have registered a new account for this platform.
Step 1: Add Integration with Milesight Development Platform
-
Go to the sign up page of Milesight Development Platform to register your account.
-
Log in the Milesight Development Platform and create an application.
-
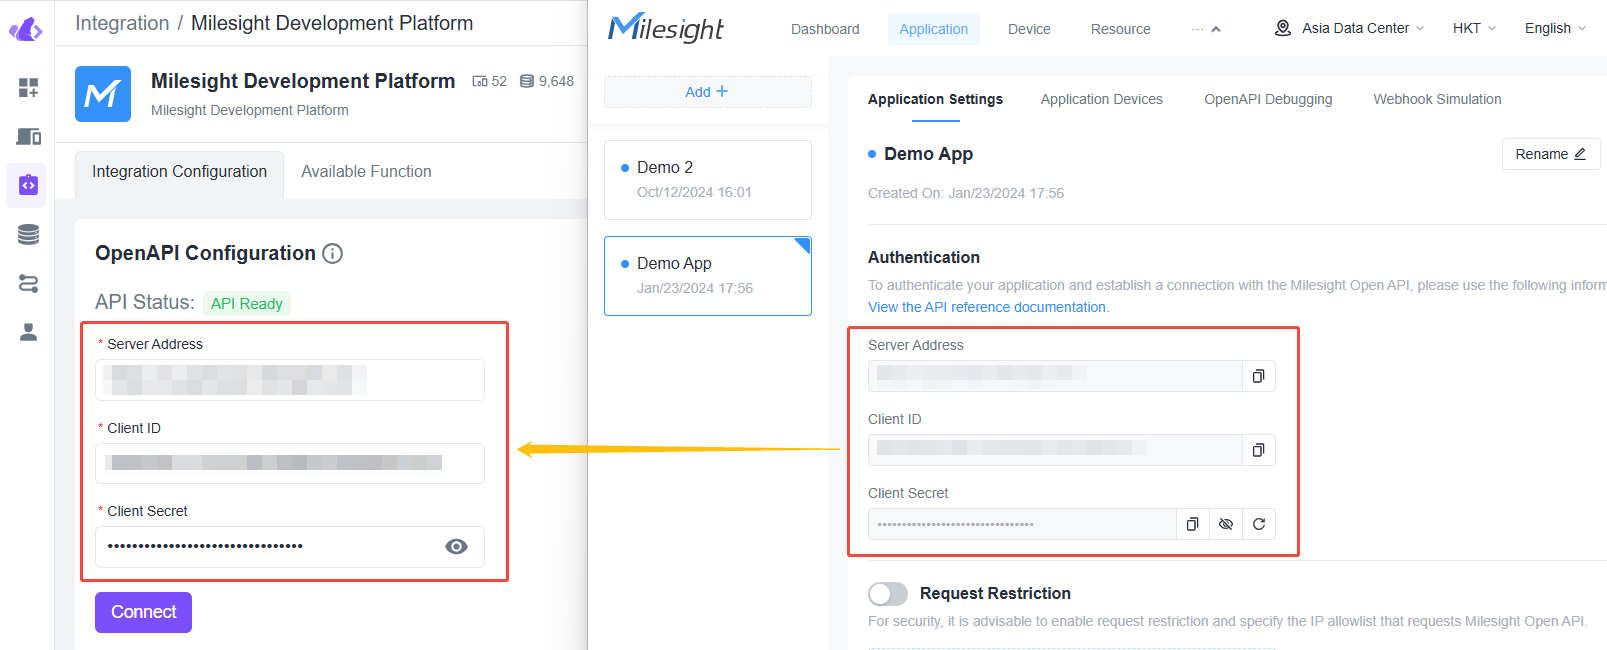
Go to Integration page of Beaver IoT platform and select Milesight Development Platform integration, paste the Authentication information (Server Address, Client ID and Client Secret) from the application of Milesight Development Platform and click Connect.
-
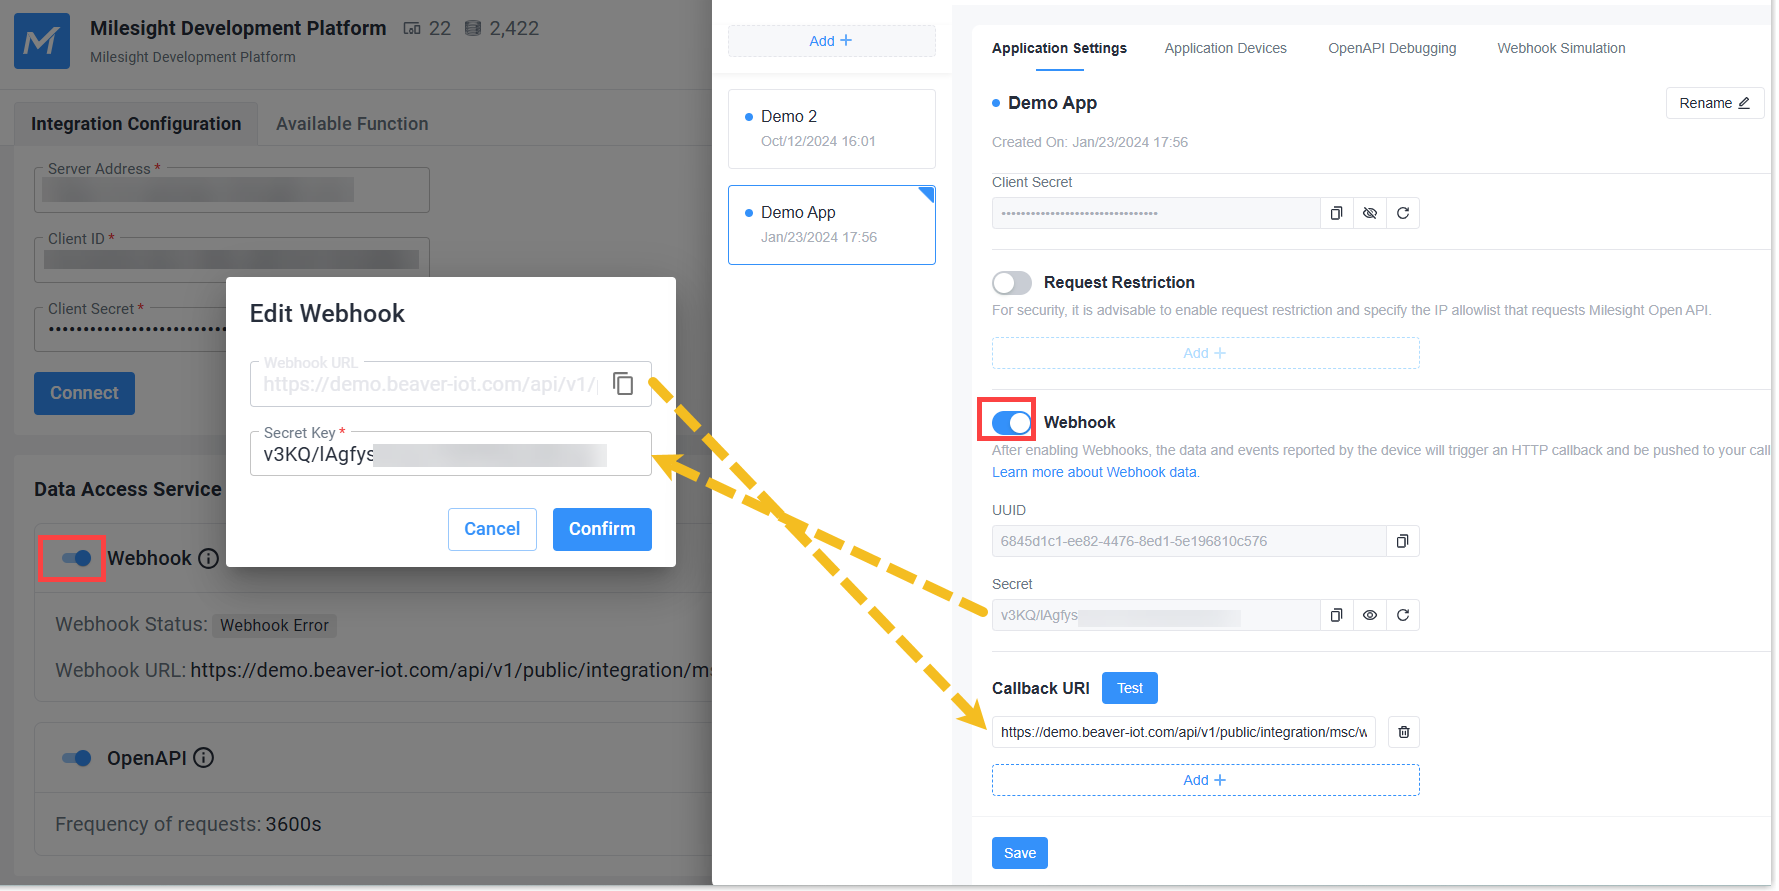
Enable the Webhook option of both platforms, paste the Secret key from the application of Milesight Development Platform to Beaver IoT, and paste the Webhook URL from Beaver IoT to Milesight Development Platform, then save the settings.
note- Before configuration, ensure Beaver IoT supports external network access.
Step 2: Add Devices
-
Go to Application page of Milesight Development Platform to add demo devices,and use device debug panel to simulate the report and send data.
-
Enable the device data storage option in Milesight Development Platform.
-
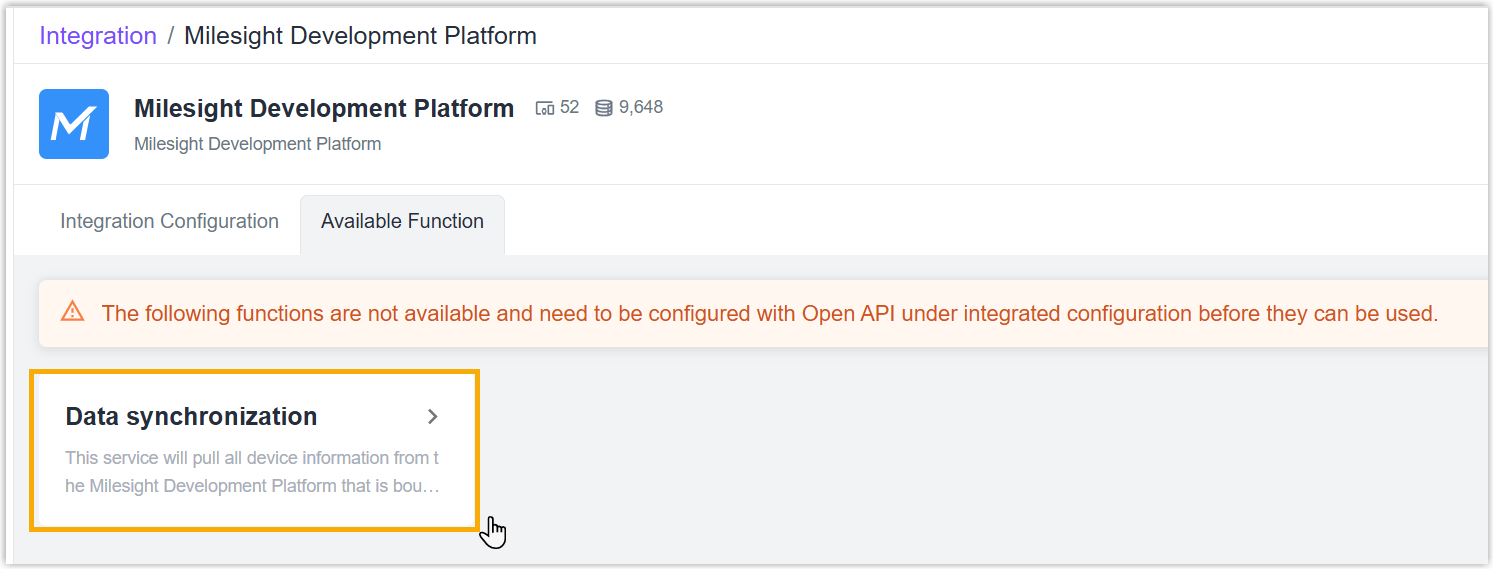
Go to Integration page of Beaver IoT platform and select Milesight Development Platform integration, click Data synchronization to sync the devices and data to Beaver IoT immediately. The synced devices will be add to Device page automatically.
Step 3: Add Dashboard
-
Go to Dashboard page, click "+Add" to add a dashboard.
-
Enter a custom dashboard name, set the cover image and description, then click Save. Cover image requirements: no larger than 5MB, in jpg, jpeg or png format.

-
After clicking the desired dashboard, click the desired widget button or click Edit and then click +Add widget to add widgets.
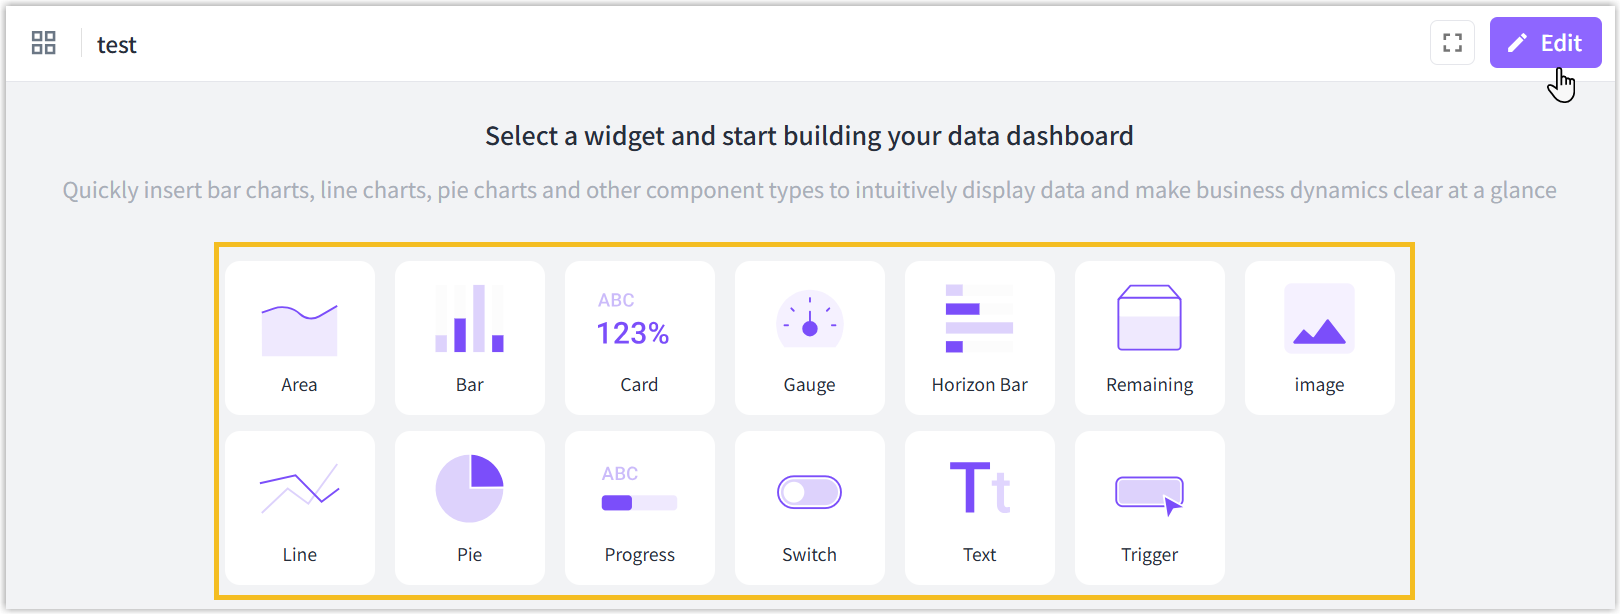
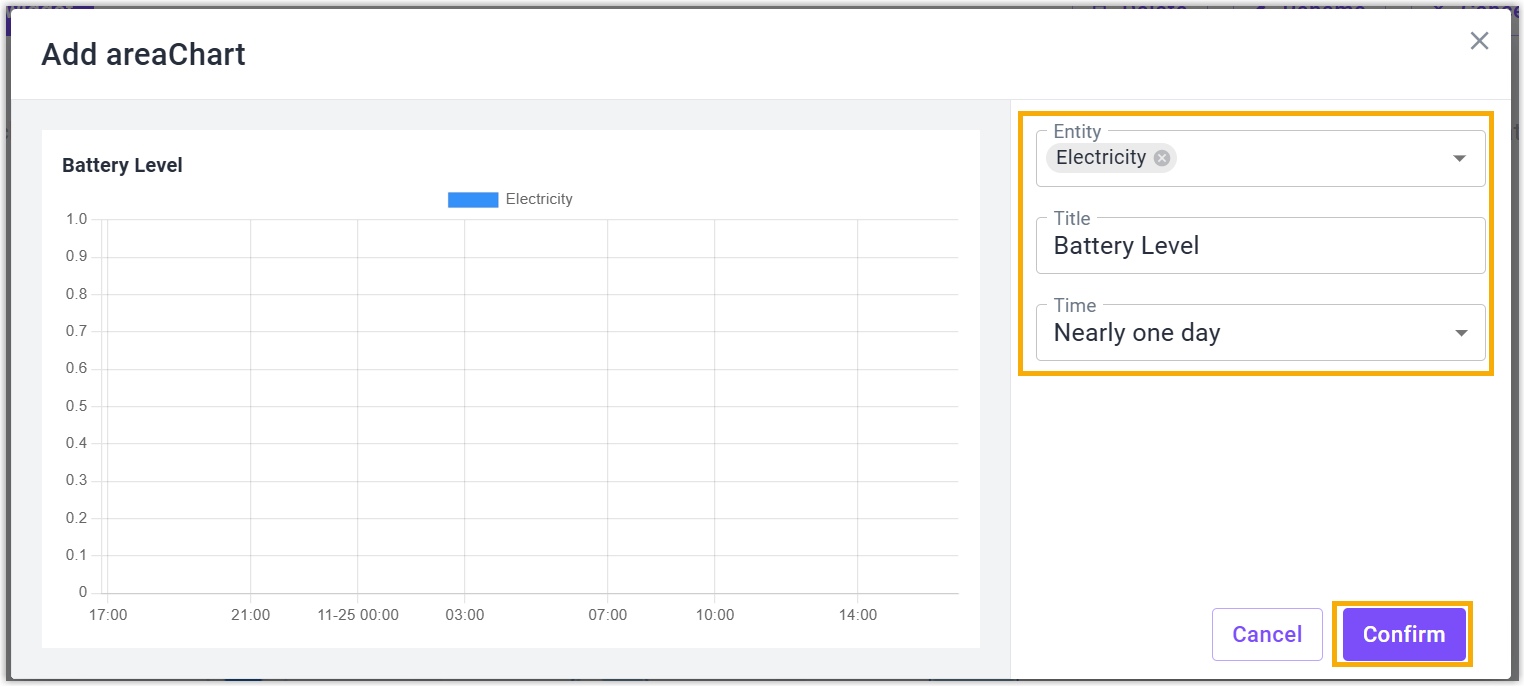
- Select the entity which needs to show and customize the name and other parameters of the widget, click Confirm to save the setting.
- Click Save to save all widgets to this dashboard.