Access the Device
The device can be configured through the web GUI, which is accessible over Wi-Fi or Ethernet. This section describes how to access the device using these two methods.
Preparations: Computer and network cable
Steps:
- Perform the following operations as needed.
- If you access the device through the wireless network:
- Enable wireless network connection on the computer.
- Search for the device Wi-Fi SSID and connect it to the
computer. The Wi-Fi SSID follows the format of
People
                                        Counter_xxxxxx
and is located on the physical label of the device. - Open a browser and enter Wi-Fi IP address
192.168.1.1.
- If you access the device through the Ethernet port:Note: For firmware versions 1.0.5 and above, the device’s IP assignment method is automatic (DHCP) by default.
IP Assignment Method Description Automatic (DHCP) - Connect the computer and the device to a DHCP server (such as a router or switch) using the network cable.
- Check the current IP address of the device
using any of the following methods:
- Log in to your DHCP server and view the DHCP client list.
- Use the Milesight VS tool to scan for devices on the local network.
- Open a browser and enter the Ethernet IP address.
If the device does not obtain an IP address within 30 seconds after powering on, it will automatically revert to the static IP address:
192.168.5.220. You can access the device through Manual (Static IP).Manual (Static IP) - Use the network cable to connect the device and the computer.
- Click Start → Control Panel →
Network and Internet → Network and
Sharing Center.
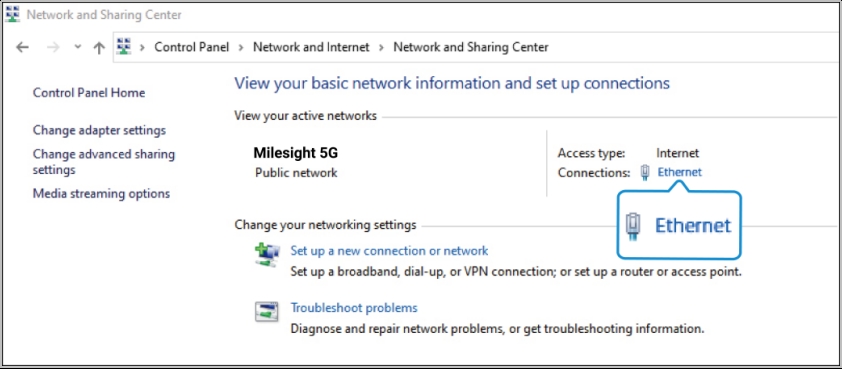
- Click Ethernet → Properties and
double click Internet Protocol Version 4
(TCP/IPv4). The Internet Protocol Version 4
(TCP/IPv4) Properties dialog box is
displayed.
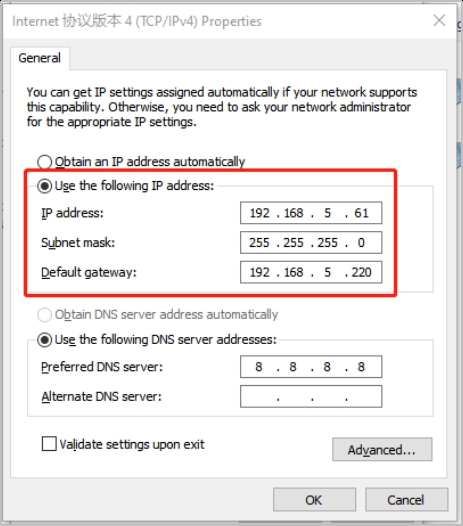
- Click Use the following IP address.
- In the Use the following IP address
area, perform the following operations.
- Enter an IP address (such as
192.168.5.61) that is in the same subnet as the device.Note: This IP address must be unique and not used by any other device on the network. - Set Subnet mask to
255.255.255.0. - Set Default gateway to
192.168.5.220.
- Enter an IP address (such as
- Click OK.
- Open a browser and enter Ethernet IP address
192.168.5.220.
- If you access the device through the wireless network:
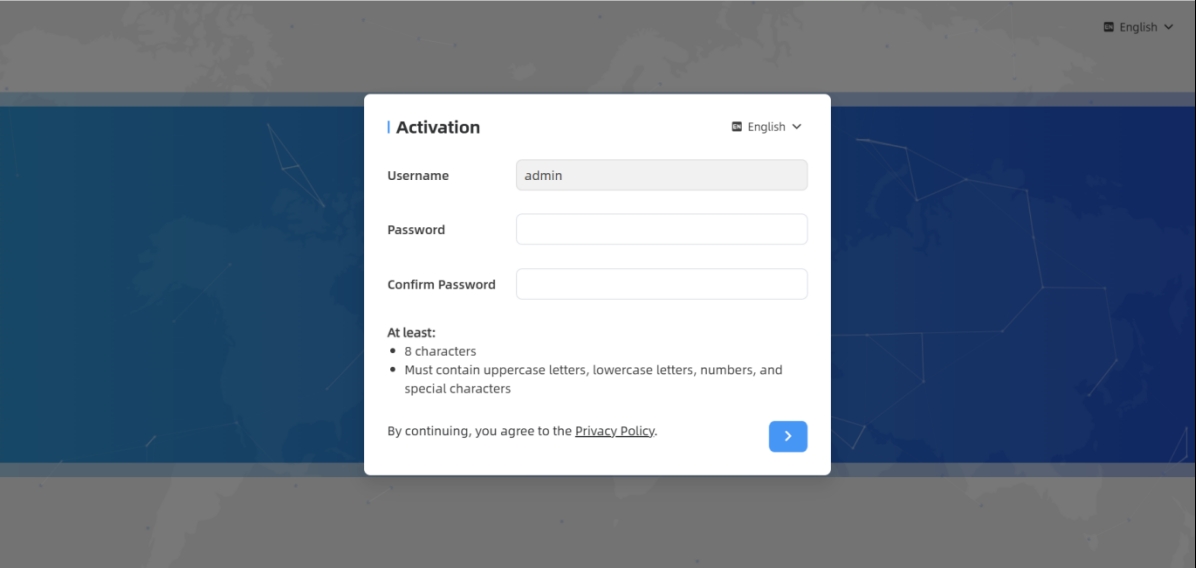
- The Activation dialog box is displayed. Set the login
password that is 8 to 63 characters long and contains numbers, lowercase
letters, uppercase letters, and special characters, then click

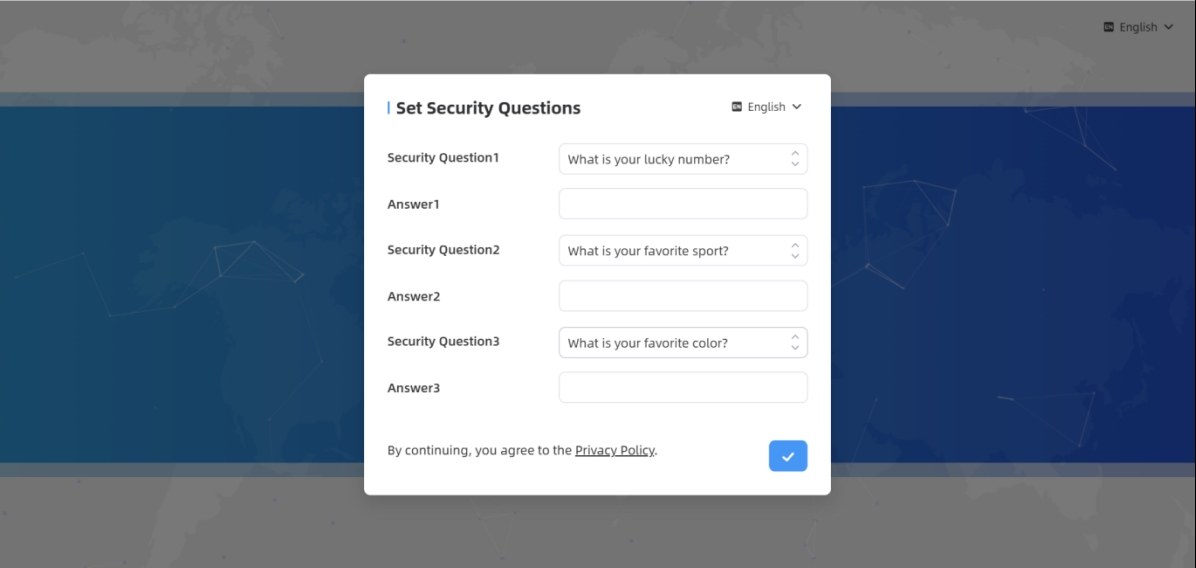
- The Set Security Questions dialog box is displayed. Set the
three security questions when using the device for the first time and click
 .
. 
- The Privacy Settings dialog box is displayed. Configure
the following parameters as needed to set the preview image on the dashboard.
Click to save the configuration.
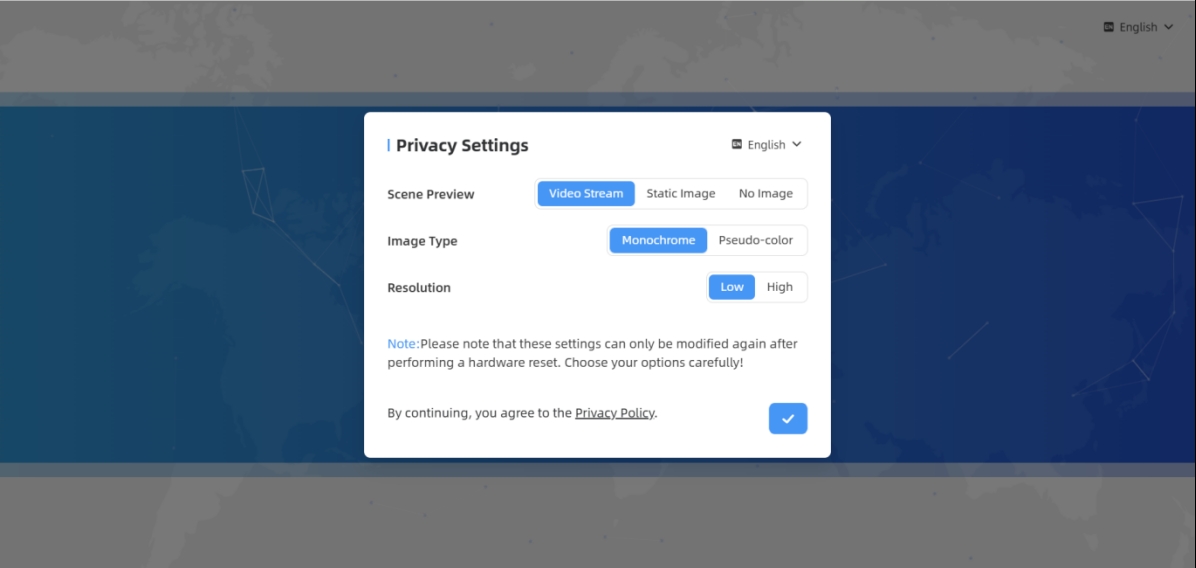
Parameters Description Scene Preview Options: Video Stream, Static Image and No Image. - Video Stream: Live video preview of the camera's field of view.
- Static Image: Still snapshot of the scene.
- No Image: No image displayed.
Image Type Options: Monochrome or Pseudo-color. - Monochrome: Displays the image in grayscale
(black, white, and gray).
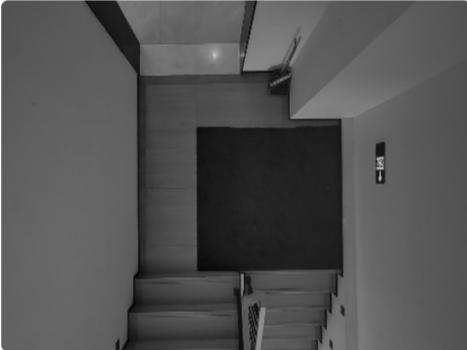
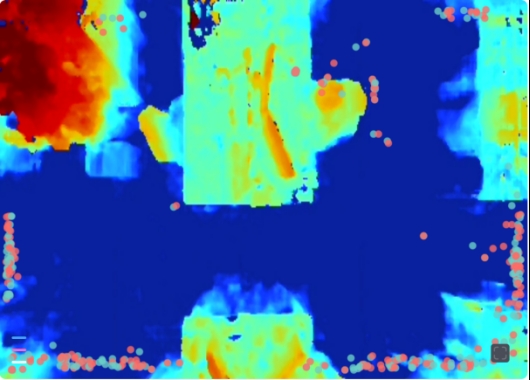
- Pseudo-color: Enhances image details by
mapping grayscale intensities to a color
spectrum.
Resolution Note: This parameter selection is only required for the Monochrome image type.Options: Low, High.- Low: Provides a lower-quality image that uses less bandwidth, suitable for basic scene monitoring and motion detection.
- High: Provides a high-quality clear image necessary for identifying details such as facial features.
- The following page is displayed. Log in with username (admin) and
custom password.
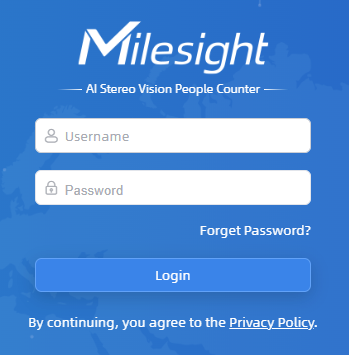 Note: The account will be locked for 10 minutes after five failed login attempts. It is recommended to regularly update the password to enhance device security.
 - (Optional) You can click Forget Password? in the login page to reset the password by answering three security questions when you forget the password if you set the security questions in advance.
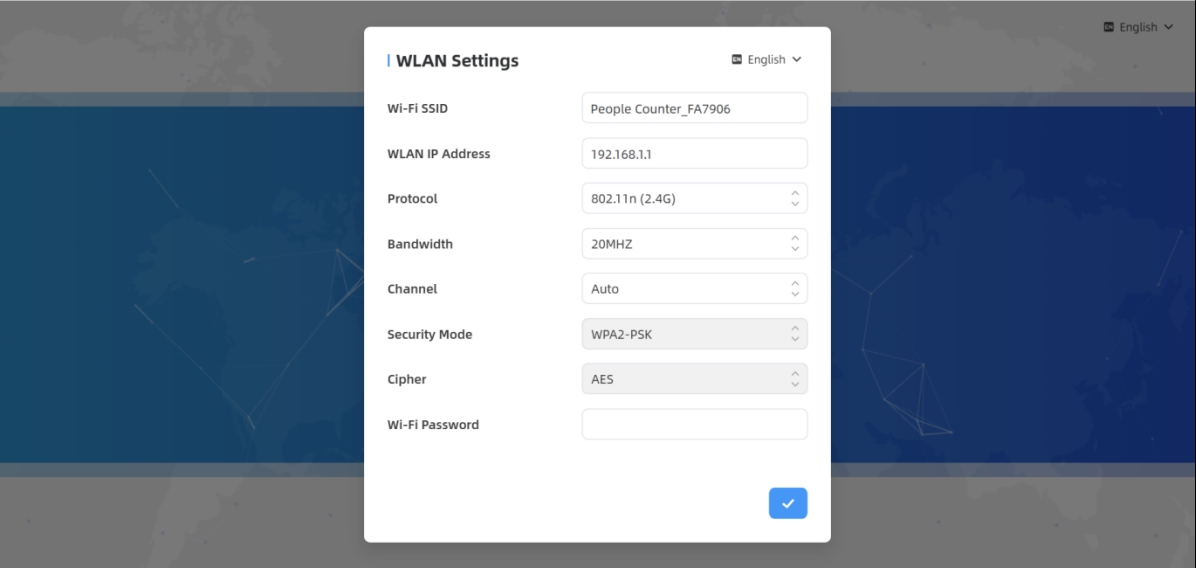
- The WLAN Settings dialog box is displayed. Set the Wi-Fi
password and click to save the configuration.