3.2.1.2 Event
1. Alarm Input
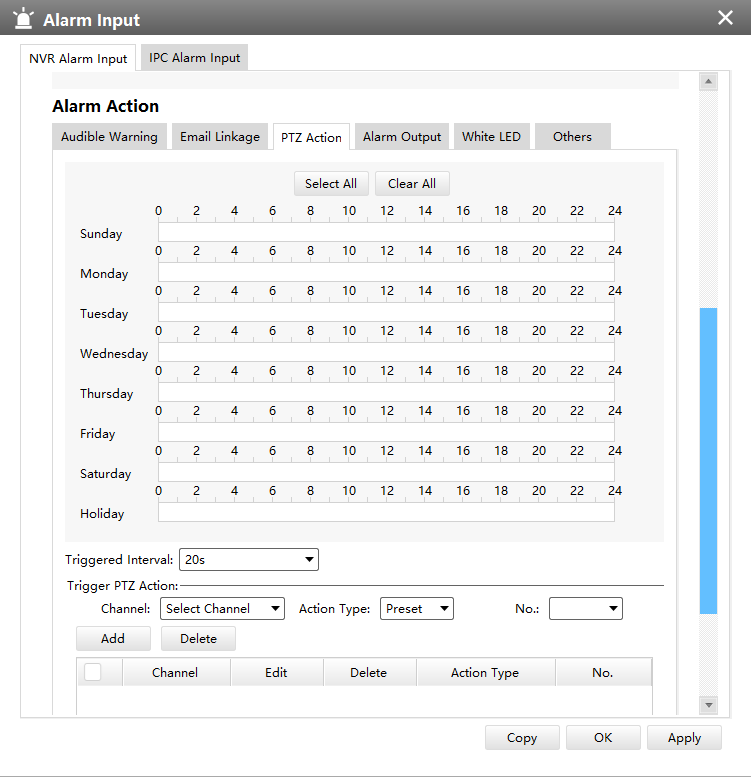
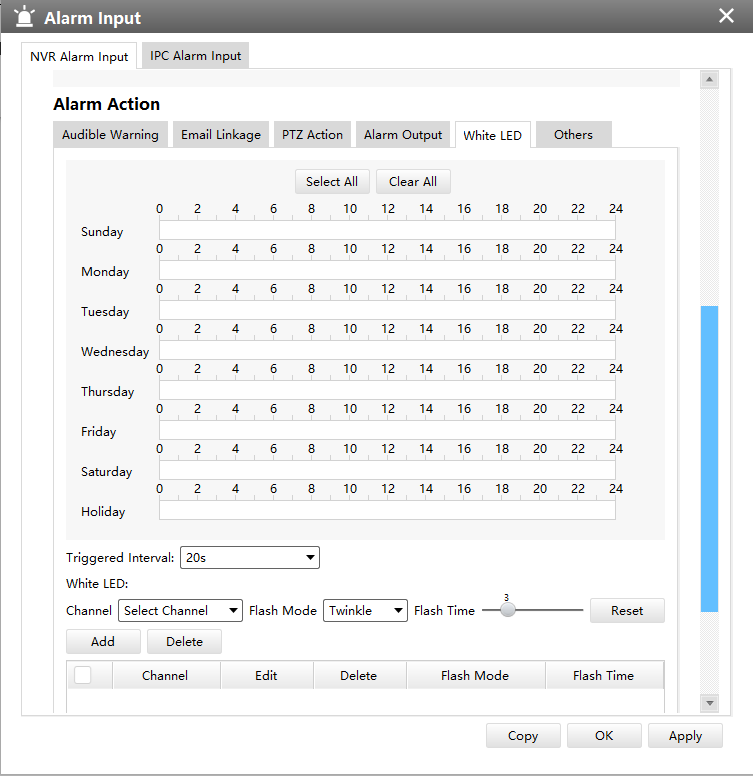
The setting window will pop up as below by clicking the Alarm Input button, and then you can modify alarm input settings. Here are six options for Alarm Action [Audible Warning] [Email Linkage] [PTZ Action] [Alarm Output] [White LED] [Others] that you can select. After choose the alarm action you can choose the alarm channel. You can click [Copy] to copy the settings to other channels. And then click [OK] or [Apply] after all set.
[NVR Alarm Input]
- Audible Warning

- Email Linkage

-
PTZ Action
-
Alarm Output

- White LED
-
Others

[Camera Alarm Input]
- Audible Warning

- Email Linkage

-
PTZ Action

-
Alarm Output

- White LED

-
Others

2. Alarm Output
The setting window will pop up as below by clicking the Alarm Output button, and then you can modify alarm output settings.
[NVR Alarm Output]

[Camera Alarm Output]

The “Alarm Input”/“Alarm Output” settings enable you to set up alarm input/output type, effective time, corresponding triggers, and you also can copy the settings to other channels.
After setting up one channel or some channels, click the Apply button [Apply].
3. Exception
Click the Exception button, the setting window will pop up as below:

The meanings of the items on the Exception page can be referred to the table below:
|
Item |
Function Introduction |
|---|---|
|
Exception Type |
There are “Network Disconnected”, “Disk Full”, “Record Failed”, “Disk Failed”, “Disk Uninitialized” and “NO Disk” |
|
Trigger Action |
Enable or disable the Event Notification |
|
Enable or disable the Audible Warning |
|
|
Enable or disable the E-mail Linkage |
|
|
Select All or specify the number of NVR Alarm Output |
After finishing the settings, you can click the Apply button [Apply] to apply your settings to the CMS software.