Installation Instructions
This chapter provide instructions on how to install the accessories and the device.
Warning: Before installation, ensure the device is powered
off!
Installation Video
Packing List
Before installation, please check the package contents against the following list to
ensure all items are included. If any of the items is missing or damaged, please
contact your sales representative.
 |
 |
|
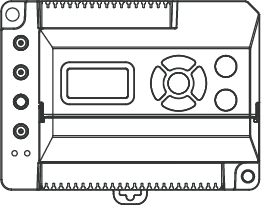
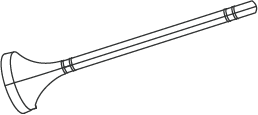
| 1 × EG71 Gateway | 1 × LoRaWAN® Magnetic Antenna | 1 × Cellular Magnetic Antenna |
|
 |
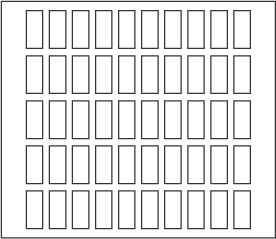 |
| 1 × Wi-Fi Magnetic Antenna | 2 × Wall Mount Screw Sets | 1 × Label Sticker |
 |
 |
|
| 1 × Quick Guide | 1 × Warranty Card | 1 × DIN Rail AC-DC Power Adapter (Optional) |
SIM Card or Micro SD Card Installation
This section describes how to install a SIM card or a micro SD card into the device.
If not needed, please skip this section.
- Prerequisites
- A SIM card (Nano-4FF) or a micro SD card.
- Steps
-
- Open the front cover of the device.

- Insert the SIM card or micro SD card into the corresponding slot in
the correct orientation.
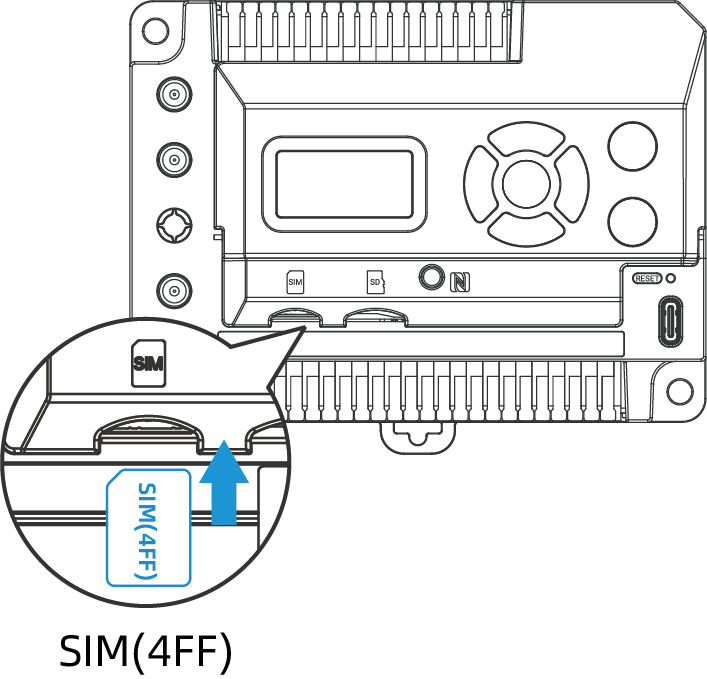

- (Optional) To remove the cards, simply press them and they will eject automatically.
- Open the front cover of the device.
Terminal Device Wirings
This section describes how to wire terminal devices to the gateway.
- Prerequisites
-
- Check Wiring Diagrams to confirm that the terminal device is compatible with the gateway.
- Ensure the wire diameter of the terminal device complies with the AWG 24-16 standard.
- Strip 8-9 mm of insulation from the ends of the terminal device's wires.
- Use label stickers to mark the terminal device's wires for easy identification.
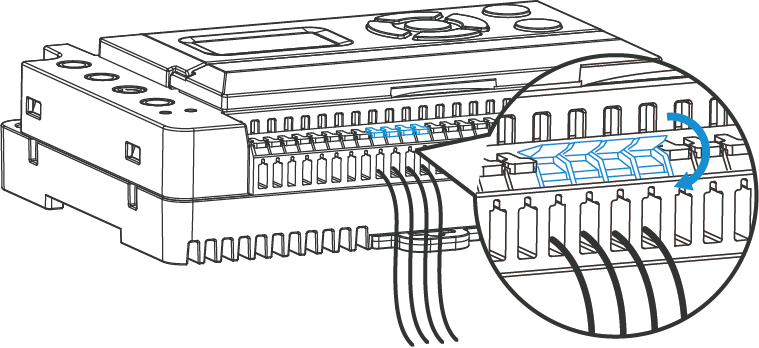
- Steps
-
- Lift the small levers of the corresponding interface.
- Push the stripped wires fully into the terminal openings.CAUTION: Ensure the terminal device is connected to the correct interface; otherwise, it may damage the connected device or the gateway!
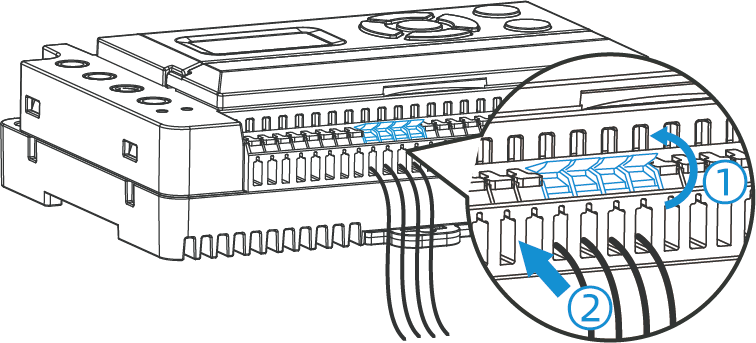
- Close the levers to activate the internal spring clamps.
- Gently pull the wires to ensure they are securely fixed to the gateway.
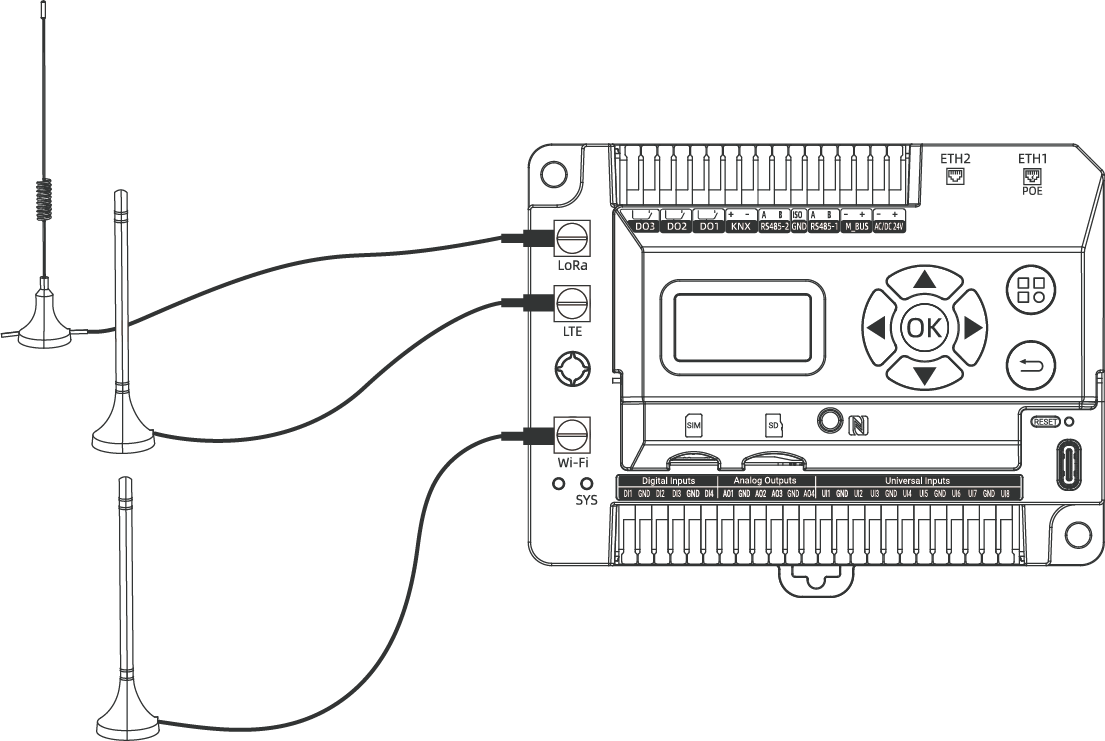
Antenna Installation
This section describes how to install the antennas to the device.
Steps:
Press antennas into the corresponding antenna connectors. The antennas should be
installed vertically, with their magnetic bases attached to a metal surface.
Tip:
- Keep the antennas away from walls and ensure there are no obstacles around them.
- For better coverage, it is recommended to position the antennas at a higher location.
- Place the antennas near windows when used indoors.
Gateway Installation
This section describes how to install the gateway. The gateway supports wall mounting
with screws or DIN rail mounting.
Tip: To ensure
proper ventilation, maintain a clear space of at least 5mm between the equipment
and surrounding objects.
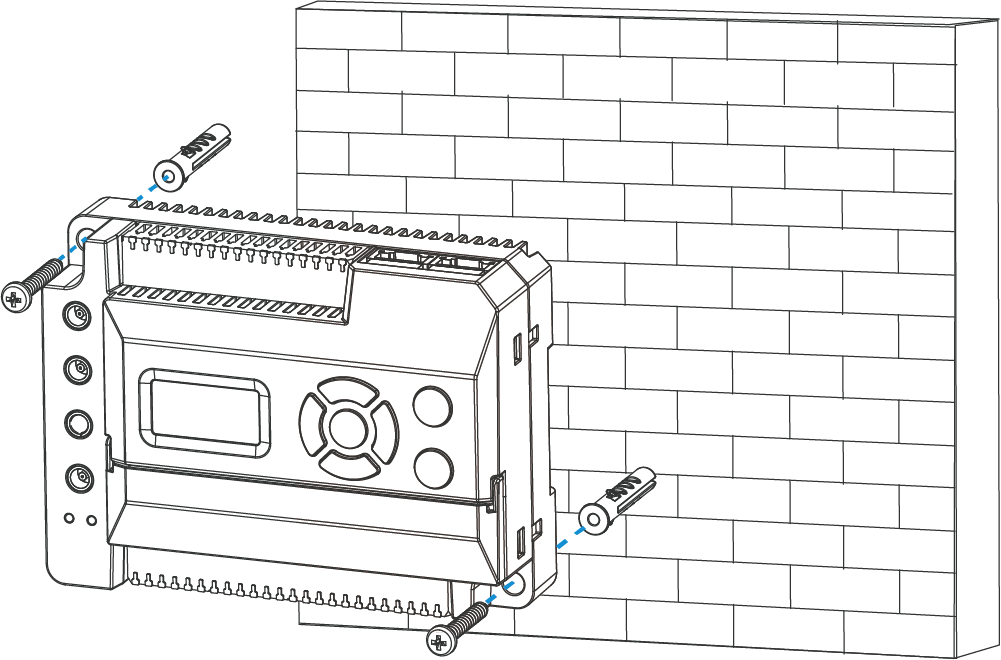
- Wall Mounting
-
Prerequisites: Screwdriver, Wall Mount Kit
Steps:
- Drill two holes in the wall according to the device's wall mounting holes.
- Insert the wall plugs into the holes.
- Secure the device to the wall plugs using the wall mounting
screws.
- DIN Rail Mounting
-
Prerequisites: 35mm DIN rail
Steps:
- Pull down the locking clip on the back of the device.
- Hang the device on the DIN rail.
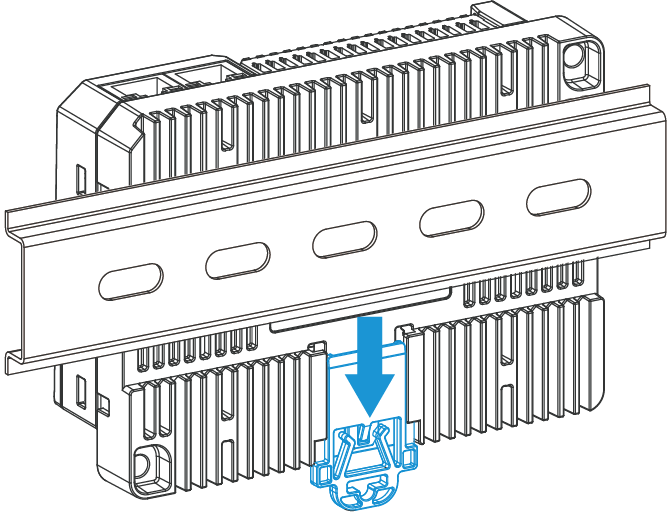
- Push up the locking clip to secure the device to the DIN
rail.
