5.2.2 Configure Milesight D2D Parameters
Milesight D2D protocol is developed by Milesight and used for setting up transmission among Milesight devices without a gateway, which reduces the latency and enables quick control.
D2D Data Receiving Settings
The device can receive temperature and humidity data from Milesight sensors directly via Milesight D2D to display on the screen and achieve accurate temperature control.
- The Milesight sensor already supports, or is upgraded to support D2D Data Transmission feature.
- The control permission is Thermostat.
- The data source is D2D.
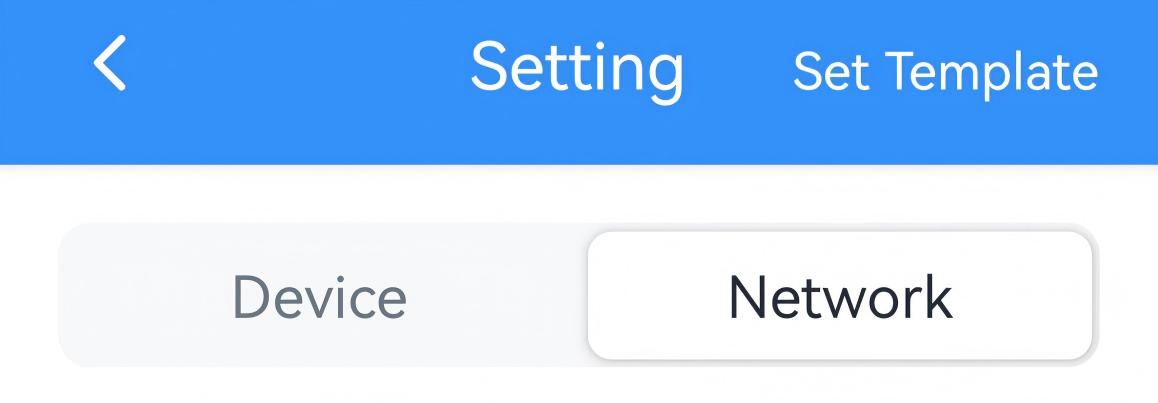
- On the homepage of ToolBox, click Setting to enter the Setting page.
- On the top bar, select Network tab.
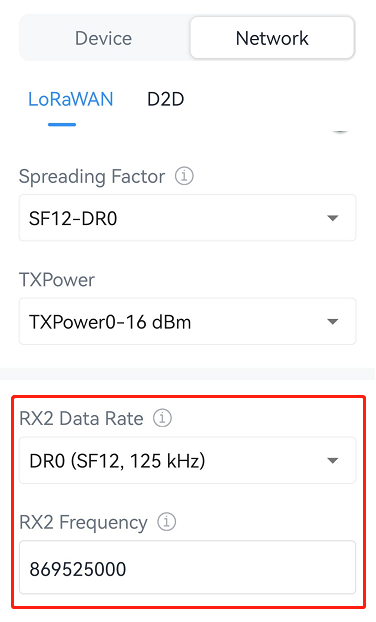
- On the LoRaWAN page, ensure the RX2 datarate
and RX2 frequency are the same as the data transmission devices.
- On the D2D page, set the D2D key to be
the same as the data transmission devices. (Default D2D Key:
5572404C696E6B4C6F52613230313823)
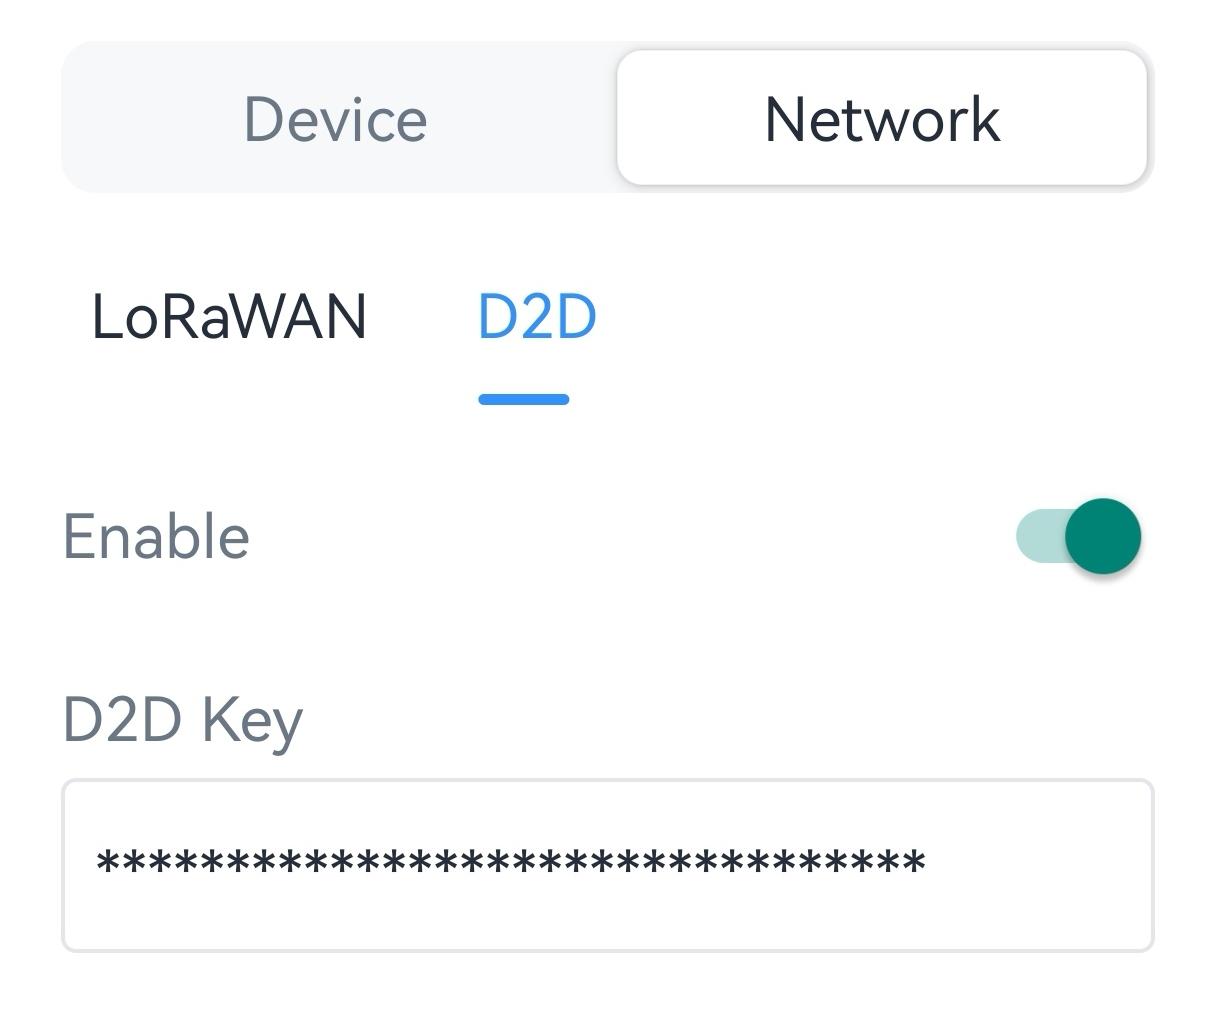
- Enable D2D Data Receiving Settings.
- Click
 , then attach the smartphone to NFC areas of
Milesight sensors to add them to the device settings. If you need to replace
the devices, click Replace, then attach the smartphone to another
sensor.Tip: One device supports adding up to 5 sensors at most. When multiple sensors are added, the device will use the average values of multiple sensors.
, then attach the smartphone to NFC areas of
Milesight sensors to add them to the device settings. If you need to replace
the devices, click Replace, then attach the smartphone to another
sensor.Tip: One device supports adding up to 5 sensors at most. When multiple sensors are added, the device will use the average values of multiple sensors.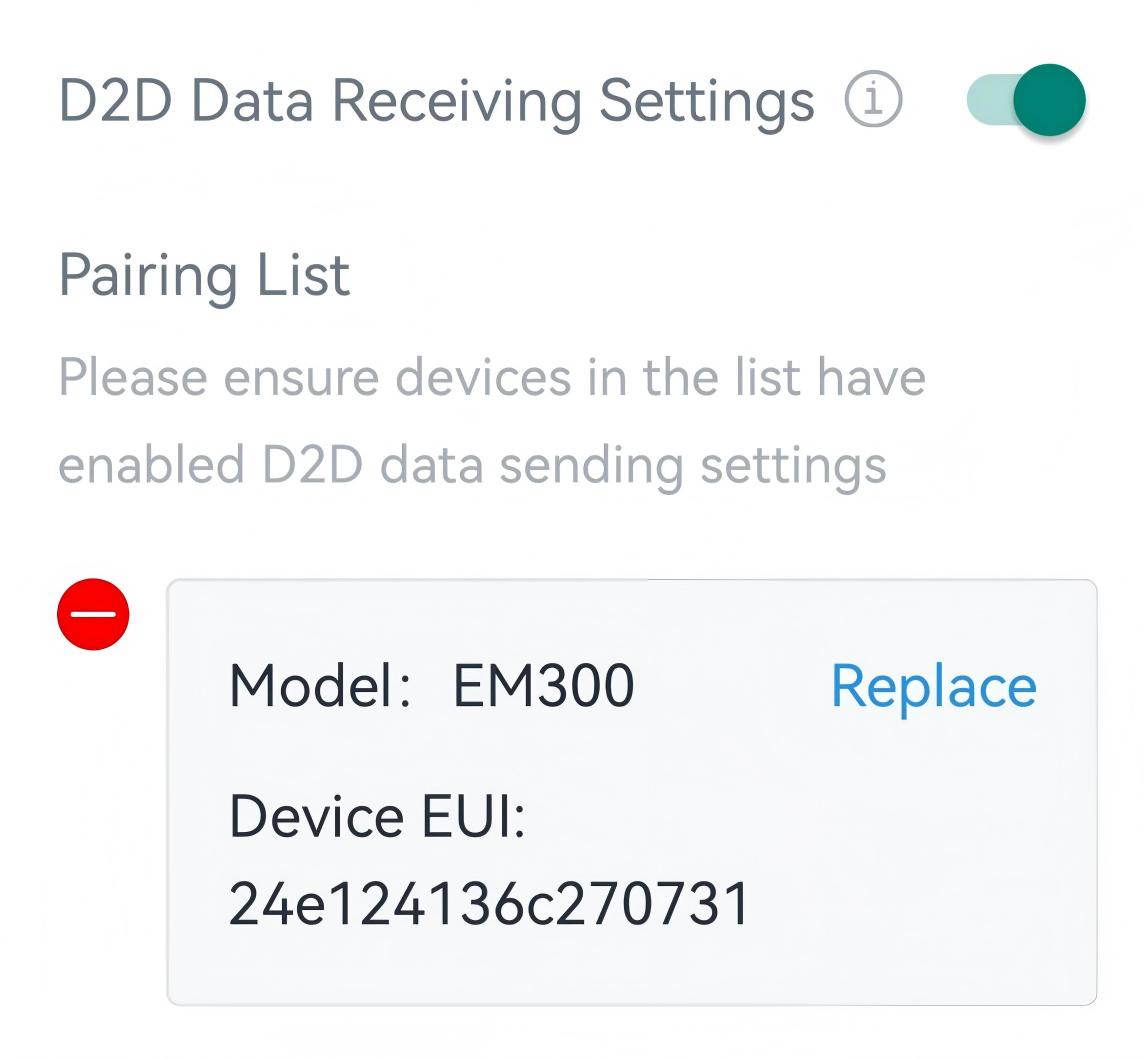
- Click Write in the lower right corner, and
put the NFC detection area of the phone close to the NFC antenna of device.
If the configuration succeeds, the following page is displayed.
- JSON Command: d2d_master_ids
- Raw Hex Command: D2D Data Receiving
Milesight D2D Controller
The device can work as a D2D controller device to send commands to trigger D2D agent devices when a specific schedule plan is switched.
Prerequisites: The control permission is Thermostat.
- On the homepage of ToolBox, click Setting to enter the Setting page.
- On the top bar, select Network tab.
- On the LoRaWAN page, configure the RX2
datarate and RX2 frequency.Tip: It is suggested to change the default values if there are many LoRaWAN® devices around.
- On the D2D page, define a unique D2D key.
(Default D2D Key: 5572404C696E6B4C6F52613230313823)
- Enable D2D Controller Settings.
- Enable the schedule type as required and configure the related
parameters.
Parameter Description Control Command Define a 2-byte hexadecimal command to send to D2D agent devices. LoRa Uplink When enabled, an uplink packet that contains corresponding alarm status will be sent to LoRaWAN® gateway after sending the D2D control command packet. Otherwise, the packet will not be sent to the gateway. Example: When the schedule is switched to Wake, the device will send command ff01 to D2D agent devices.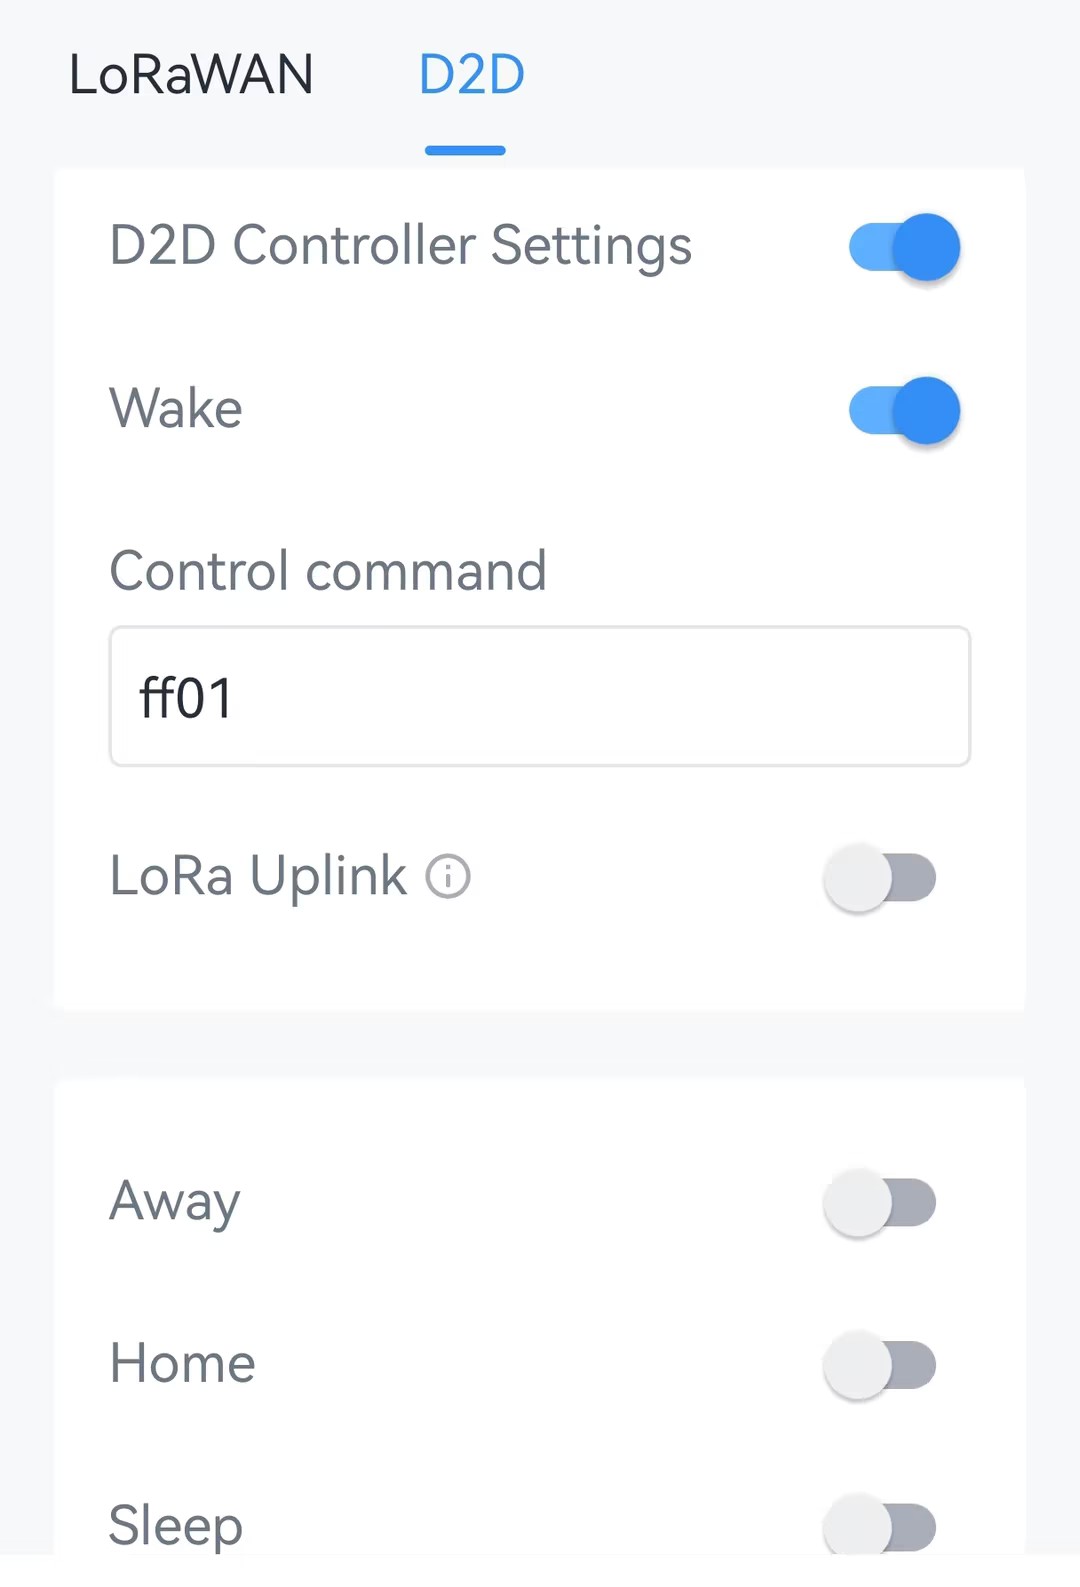
- Click Write in the lower right corner, and
put the NFC detection area of the phone close to the NFC antenna of device.
If the configuration succeeds, the following page is displayed.
- JSON Command: d2d_master_enable, d2d_master_config
- Raw Hex Command: D2D Feature, D2D Controller
Milesight D2D Agent
The device can work as a D2D agent device to receive commands from D2D controller devices to trigger the system on/off or switch the schedules.
- On the homepage of ToolBox, click Setting to enter the Setting page.
- On the top bar, select Network tab.
- In the LoRaWAN page, ensure the RX2 datarate and RX2 frequency are
the same as the D2D controller devices.
- On the D2D page, set the D2D key to be the same as
the D2D controller devices. (Default D2D Key:
5572404C696E6B4C6F52613230313823)
- Enable D2D Agent Settings.
- Click Add New to add a rule and configure the related parameters. The
device can add up to 16 rules.
Parameter Description Control Command Configure a 2-byte hexadecimal command to receive from D2D controller devices. Action Object Select the triggering action after receiving the control command. Insert an Event: Switch the schedule type. This can only be selected when control permission is Thermostat.
System Status: Switch system on/off status.Action Status Select the status to execute. Example: When receiving a command 0001, the device will switch the system on.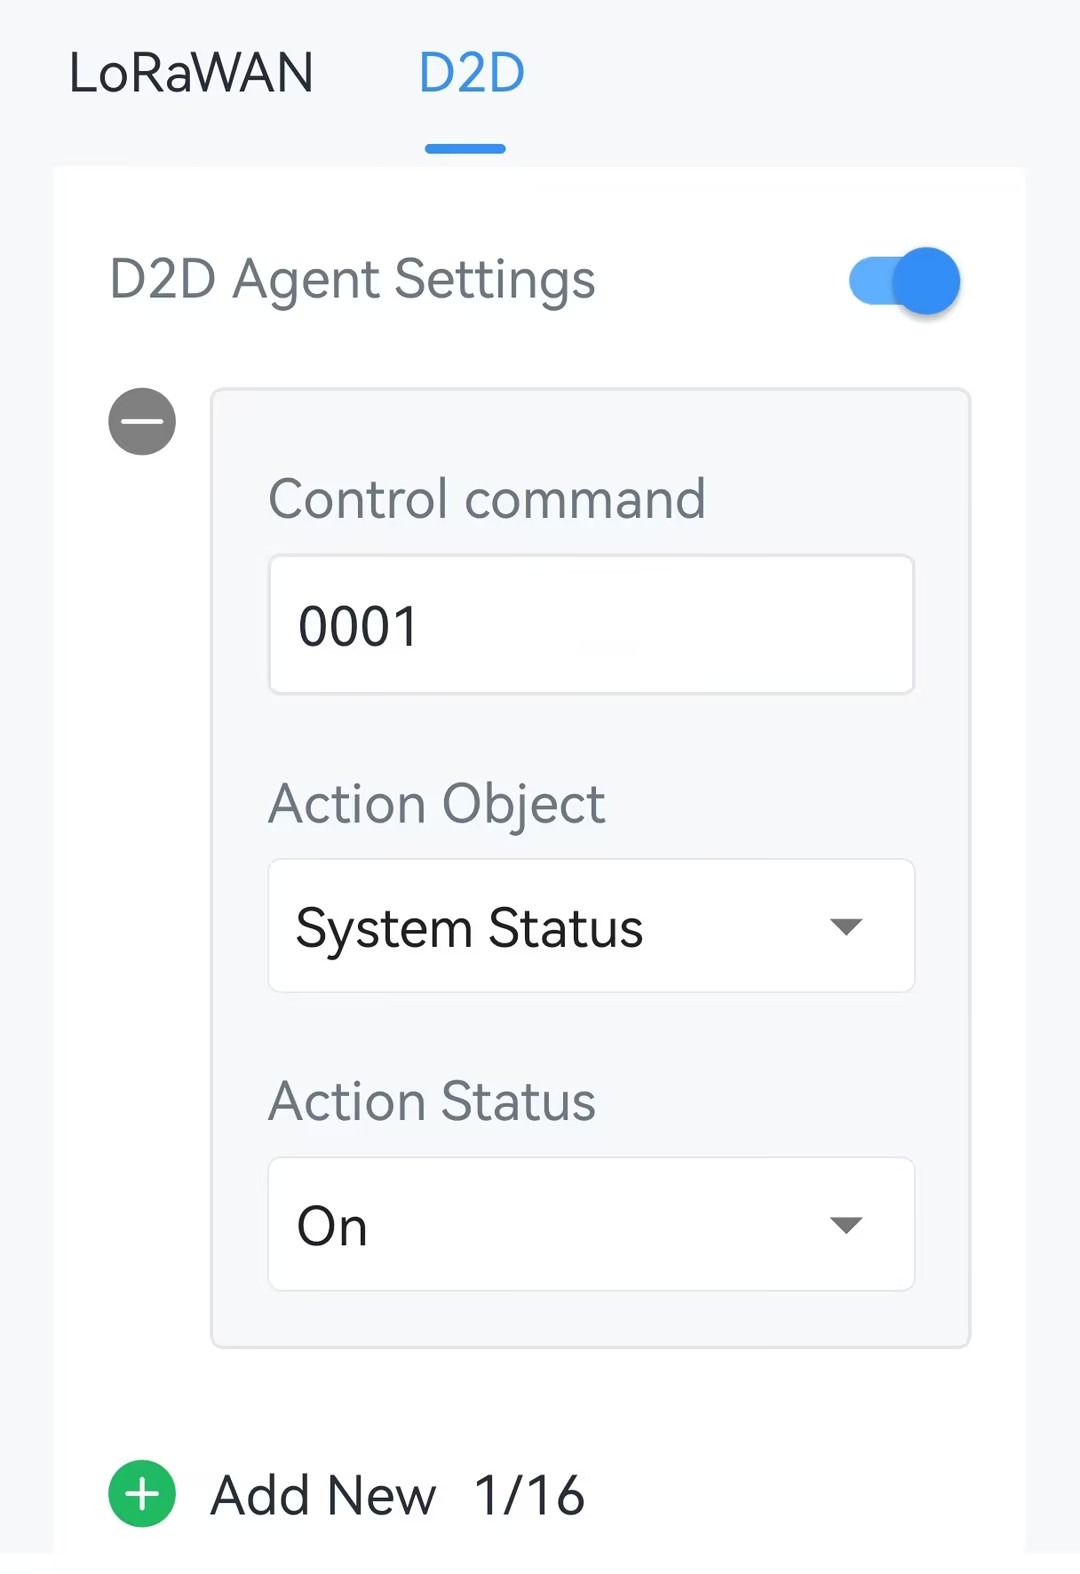
- Click Write in the lower right corner, and
put the NFC detection area of the phone close to the NFC antenna of device.
If the configuration succeeds, the following page is displayed.
- JSON Command: d2d_slave_enable, d2d_slave_config
- Raw Hex Command: D2D Feature, D2D Agent