Installation
Note:
- Wall materials must have sufficient strength and stability to ensure that screws are securely fastened and the overall structure is sturdy.
- Screws should be fastened in locations that avoid electrical wiring, water pipes, and other elements within the wall to prevent damage to the wall structure or safety hazards.
Installation preparations and requirements
- The recommended installation height is 2.3 - 3m.
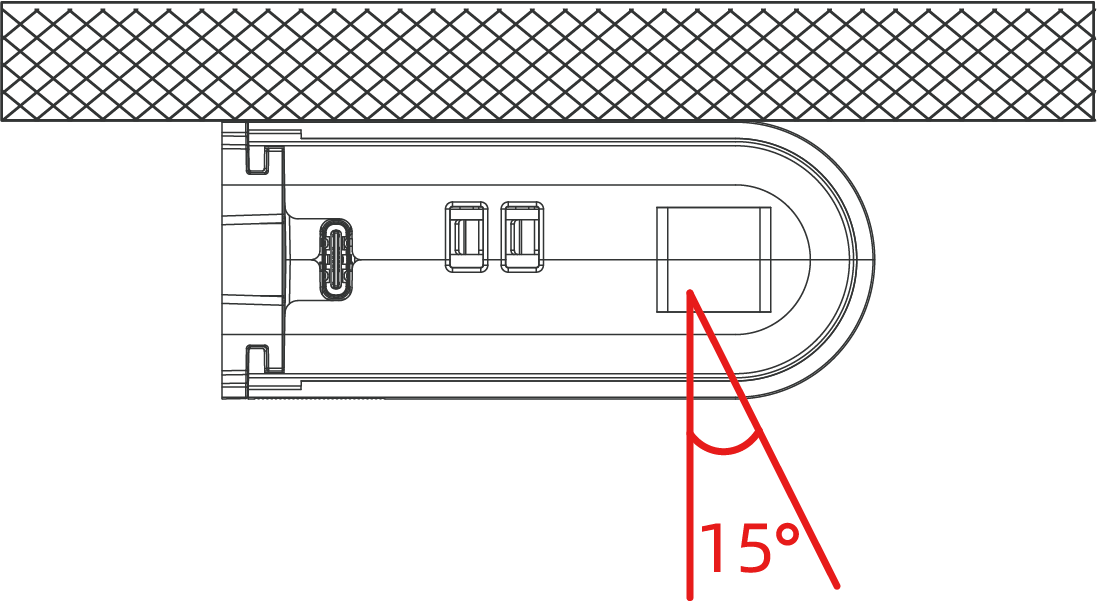
- Ensure the angle of sensor and ground is within 15°.
- The optimal operating temperature range is 15 - 30 °C, keep the device away from heat sources, cold sources, and the areas where airflow varies greatly, for example, windows, vents, fans, air conditioners, etc.
- Keep the device away from glass or mirror and out of children's reach.
- Ensure that there is no metal directly below the device, no other radar device within 30cm around, and no obstacle in the detection area.
- For battery version, please make sure there is no fixed and large moving objects (such as swing head fan) within the detection area of the device.
Type-C Version Installation
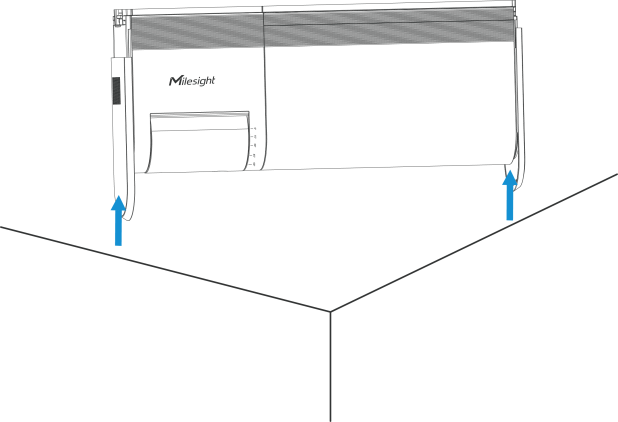
Step 1: Remove the two decorated plates from the side of the device.

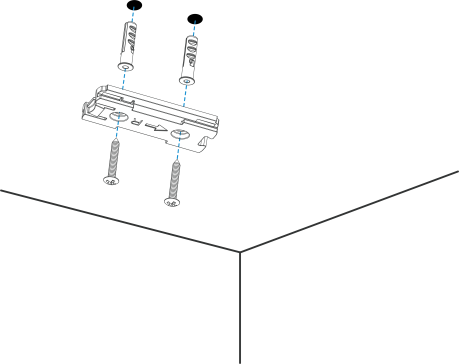
Step 2: Fix the wall plugs to the ceiling or lintel with wall plugs, then fix
the mounting plate with screws.
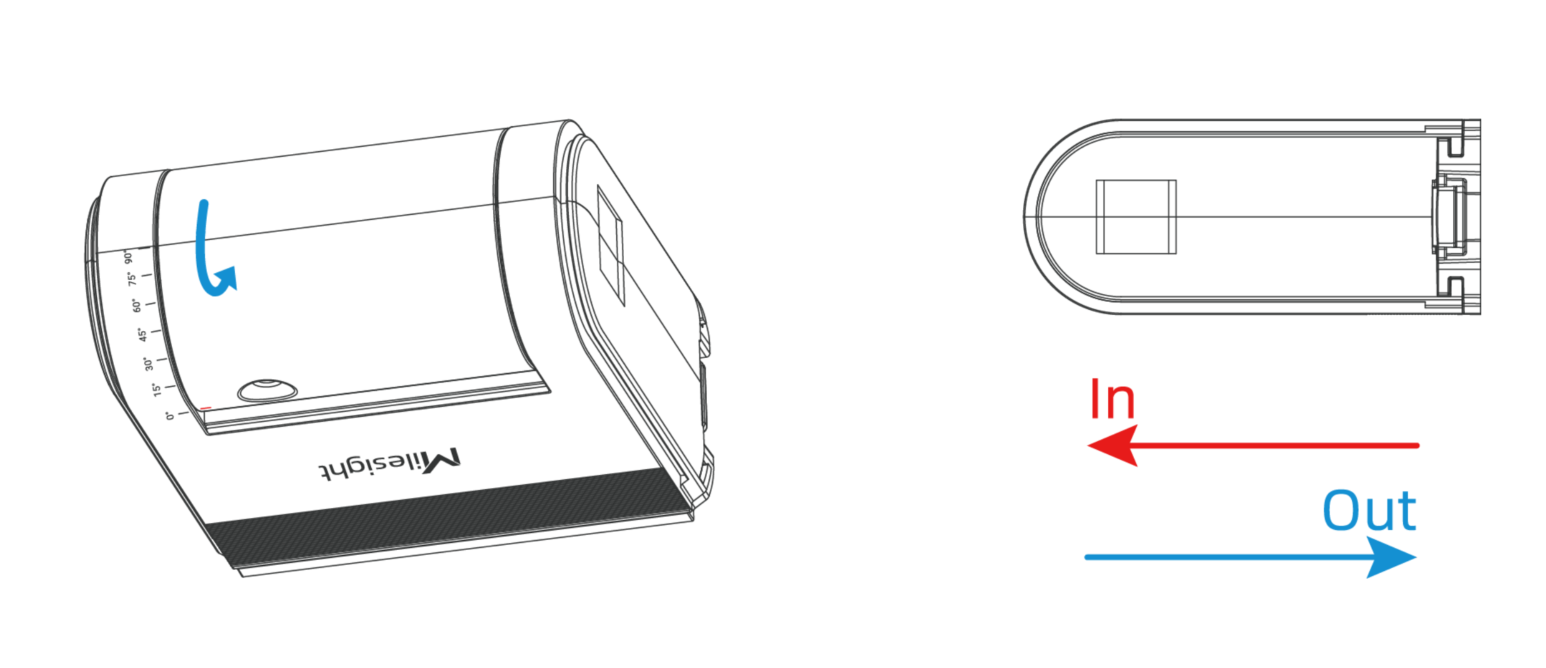
Step 3: Adjust the probe and installation direction.
- Ceiling Mounted: rotate the probe and make sensors straight face to the
ground.

- Lintel Mounted: rotate the probe and make sensors straight face to the
ground with the logo side.
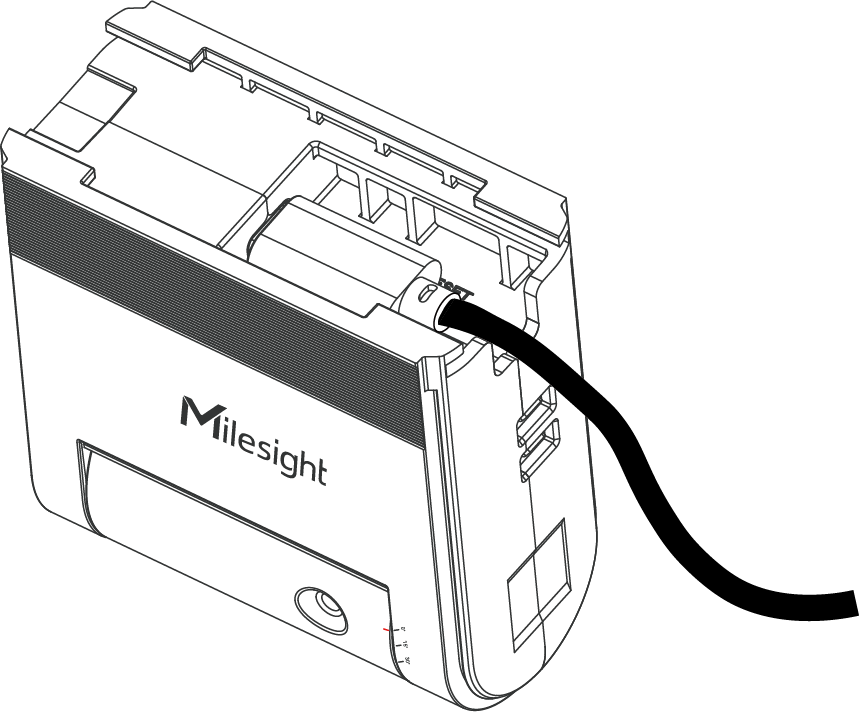
Step 4: Connect power cable to type-C port of device.
Step 5: Fix the device and the battery compartment to the mounting
plate.
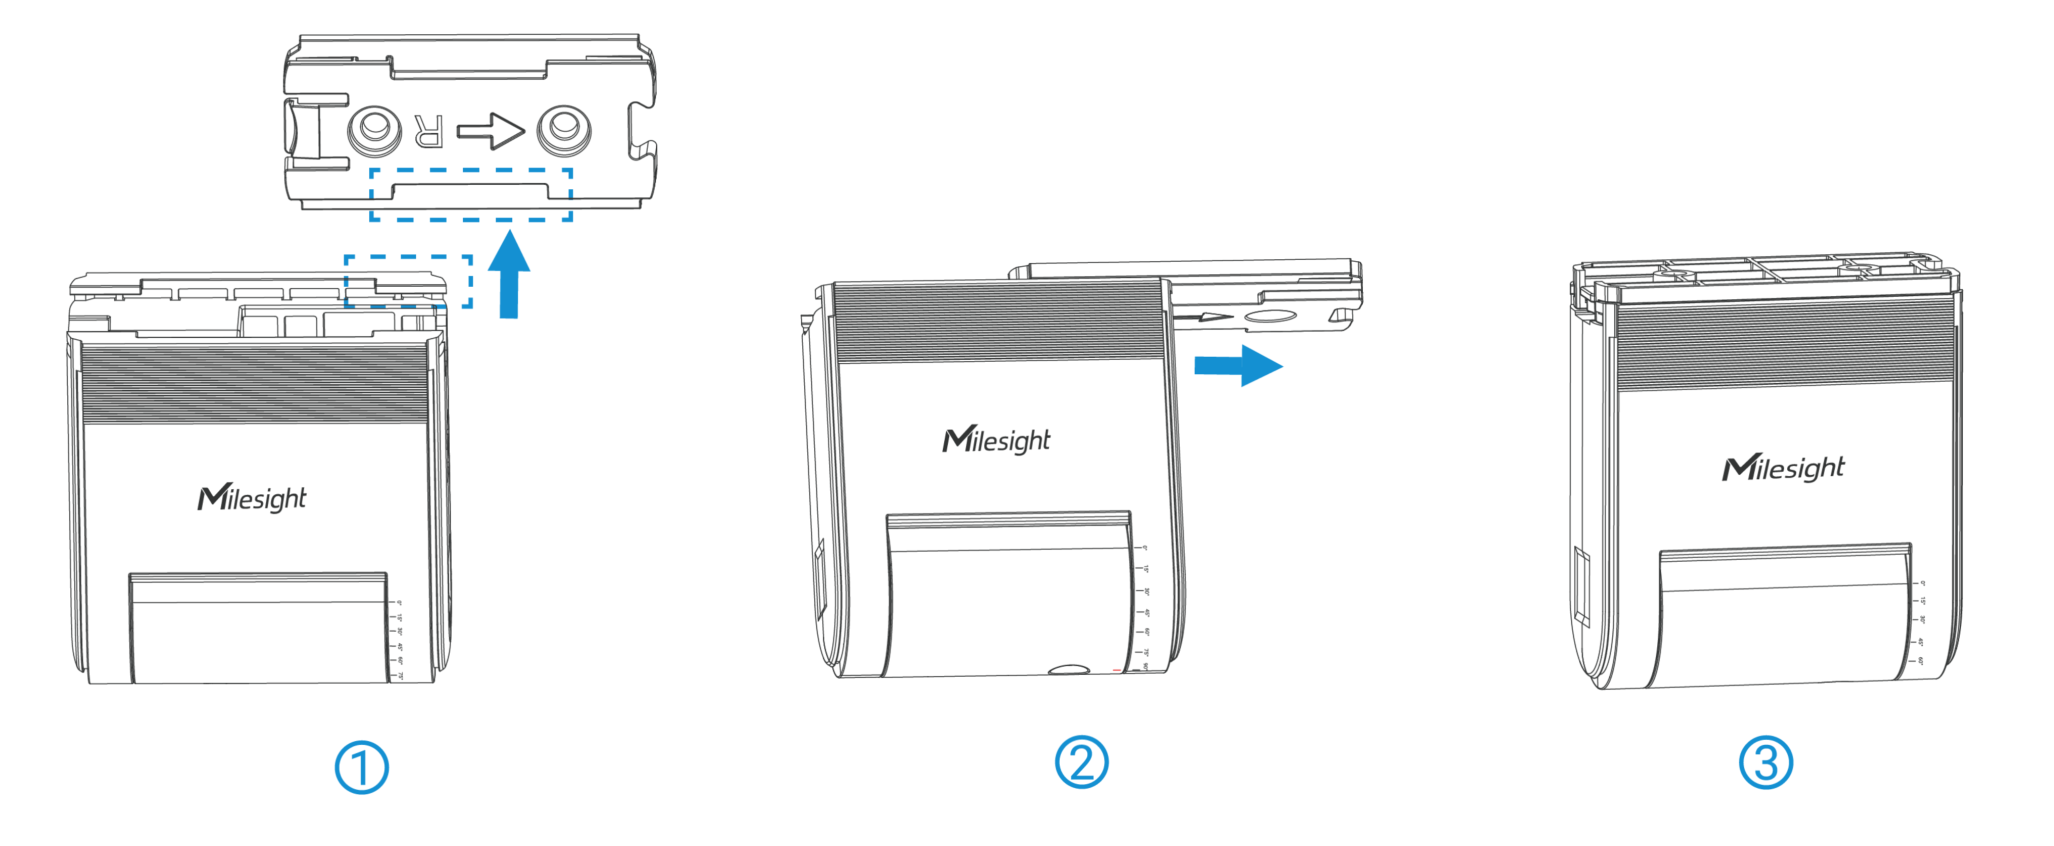
Step 6: Slide the two decorated plates to the side of the device.
Battery Version Installation
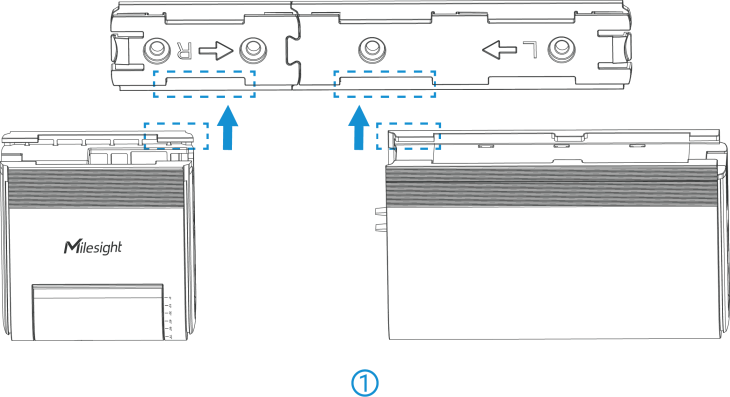
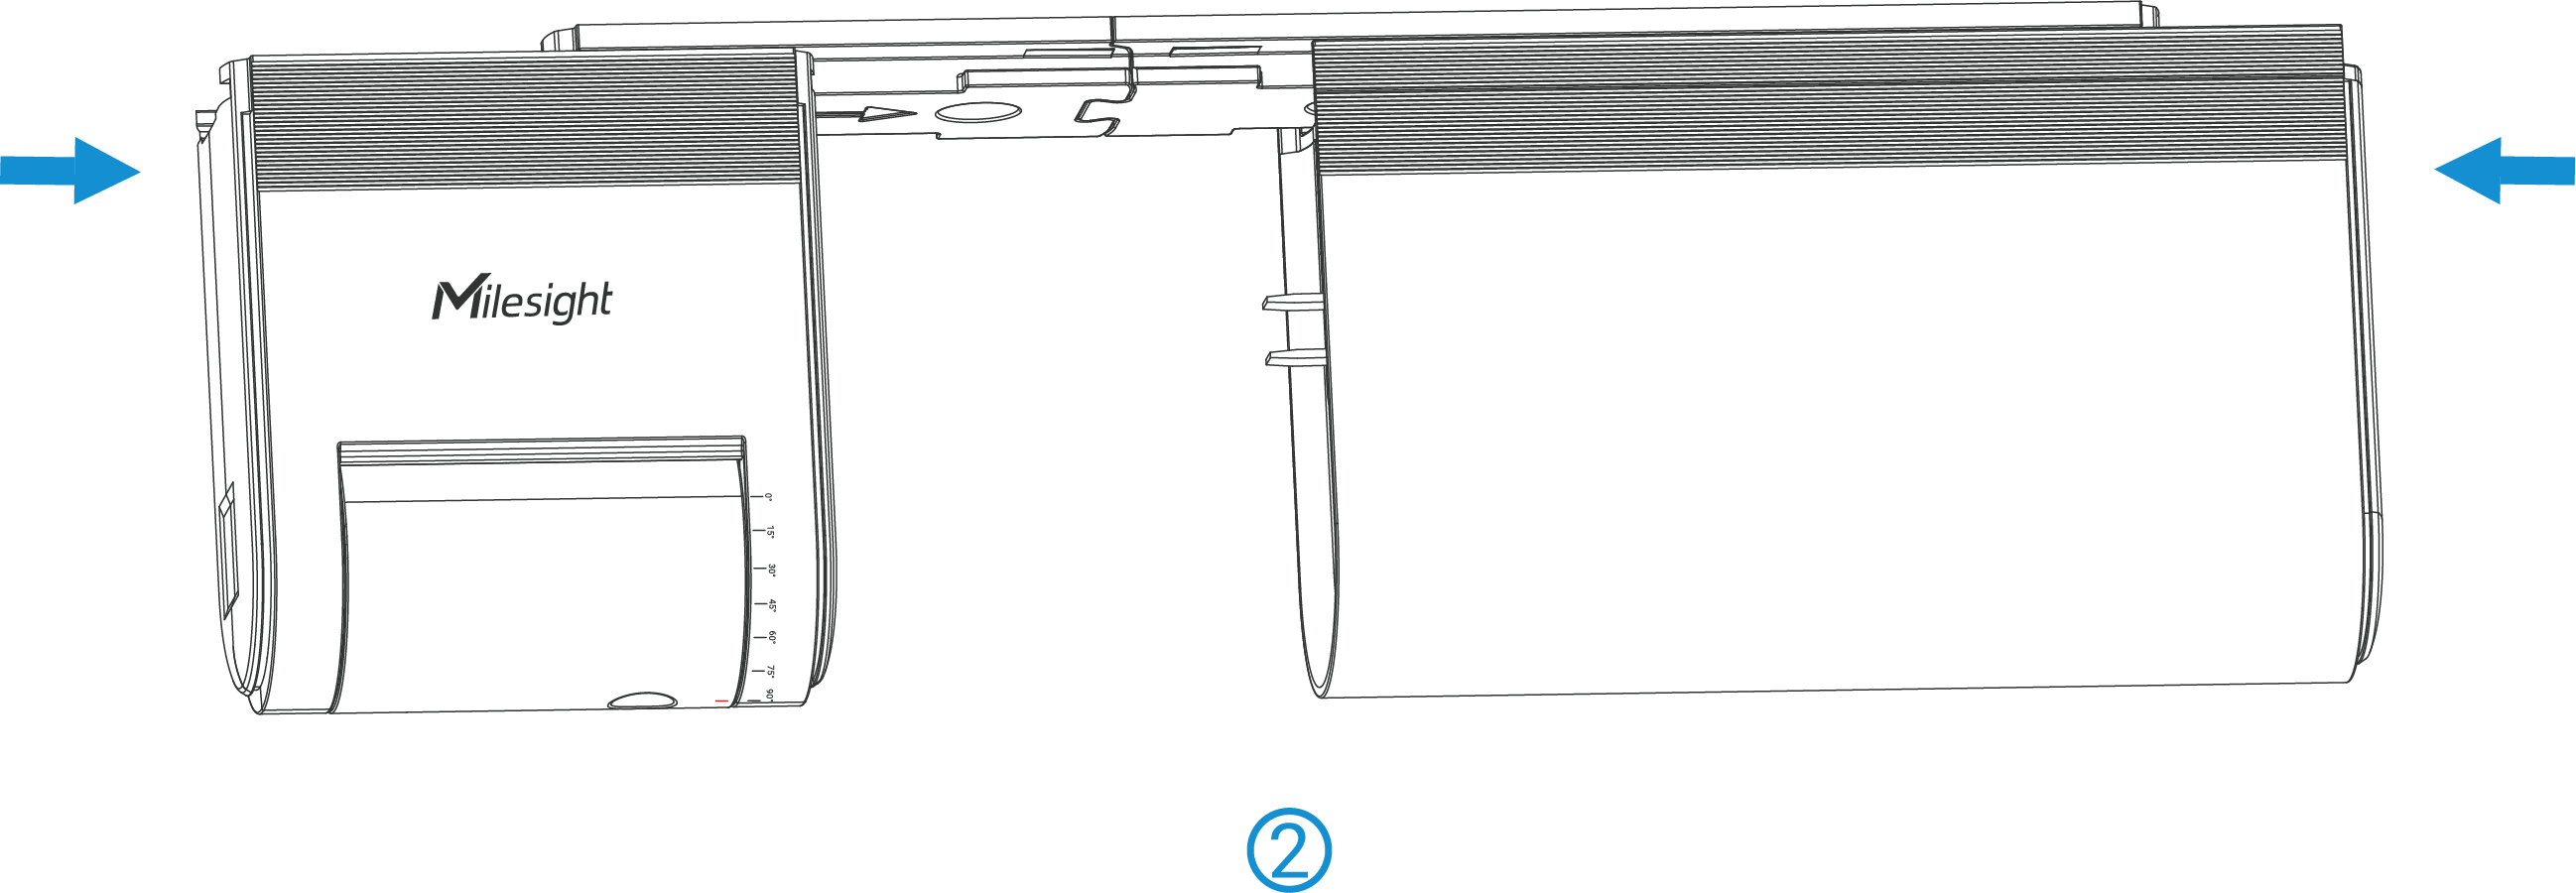
Step 1: Remove the two decorated plates from the side of the device.
Step 2: Fix the wall plugs to the ceiling or lintel with wall plugs, then fix
the mounting plate with screws.
And then splice two mounting plates together before fix them.
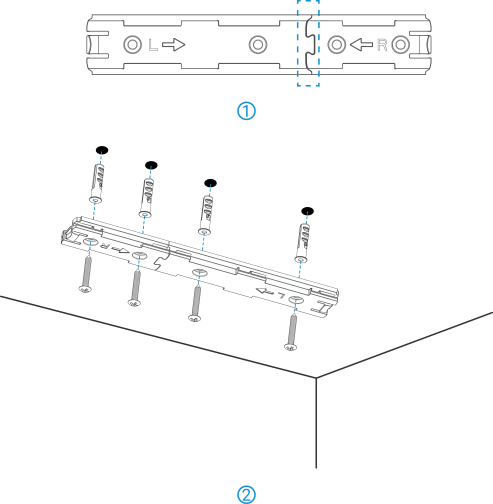
And then splice two mounting plates together before fix them.
Step 3: Adjust the probe and installation direction.
- Ceiling Mounted: rotate the probe and make sensors straight face to the
ground.
- Lintel Mounted: rotate the probe and make sensors straight face to the
ground with the logo side.
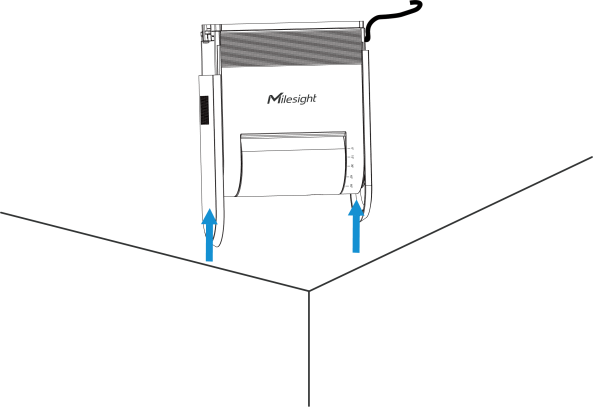
Step 4: Fix the device and the battery compartment to the mounting plate.
Align the slots of device to the grooves in the middle of the mounting plate, then
slide the device and battery compartment to the mounting plate towards the direction
indicated by the arrow on the plate.
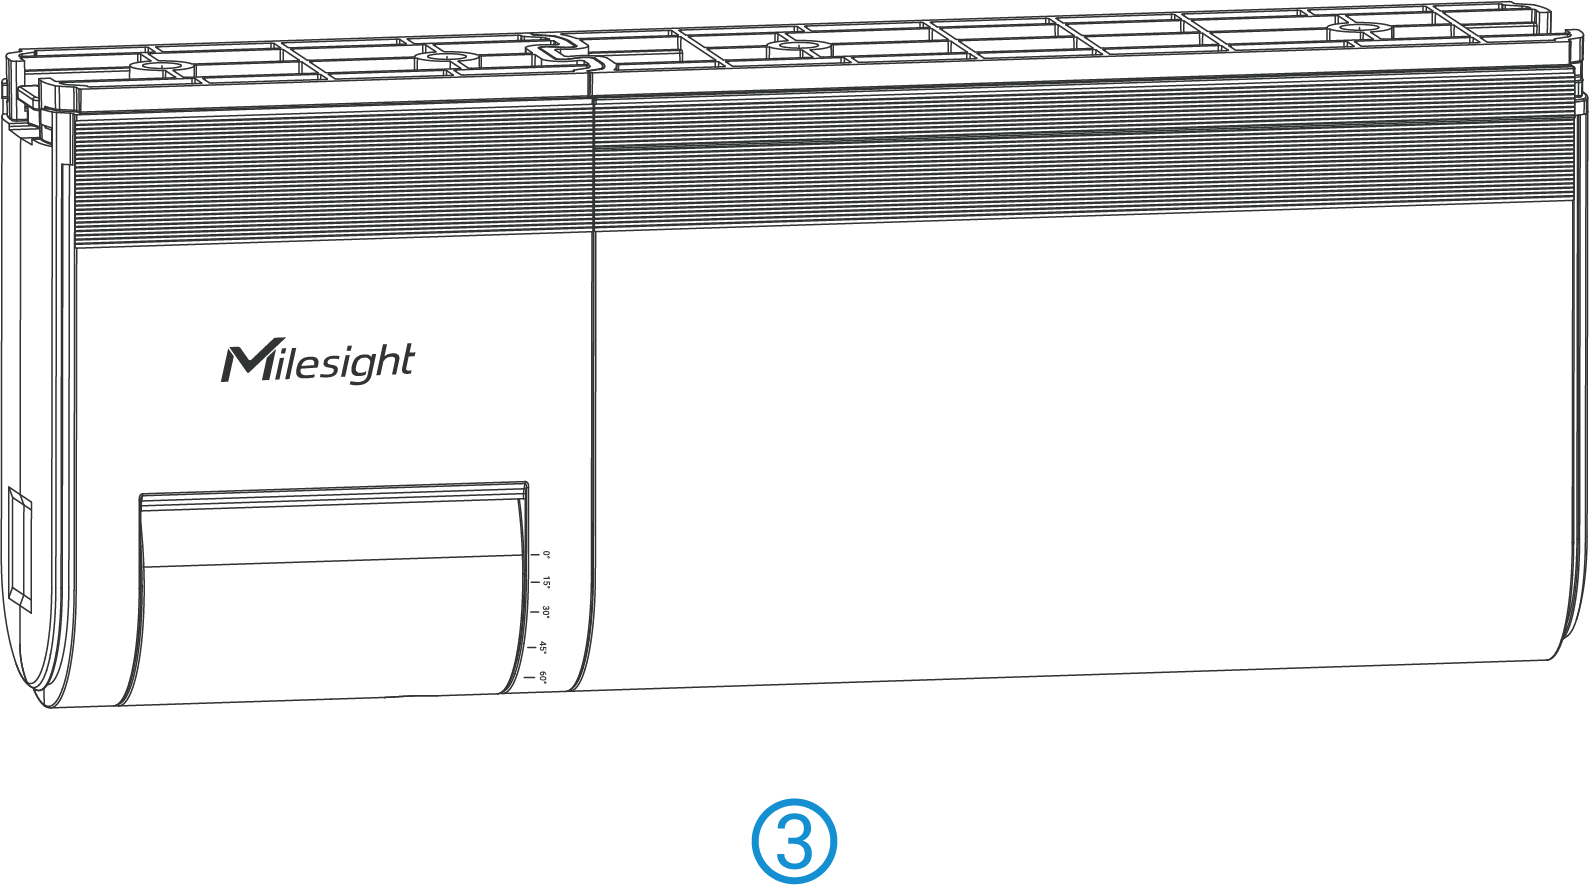
Step 5: Slide the two decorated plates to the side of the device.
Factors Affecting Accuracy
- The people counting value will decrease in the following cases:
- Close to the detection area edge or tilt through
- Walking in an extremely fast speed (more than 2 m/s)
- Two people walking side-by-side with a distance of less than 20cm
- A Person that is shorter than 1.5m
- The distance between the two people is less than 30~40cm
- When the installation height is 2.3m, if a target that is greater than 2m appears, it will be counted as 2 people.