5.2.3 Settings Menu on the Timeline
You can directly drag the mouse to select a period of time on the timeline or refer to the steps as below to select.
Step1: Right-click the the timeline and a menu window will pop up as below:
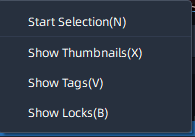
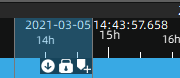
Step2: Select the Start Selection and a vertical line will show on the position of right-clicking timeline as below:

Step3: Move the mouse to another position of the timeline and right-click again, a menu show as below:
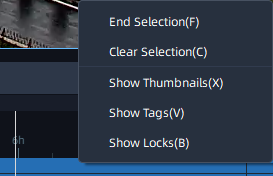
Step4: Click the End Selection and the selected time show as below:
You can export video, lock file, and add tag directly on the timeline.
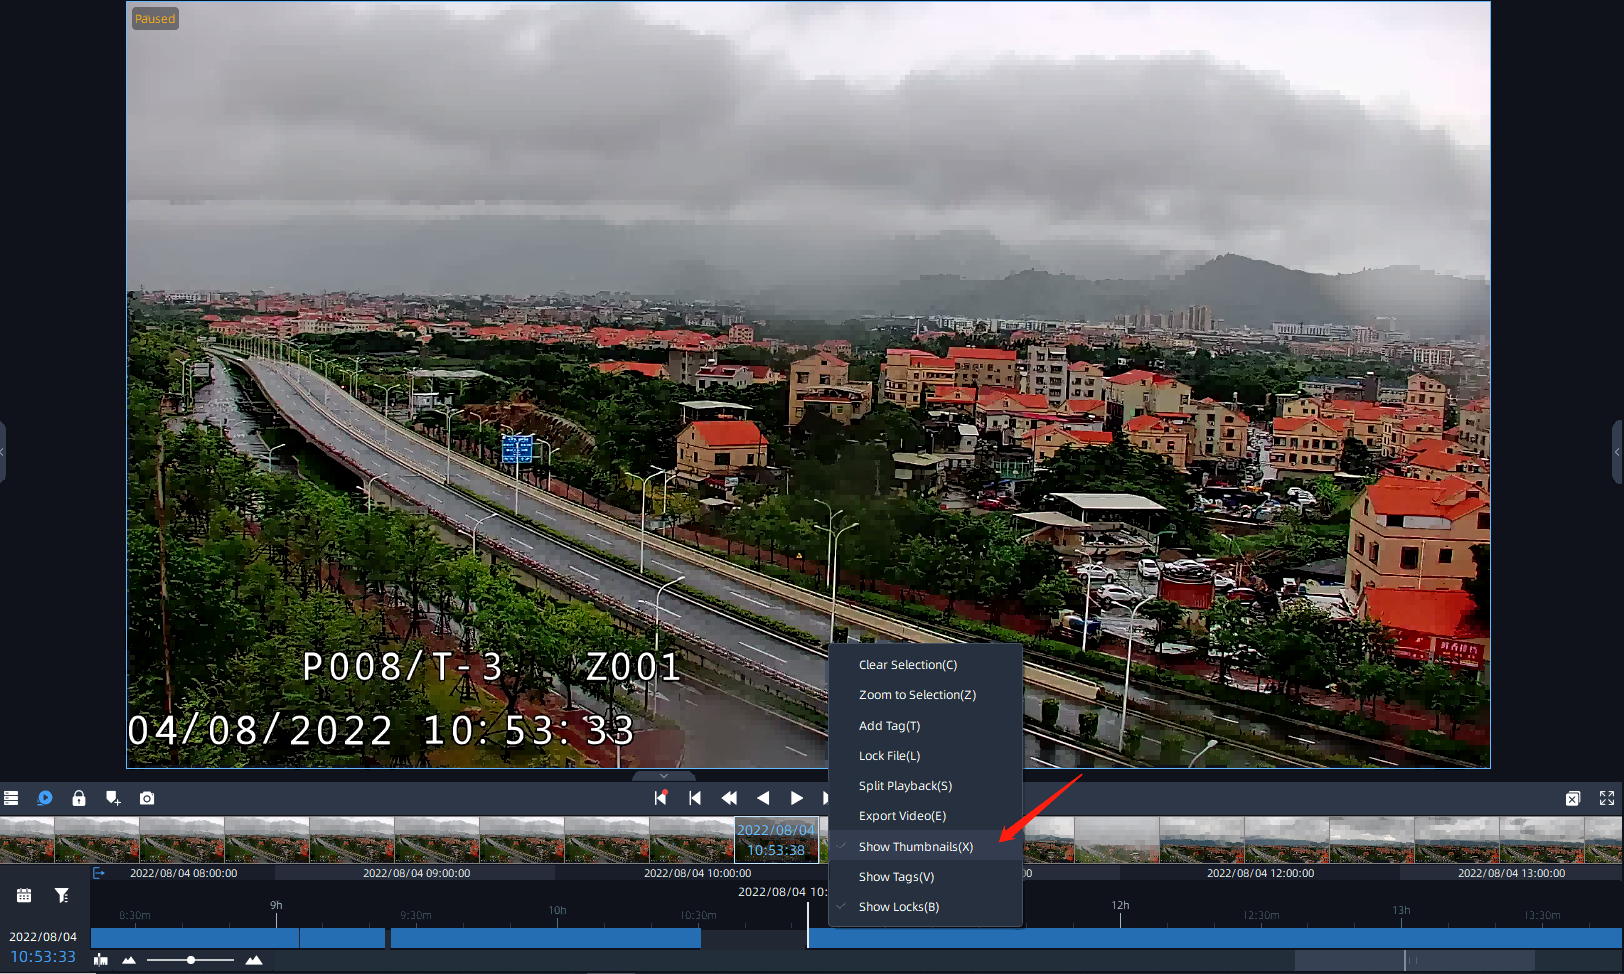
Step5: Right click the timeline, a menu show as below:
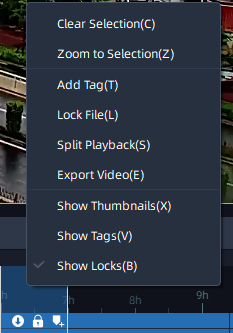
The meanings of the menu on timeline can be referred to the table below:
|
Item |
Function Introduction |
|---|---|
|
Start Selection |
Select start time of period on the timeline. |
|
End Selection |
Select end time of period on the timeline. |
|
Clear Selection |
Clear selection of start time or selection of a period of time on the timeline. |
|
Zoom to Selection |
Zoom the selection of time period in to extend to whole timeline. |
|
Add Tag |
Add tag for the selected time period. |
|
Lock file |
Lock the selected time period. |
|
Split Playback |
Divide the video files into several channels in the specified time period according to needs. When watching playback, users can watch videos of different time simultaneously. More details can refer to “5.3 Split Playback”. |
|
Export Video |
Export the video for the selected time period. Settings about Export Video can see Export. |
|
Edit Tag |
Edit tag which you set. |
|
ExportTag |
Export tag which you set. |
|
Play Tag Video |
Play videos with tag you set. |
|
Delete Tag |
Delete tag which you set. |
|
Show Thumbnails |
Show thumbnail of the corresponding time. Users can also resize the thumbnail timeline as needed.
|
|
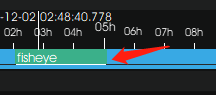
Show Tags |
After setting the tags, you can choose the option to show the tag on the timeline as below:
|
|
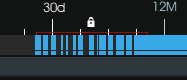
Show Locks |
After setting the lock files, you can choose the option to show the lock file on the timeline as below:
|