System
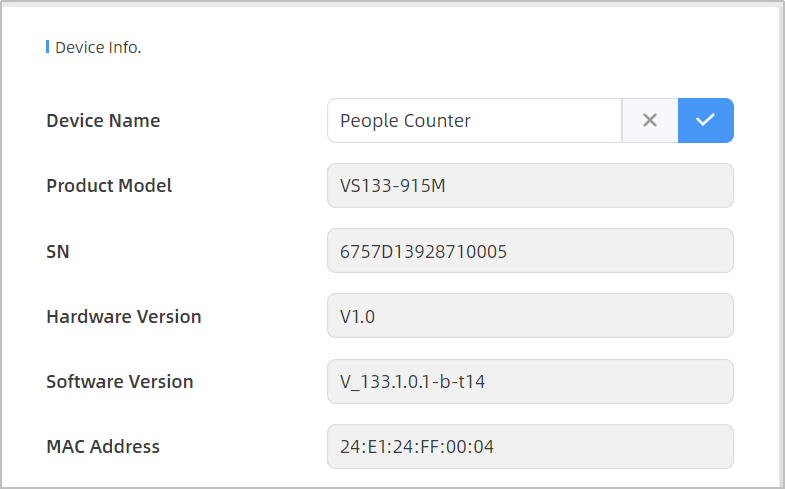
Device Info
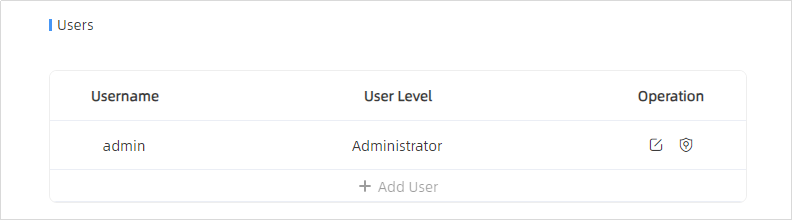
User
| Parameters | Description |
|---|---|
 |
You can change the login password of
this device.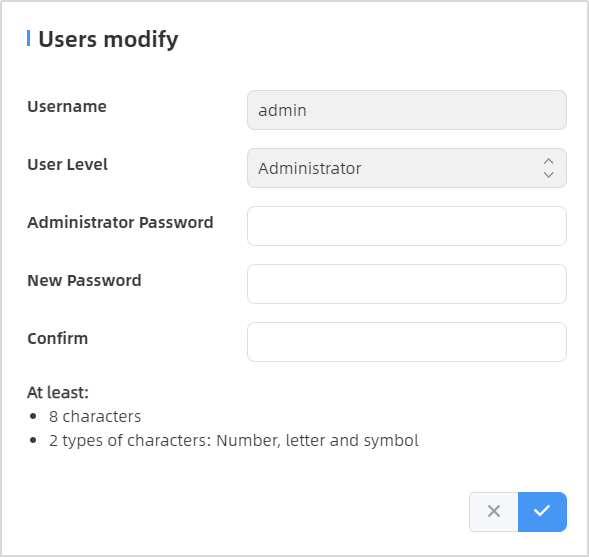 |
 |
Click to set three security
questions for your device. In case that you forget the password, you
can click Forget Password button on login page to reset the
password by answering three security questions correctly.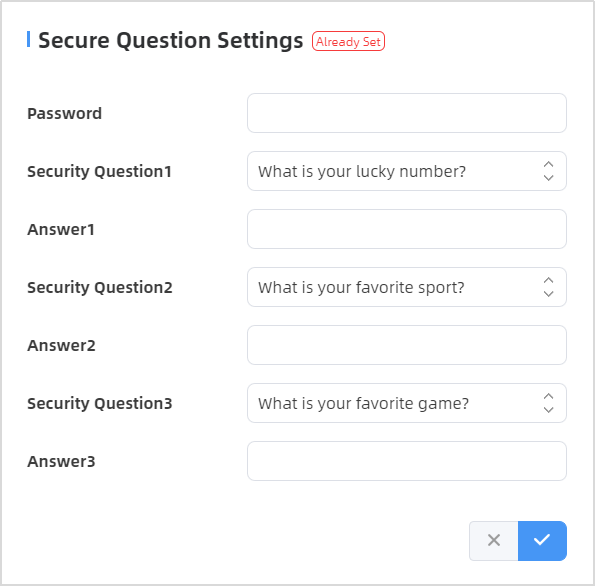 |
 |
Click to add a viewer, who will only
have access to the "Dashboard" and "Report" interfaces.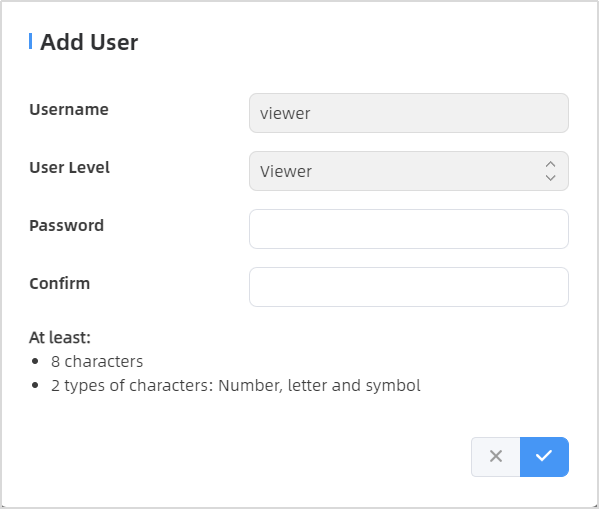 |
Time Configuration
| Parameters | Description |
|---|---|
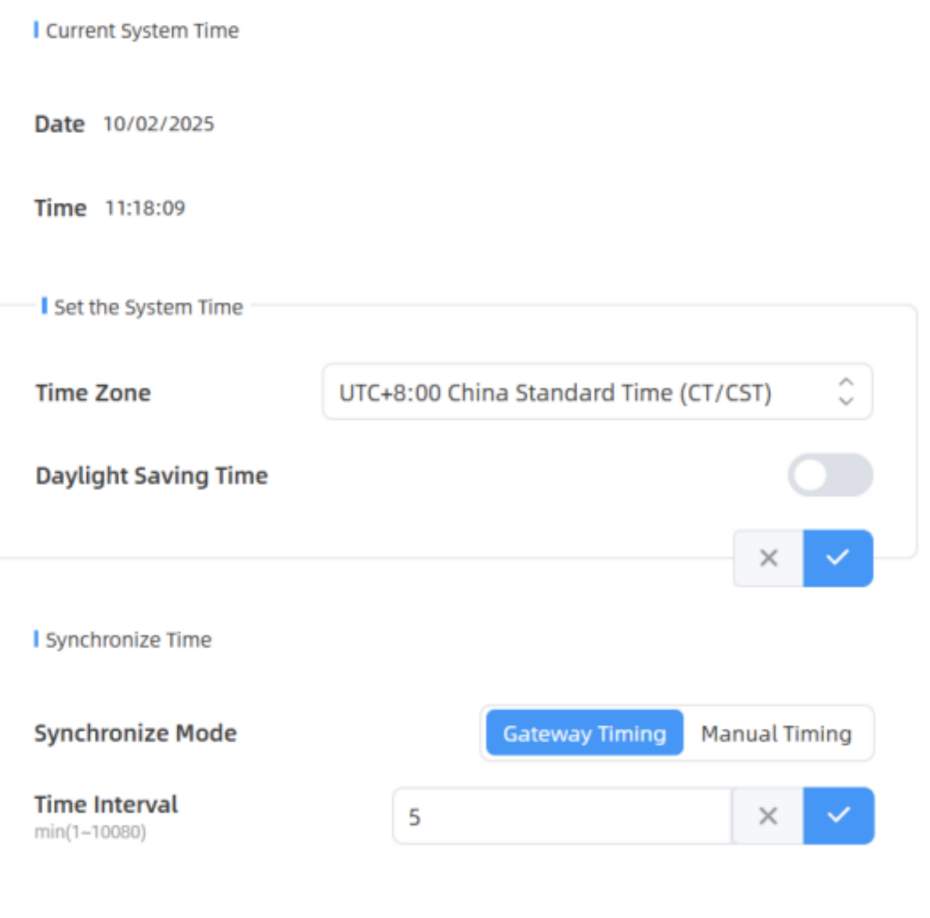
| Time Zone | Choose the time zone for your location. |
| Daylight Saving Time | Enable or disable Daylight Saving
Time (DST). Start Time: the start time of DST time range. End Time:the end time of DST time range. DST Bias: the DST time will be faster according to this bias setting. |
| Synchronize Mode | Synchronize the time. Gateway Timing or Manual Timing is optional. |
| Gateway Timing: Synchronize the
system time with embedded network server of Milesight gateway when
LoRaWAN® version is 1.0.3. Time Interval: Set the interval to sync time with gateway. |
|
| Manual Timing: Manual time
synchronization. Setting Time: Set the device time manually. Synchronize with your computer time: Click to manually synchronize of computer time. |
System Maintenance
| Parameters | Description |
|---|---|
| Frequency Adjustment | Adjust the ToF frequency modulation
mode to avoid the interference of surrounding IR devices. Please
avoid using the same mode if there are multiple VS133 devices
around. Note: if there is only one option,
please contact Milesight IoT support:
iot.support@milesight.com |
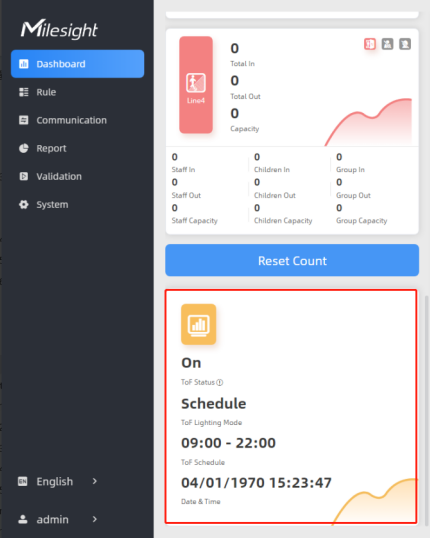
| ToF Lighting Mode | Adjust the ToF light mode as Always
On or Schedule. When using Schedule mode, the device will only turn
on the ToF light during scheduled time range to save power. Note:
|
| ToF Noise Filtering | Filter the noisy point on the screen when working with dark floor or carpet. |
| Noise Filtering Level | When installing in a spacious environment with black carpet, it is recommended to set the strength to 2; when installing in a narrow environment with black carpet, it is recommended to set the strength to 10. |
| Reset | Recovery device basic configuration: keep the IP settings and user information when resetting. |
| Recovery device to factory settings: reset device to factory default, which needs to verify admin password. | |
| Reboot | Restart the device immediately. |
| Upgrade | Click the folder icon and select the
upgrading file, then click the Upgrade button to upgrade. The
update will be done when the system reboots successfully. Note: The upgrade process takes about 1-10
minutes. Do not turn off the power and complete automatic
restart after the upgrade. |
| Backup and Restore | Export Config File: Export configuration file. |
| Import Config File: Click the file icon and select the configuration file, click Import button to import configuration file. | |
| Diagnostics | System Log: Download log files that can be used for troubleshooting. |
| Log Mode - File: Select the
desired level of the download log files for troubleshooting.
Recommendation level to Fatal, Error and Warn. Fatal: recording device crashes or unrecoverable critical events Error: recording errors that is abnormal for a critical function Warn: recording events that may cause problems Debug: recording detailed internal operational and status information Trace: recording all events |