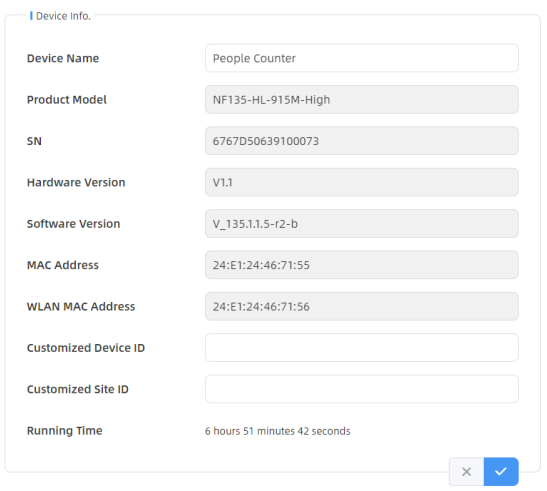
System
All information about the hardware and software can be checked on this page. Besides, users can modify the device name, customize device ID and site ID for large amounts of devices management.
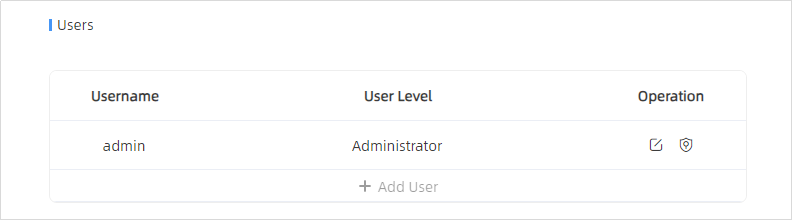
User
| Parameters | Description |
|---|---|
 |
You can change the login password of
this device.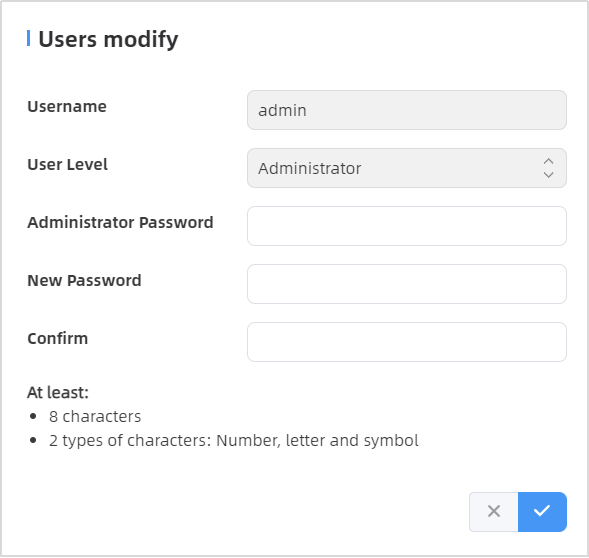 |
 |
Click to set three security
questions for your device. In case that you forget the password, you
can click Forget Password button on login page to reset the
password by answering three security questions correctly.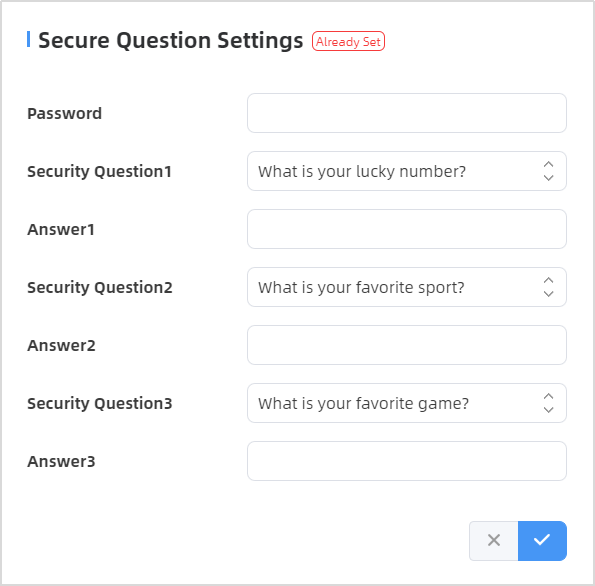 |
 |
Click to add a viewer, who will only
have access to the "Dashboard" and "Report" interfaces.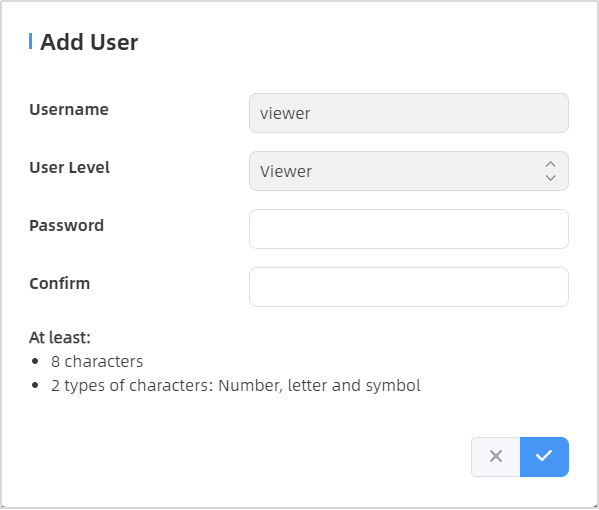 |
Time Configuration
| Parameters | Description |
|---|---|
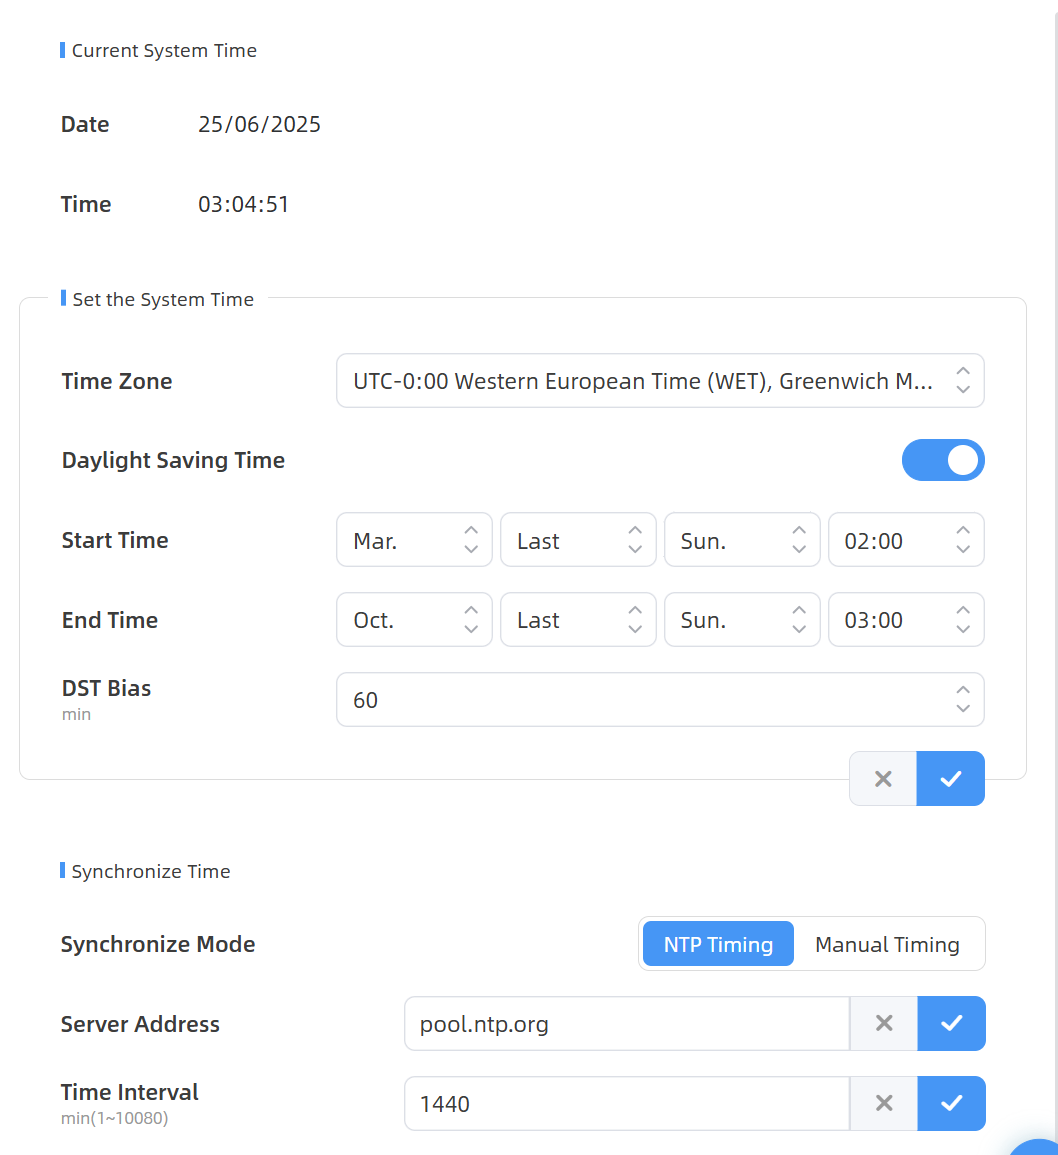
| Time Zone | Choose the time zone for your location. |
| Daylight Saving Time | Enable or disable Daylight Saving
Time (DST). Start Time: the start time of DST time range. End Time:the end time of DST time range. DST Bias: the DST time will be faster according to this bias setting. |
| Synchronize Mode | NTP Timing or Manual Timing is optional. |
| Server Address | NTP server address to sync the time. |
| Time Interval | Set the interval to sync time with NTP server. |
| Setting Time | Set the device time manually. |
| Synchronize with computer time | Synchronize the time with your computer. |
Remote Management
Milesight provides remote management service for this device via Milesight DeviceHub platform or Milesight Development Platform. Before connecting, do ensure the device is connected to the network and Internet connection is stable.
| Parameters | Description |
|---|---|
| Remote Management | |
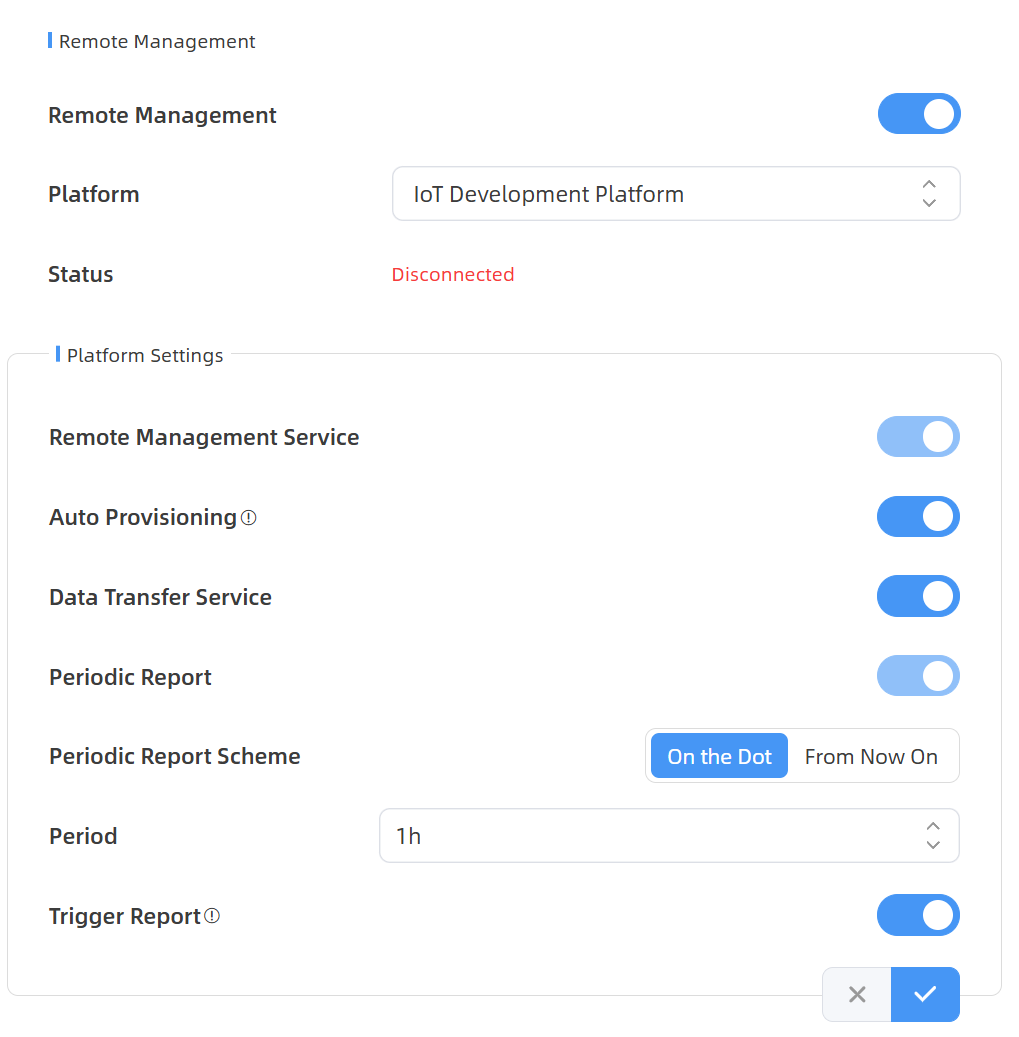
| Remote Management | Enable or disable to manage the device through Milesight platforms. |
| Platform | DeviceHub or IoT Development Platform is optional. |
| Status | Show the connection status between the device and the DeviceHub. |
| DeviceHub | |
| Server Address | IP address or domain of the DeviceHub management server. |
| Activation Method | Select activation method to connect the device to the DeviceHub server, the options are Authentication Code and Account. |
| IoT Development Platform | |
| Remote Management Service | Enable to change the device settings via Milesight Development platform. |
| Auto Provisioning | Enable to receive and deploy the configurations from Milesight Development Platform after the device is connected to Internet. |
| Data Transfer Service | Report people counting data to Milesight Development platform. |
| Parameters | Description |
|---|---|
| Security Service | |
| SSH | Enable or disable SSH access. The SSH port is fixed as 22. |
System Maintenance
| Parameters | Description |
|---|---|
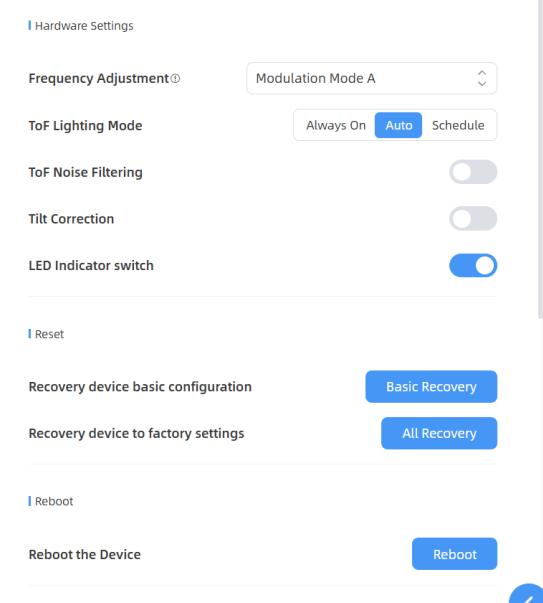
| Frequency Adjustment | Adjust the ToF frequency modulation
mode to avoid the interference of surrounding IR devices. When using
Multi-Device Stitching, please avoid using the same mode with other
node devices. Note: if there is only one
option, please contact Milesight IoT support:
iot.support@milesight.com |
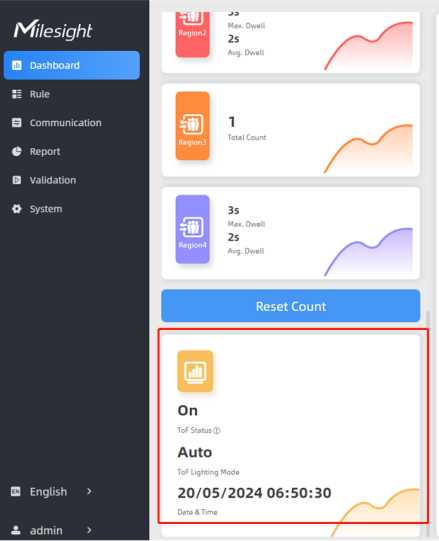
| ToF Lighting Mode | Adjust the ToF light mode as Always
On, Auto or Schedule. When using Auto mode, the device will turn off
the ToF light when radar detects no person for some times to save
the power. Note:
 |
| ToF Noise Filtering | Filter the noisy point on the screen when working with dark floor or carpet. |
| Noise Filtering Level | Set the appropriate noise filtering level according to the actual image. The more difficult it is to see the target, the higher the filter value should be set. |
| LED Indicator switch | Enable or disable LED indicator when device is in normal operation. |
| Reset | Recovery device basic configuration: keep the IP settings and user information when resetting. |
| Recovery device to factory settings: reset device to factory default, which needs to verify admin password. | |
| Upgrade | Click the folder icon and select the
upgrading file, then click the Upgrade button to upgrade. The
update will be done when the system reboots successfully. Note: The upgrade process takes about 1-10
minutes. Do not turn off the power and complete automatic
restart after the upgrade. |
| Backup and Restore | Export Config File: Export configuration file. |
| Import Config File: Click the file icon and select the configuration file, click Import button to import configuration file. | |
| Diagnostics | System Log: Download log files that can be used for troubleshooting. |
| Log Mode - File: Select the
desired level of the download log files for troubleshooting.
Recommendation level to Fatal, Error and Warn. Fatal: recording device crashes or unrecoverable critical events Error: recording errors that is abnormal for a critical function Warn: recording events that may cause problems Debug: recording detailed internal operational and status information Trace: recording all events |
|
IP Ping: Type the IP address
or URL to test network connection.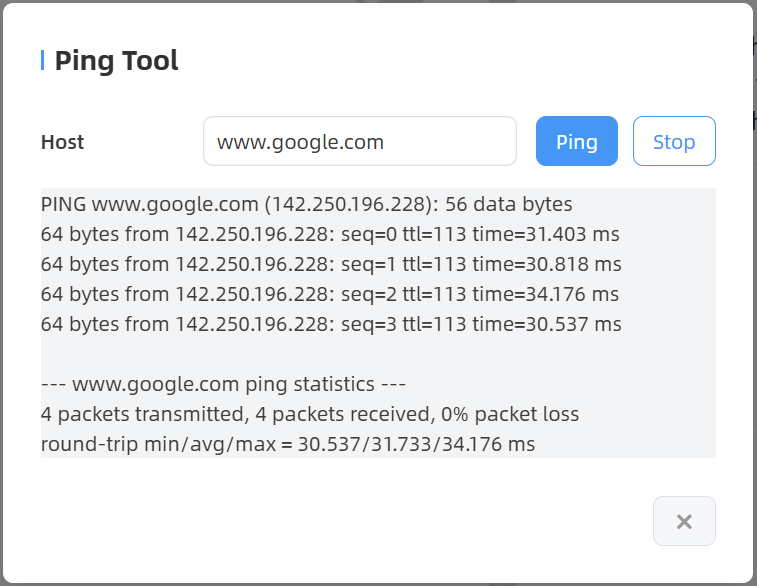 |