4.1.1 Group List
The Group List will show the cameras according to the groups settings in the 3.2.3 Device Groups. The Group List interface is as below:
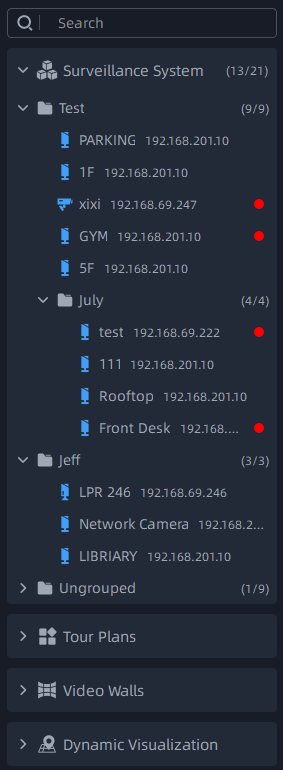
Right-click on the device list, the meanings of the items in the Pop-up Menu can be referred to the table .
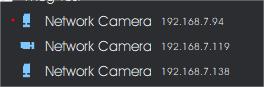
- There is a red point in the front of camera as shown below. It means the camera is recording. However if you see a gray point, it means recording failed, and you can check the details for failure by hovering your mouse on the point.
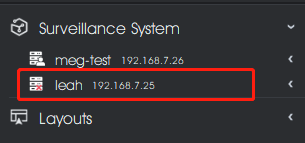
- The status of server as shown below. It means the server is offline.
Layouts can be customized. The customized layouts will both show in the Server List and Group List. Setting customized layout can refer to the Save As Layout item of table in the 4.2.2 Right-click Menu of Live View Window.
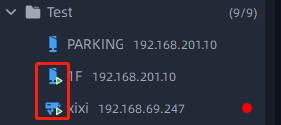
How to connect the camera:
Select a camera in the left resource panel, anddouble-click on a camera or drag and drop a camera to the center viewing panel to play. You can also right-click camera and select the Play option, then the camera is connected automatically and live video will show in the center viewing panel.
In addition, you can also drag and drop the server to the live view window to batch play all cameras which belong to the server.
How to disconnect the camera:
Directly click the ![]() button in the camera live view window of center viewing
panel to close. Or right click the connecting camera, select the Stop Playing option,
the camera will be disconnected.
button in the camera live view window of center viewing
panel to close. Or right click the connecting camera, select the Stop Playing option,
the camera will be disconnected.