Maintenance
This chapter describes the logs, maintenance tools and features.
Log
The log files can be used for troubleshooting if any problem.
Prerequisites: The device system time is correct.
- On the left bar, select Maintenance page.
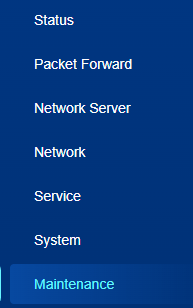
- Configure the log related parameters.
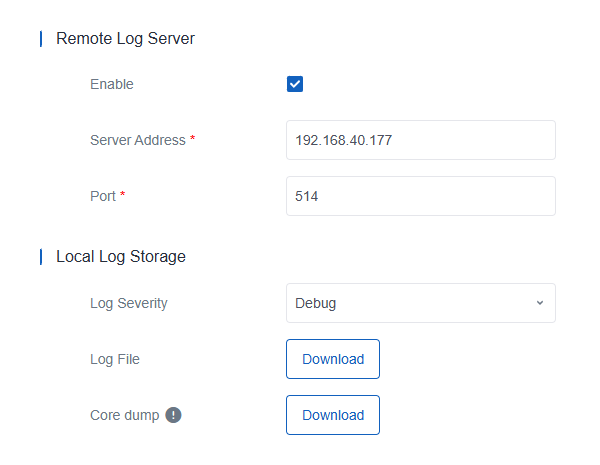
Parameter Description Remote Log Server Enable Enable or disable to send the system log file to a remote server. Server Address Set the remote log UDP server address (IP/domain name). Port Set the remote log server port. Local Log Storage Log Severity Select the severity to display the logs. To submit logs to technical support, it is recommended to set the log severity to Debug. Note: After changing the log severity, please replicate the issue to ensure the logs capture the details.Log File Download system log file. Core dump Core dump file contains a snapshot of a program’s memory at a specific point in time when the program encounters a critical error or crashes, which can be used for debugging and troubleshooting purposes. - Click Save & Apply to save the settings.
- Click Download to download the log file. You can check the log file directly or send it to Milesight technical support.
Backup and Restore
This section is used to backup and restore settings.
- On the left bar, select Maintenance page.
- On the top bar, select Backup/Upgrade tab.
- Click Download to download the configuration file of current
device.
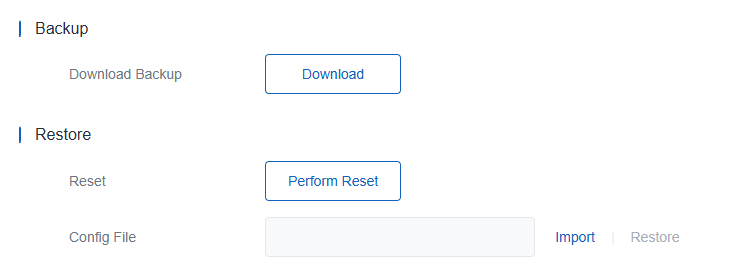
- Open the web GUI of a new gateway with the same model, click Import to select the configuration file from the local path.
- Click Restore to import the configurations to a new device.
Upgrade
This section is used to upgrade the gateway.
Prerequisites:
- Download the correct gateway firmware file from Milesight official website. It is recommended to consult technical support before upgrading to ensure a safe and successful upgrade.
- Ensure the network connection is stable enough for remote upgrade.
Steps:
- On the left bar, select Maintenance page.
- On the top bar, select Backup/Upgrade tab.
- Click Import to select the firmware file from the local path.
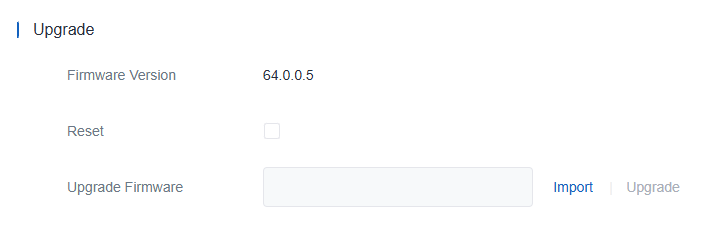
- Enable Reset as required. After enabled, the device will reset factory default settings after upgrade.
- Click Upgrade to upgrade the device.CAUTION: Any operation on web page is not allowed during firmware upgrade; otherwise, the upgrade will be interrupted, or the device may even become inoperable.
- When the SYS LED of the device turns to steady green, log in to the web GUI
to verify that the upgrade was successful.Troubleshooting: If the web GUI displays abnormally after the upgrade, clear your browser cache.
Factory Reset
This section is used to reset the device to factory settings.
- On the left bar, select Maintenance page.
- On the top bar, select Backup/Upgrade tab.
- Click Perform Reset.
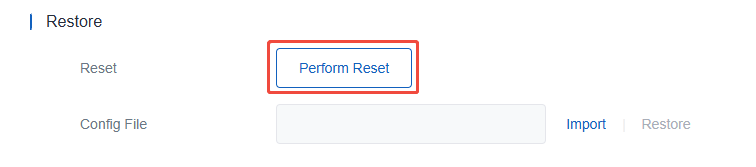
- In the pop-up window, click Confirm. The device will reset and reboot.
Reboot
This section is used to reboot the device.
- On the left bar, select Maintenance page.
- On the top bar, select Reboot tab.
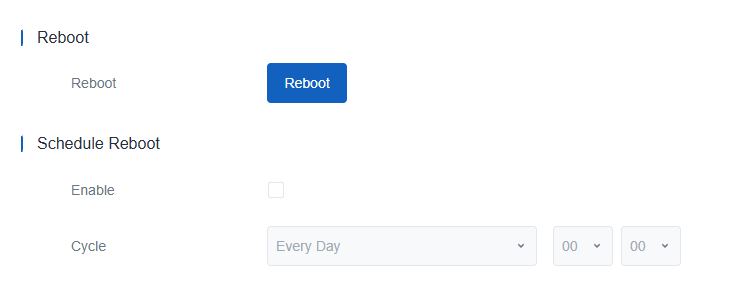
- Select the option to reboot the device.
Reboot Immediately: Click Reboot to reboot this device.
Reboot on Schedule: Enable Schedule Reboot and configure the rebooting cycle.
Tools
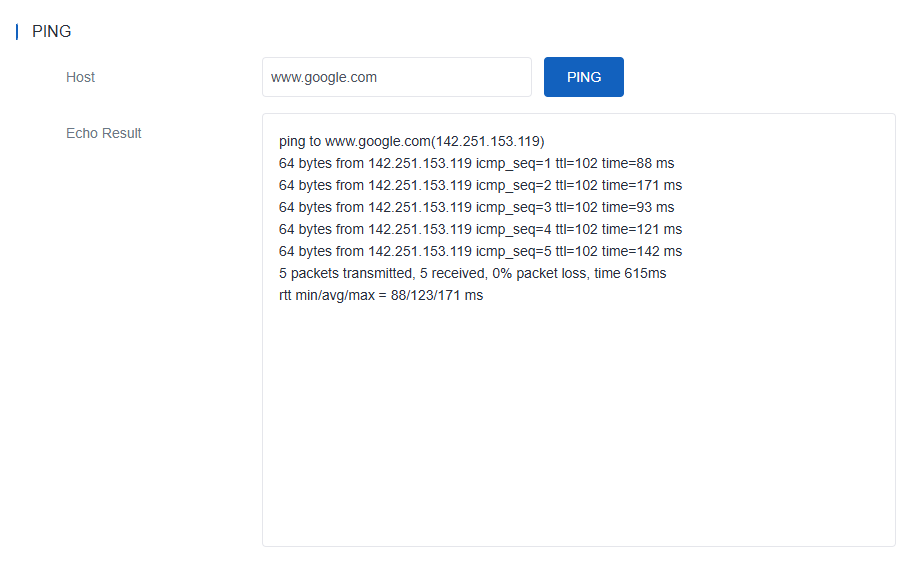
This section is used to check network connectivity via ping tool.
- On the left bar, select Maintenance page.
- On the top bar, select Tools tab.
- Enter an IP address or a domain name.
- Click Ping to check the network connectivity and latency between the
device and target hosts.