Access the Sensor
VS121-P provides user-friendly web GUI for configuration and users can get access to it via Ethernet port. The recommended browsers are Chrome, Microsoft Edge, and Safari. The default Ethernet IP of the sensor is 192.168. 5.220 (can be found on the label).
Step 1: Power on the device and connect the Ethernet port to a PC.
Step 2: Change the IP address of computer to 192.168.5.0 segment as
below:
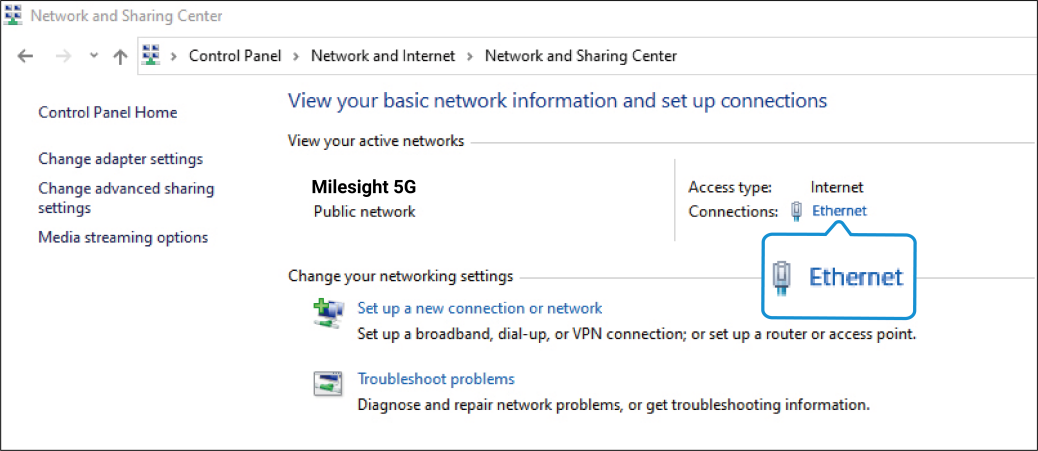
- Go to Start→Control Panel→ Network and Internet → Network and Sharing
Center→Ethernet→Properties→Internet Protocol Version 4(TCP/IPv4).
- Enter an IP address that in the same segment with sensor(e.g. 192.168.5.61, but please
note that this IP address shall not conflict with the IP address on the existing
network).

Step 3: Open the Browser and type 192.168.5.220 to access the web GUI.
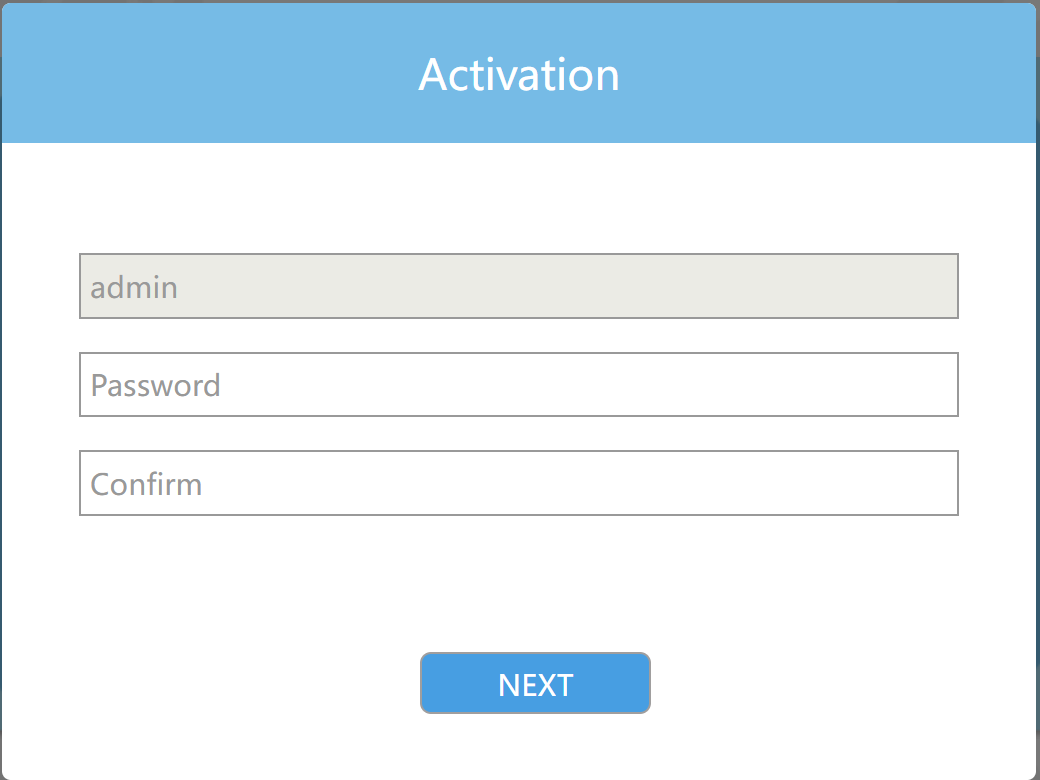
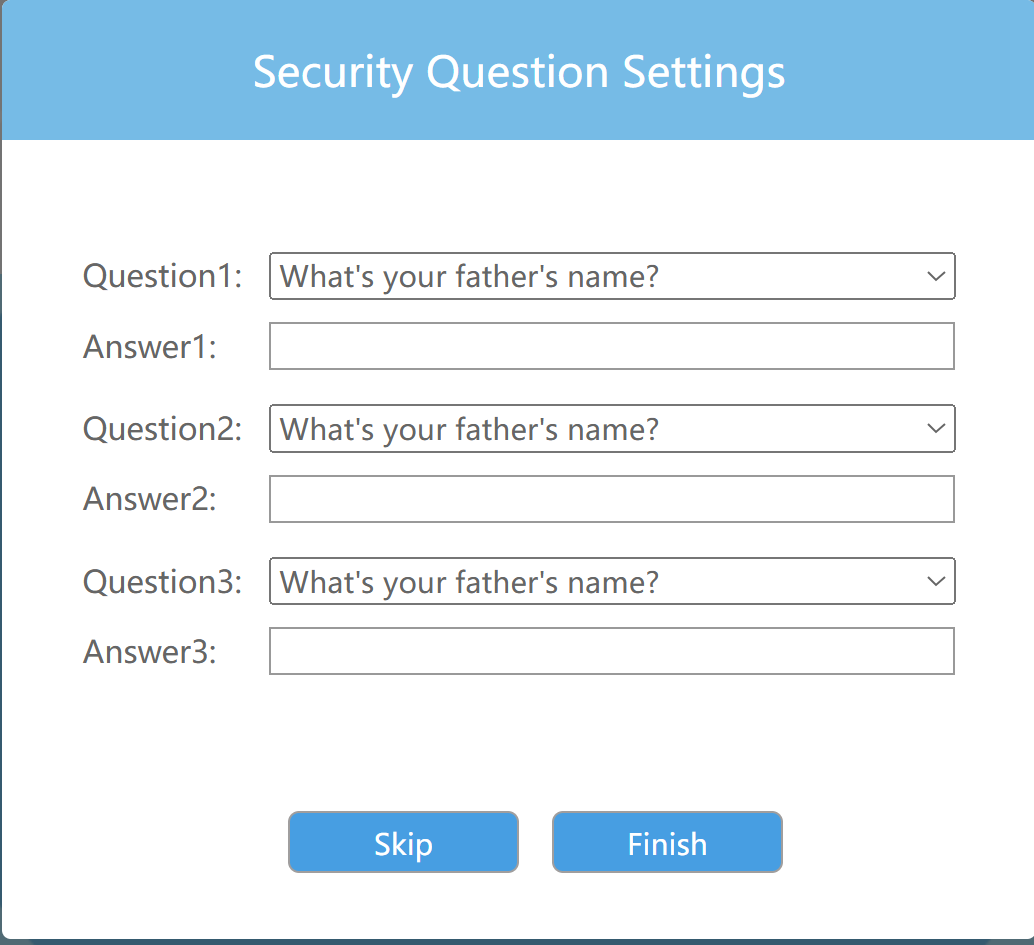
Step 4: Users need to set the password and three security questions
when using the sensor for the first time.
Step 5: Select the Privacy Mode for the live view display.
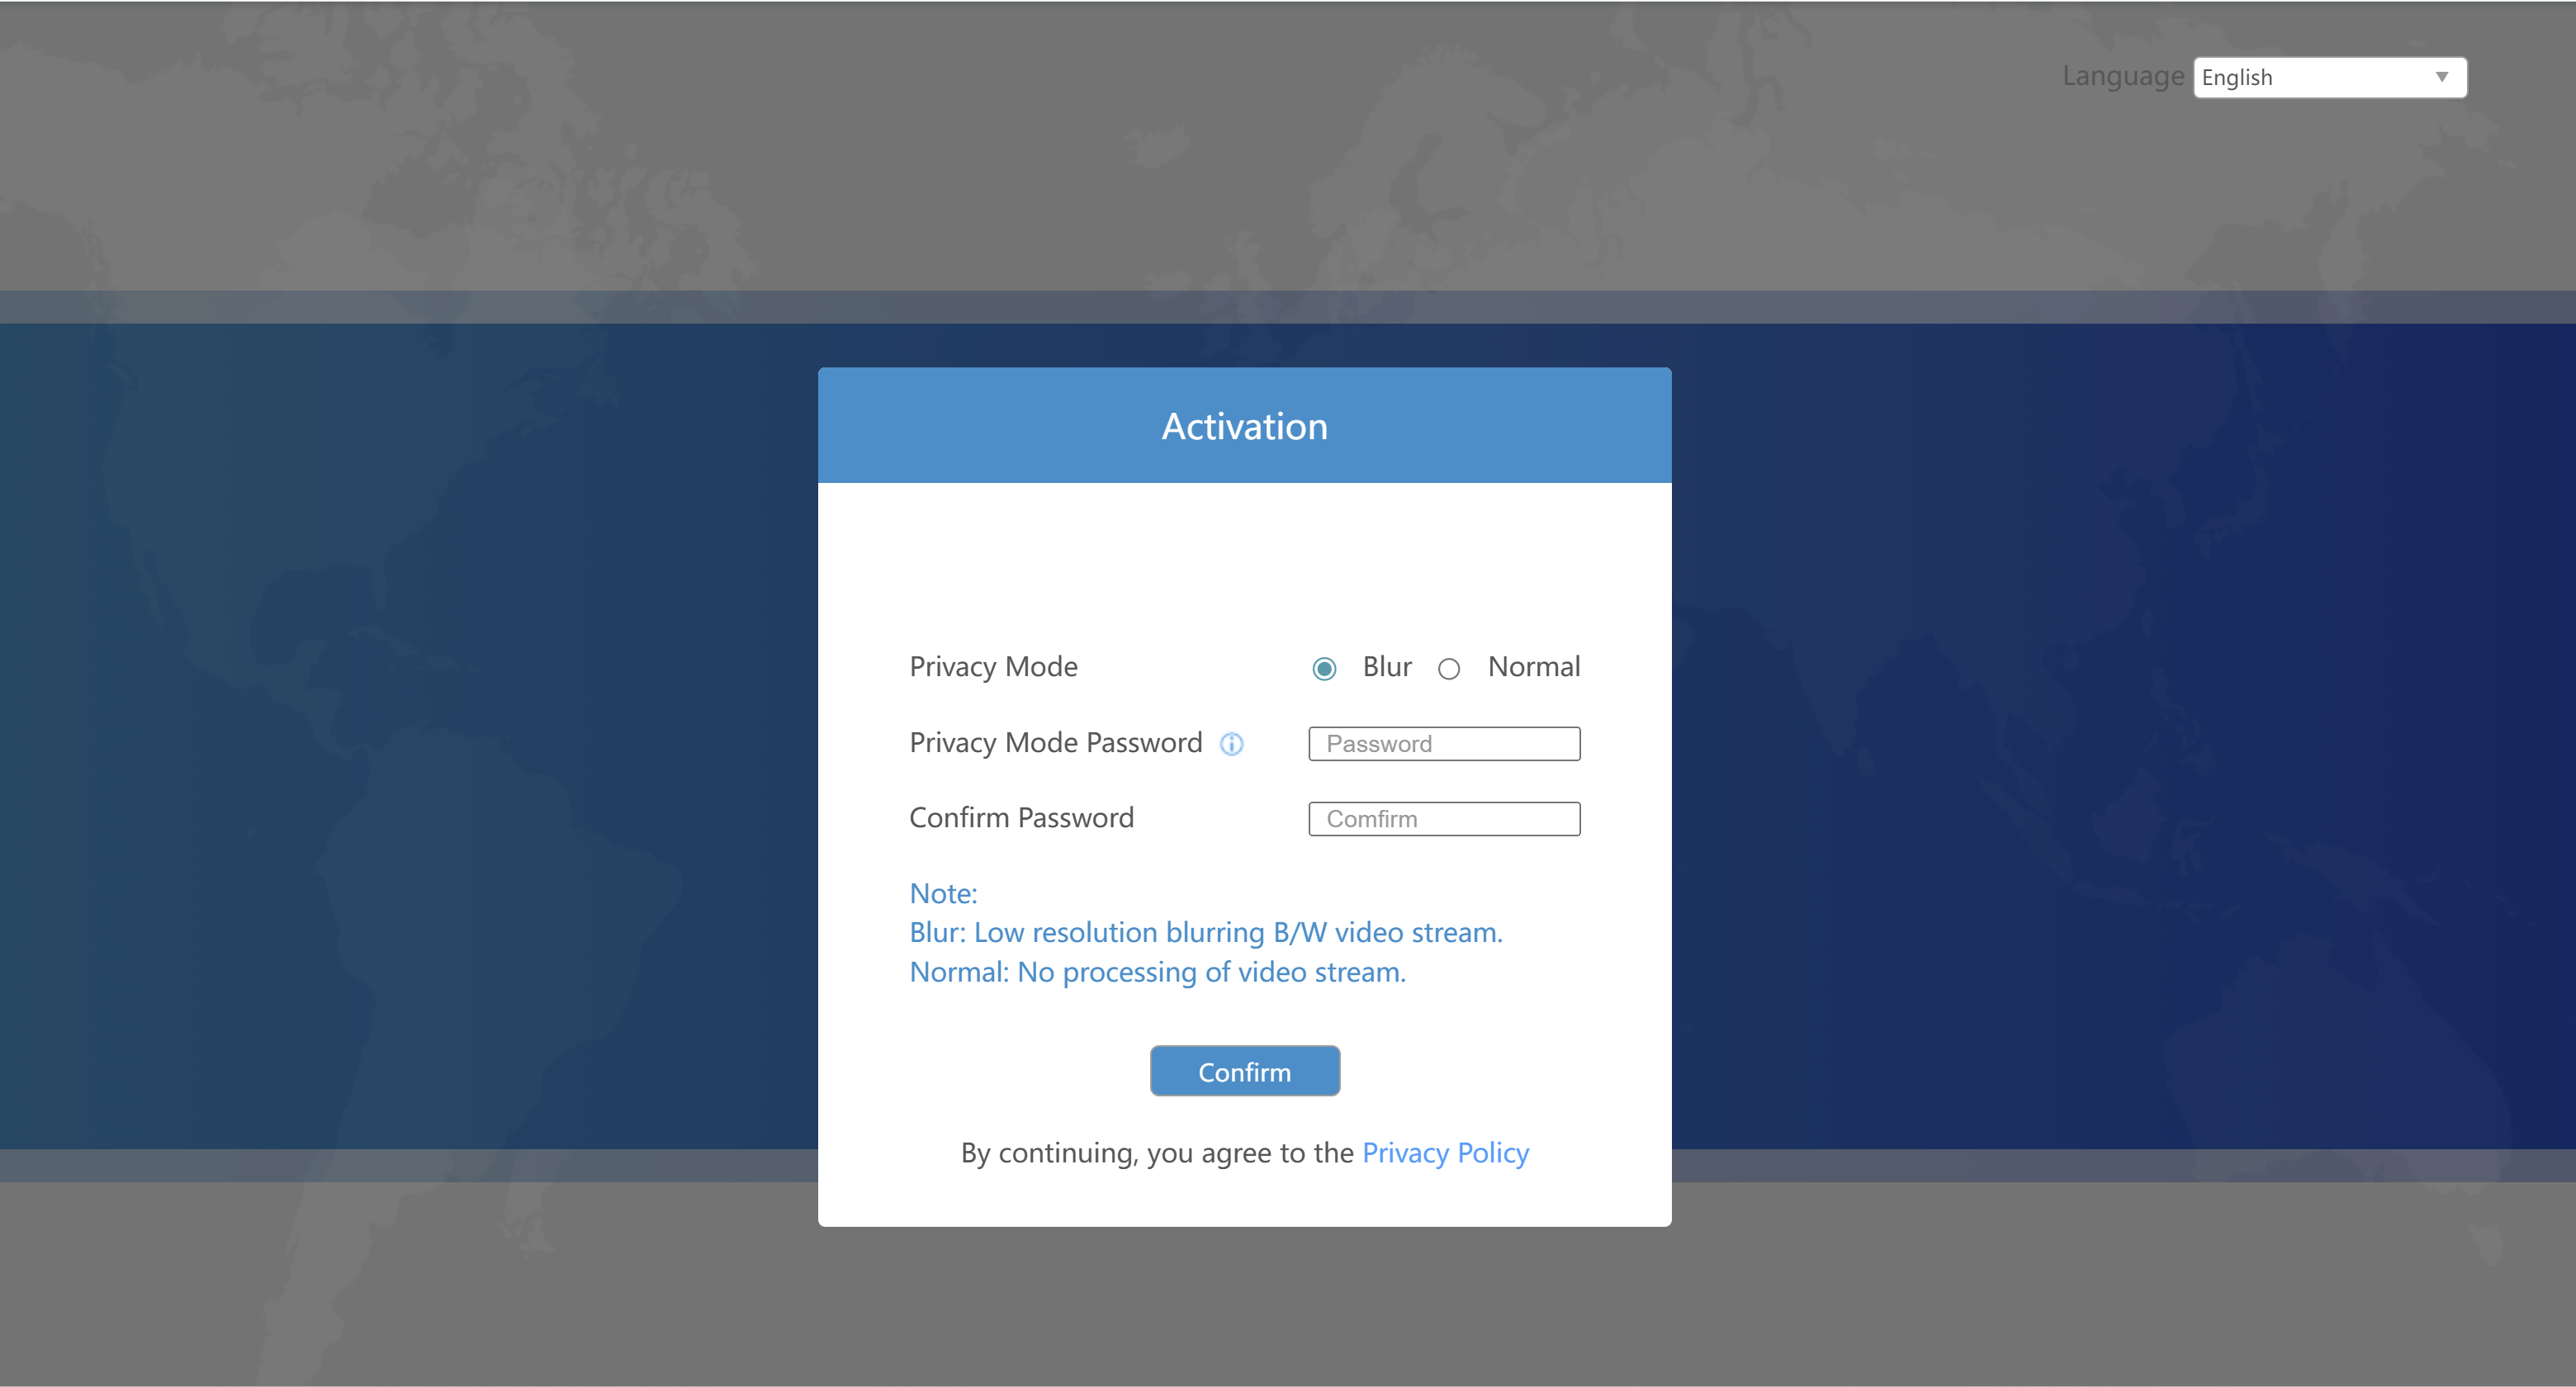
If you would like to switch modes in the future, please go to Privacy Settings.
If you would like to switch modes in the future, please go to Privacy Settings.
Step 6: After configuration, log in with username (admin) and custom
password.

Note:
- Login password must be 8 to 63 characters long and contain numbers, lowercase letters, uppercase letters and special characters. If the password is entered incorrectly five times, the account will be locked for 10 minutes.
- It is recommended that users regularly update their passwords to enhance device security and prevent unauthorized access.
- You can click the “forgot password” in login page to reset the password by answering three security questions when you forget the password if you set the security questions in advance.