2.4.2 Login Wizard
The wizard will help you to quickly configure and use the VMS system, including some basic configuration page: Security, License, Devices and Storage. If you create a new system, then there is a pop-up wizard as shown below at system’s very first login and once only.
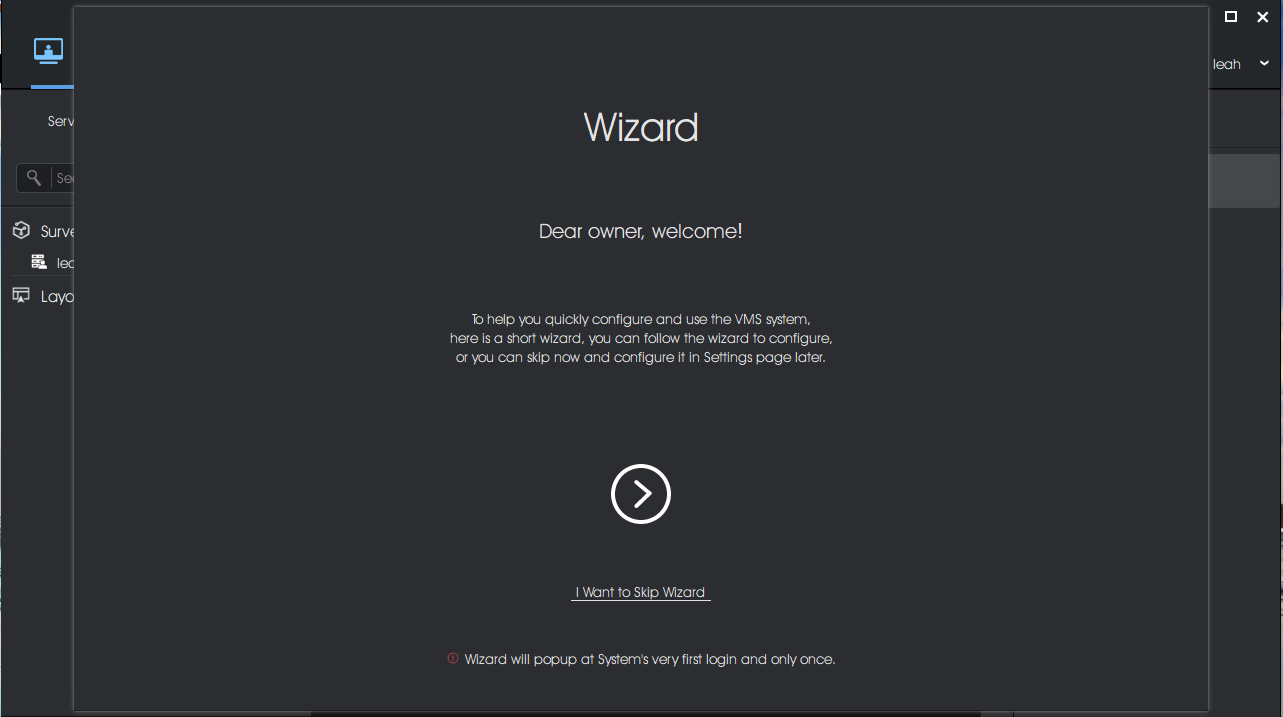
Here you can choose directly skipping wizard or click ![]() button to start wizard.
button to start wizard.
- Security
Security configuration page is to set some security questions for account safety. This will make it easier for Owner to reset password if forget it.
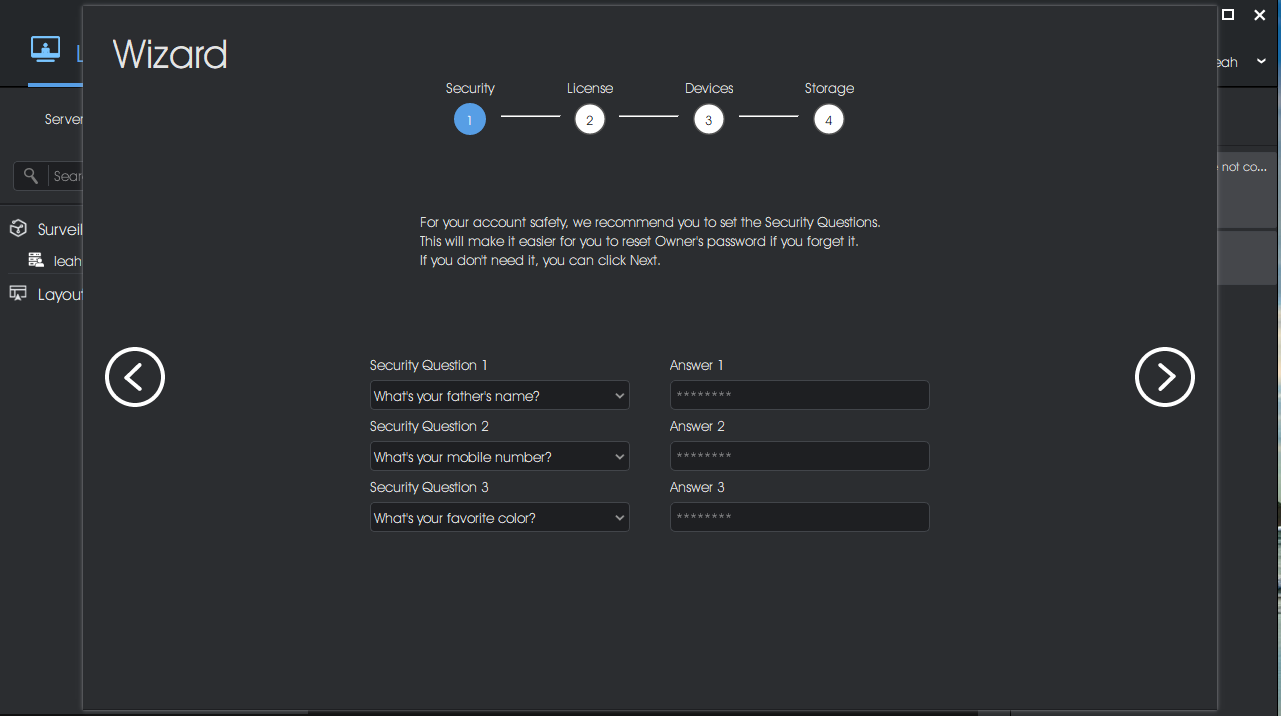
Here you can choose three questions from predefined questions or customize some of them,
and fill in answers completely. After setting, click ![]() to save the Security setting and enter next wizard interface. Also, If
you don’t need it, you can click
to save the Security setting and enter next wizard interface. Also, If
you don’t need it, you can click ![]() to directly enter next wizard. Also, you can make configuration in the
Security Questions of User
Settings.
to directly enter next wizard. Also, you can make configuration in the
Security Questions of User
Settings.
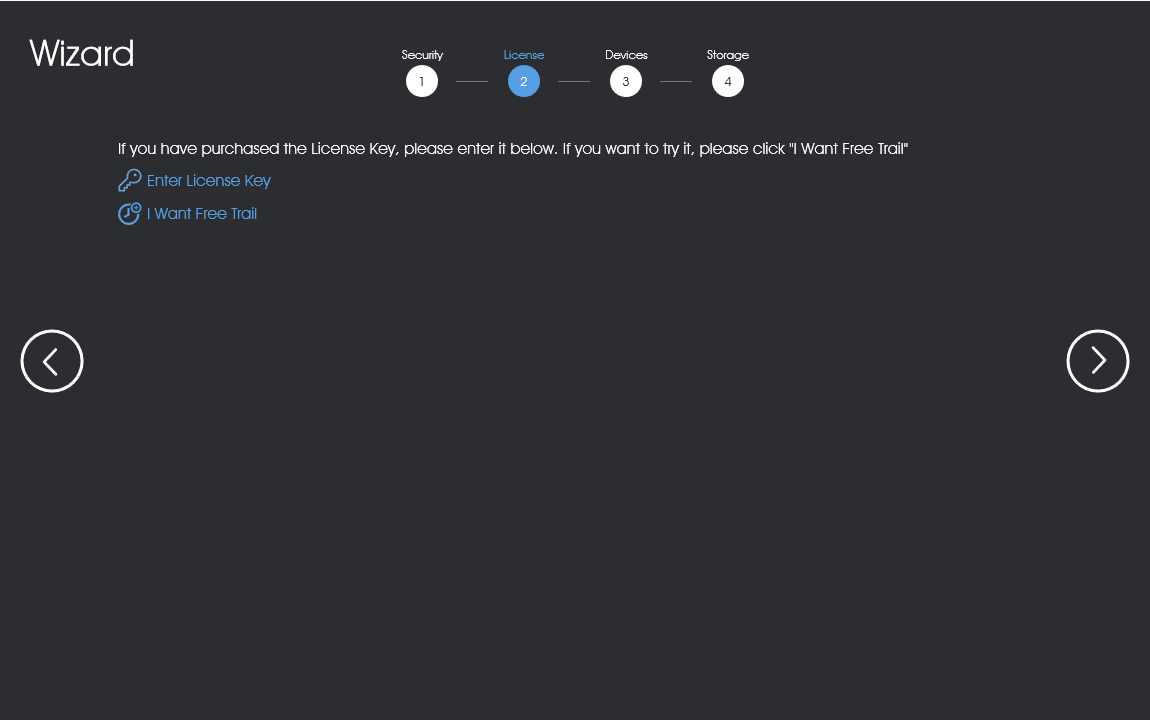
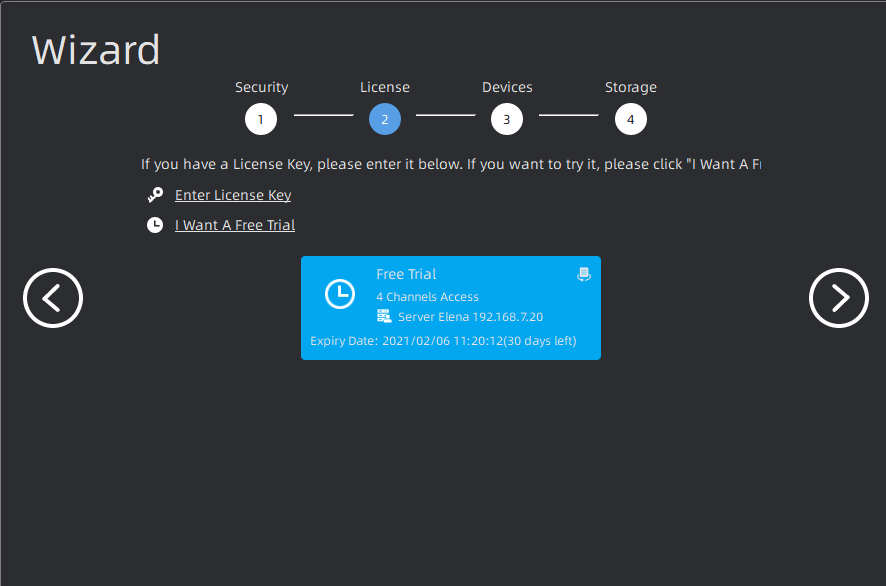
- License
The License wizard will guide user how to activate license, which will facilitate user to add devices next. There are two options, including Enter License Key and I Want Free Trail. In addition, you can also refer to License Activation to set license activation.
(1) Free Trial Activation
Step1: Click ![]() button. If this is the first time you use the VMS software, then a
window will pop up as shown below:
button. If this is the first time you use the VMS software, then a
window will pop up as shown below:
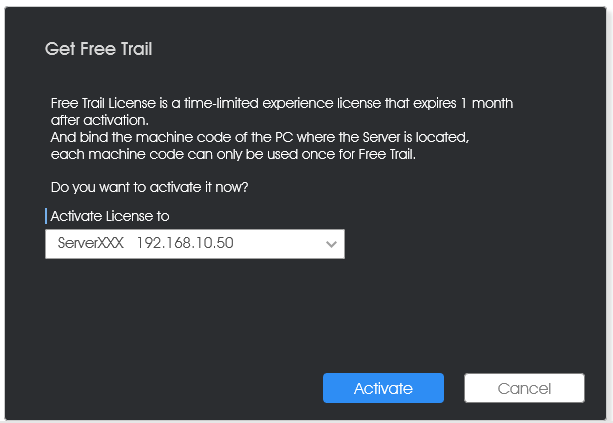
Step2: Select server which a license is registered to and click ![]() button, then a Free Trail information card will show in the License
wizard interface.
button, then a Free Trail information card will show in the License
wizard interface.
(2) Online Activation
Step1: Click ![]() button and wait for several seconds, a window
will pop up as shown below:
button and wait for several seconds, a window
will pop up as shown below:
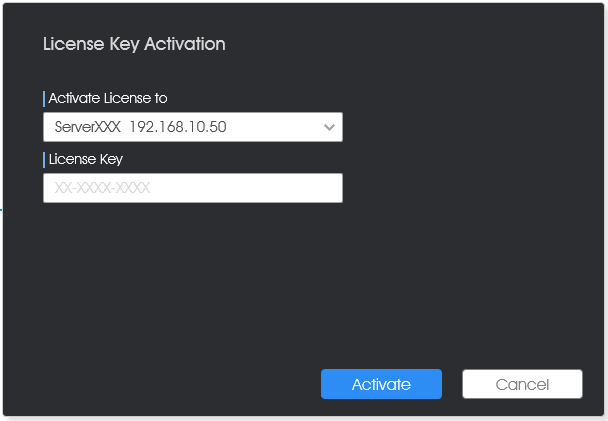
Step2: Select server and Input Activation Code, then click the ![]() button;
button;
Step3: After verifying your activation code successfully, the license information card will will show in the License wizard interface.
(3) Offline Activation
Step1: Click ![]() button. If the server is not connected to the
Internet, then licenses can be activated offline as shown below:
button. If the server is not connected to the
Internet, then licenses can be activated offline as shown below:
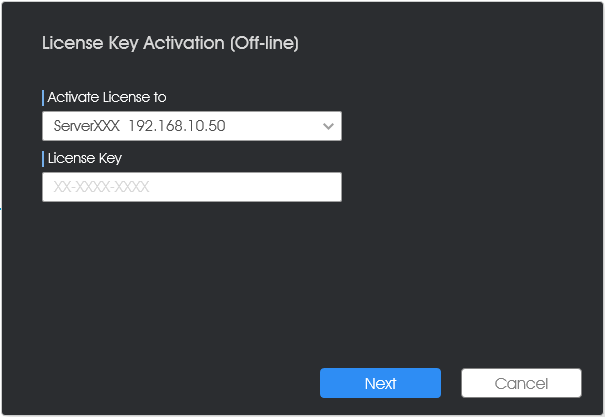
Step2: Select server and Input Activation Code, then
click ![]() button. Here you can operate according to
current step tips. More operation information can refer to the Manual Activation of
License Activation.
button. Here you can operate according to
current step tips. More operation information can refer to the Manual Activation of
License Activation.
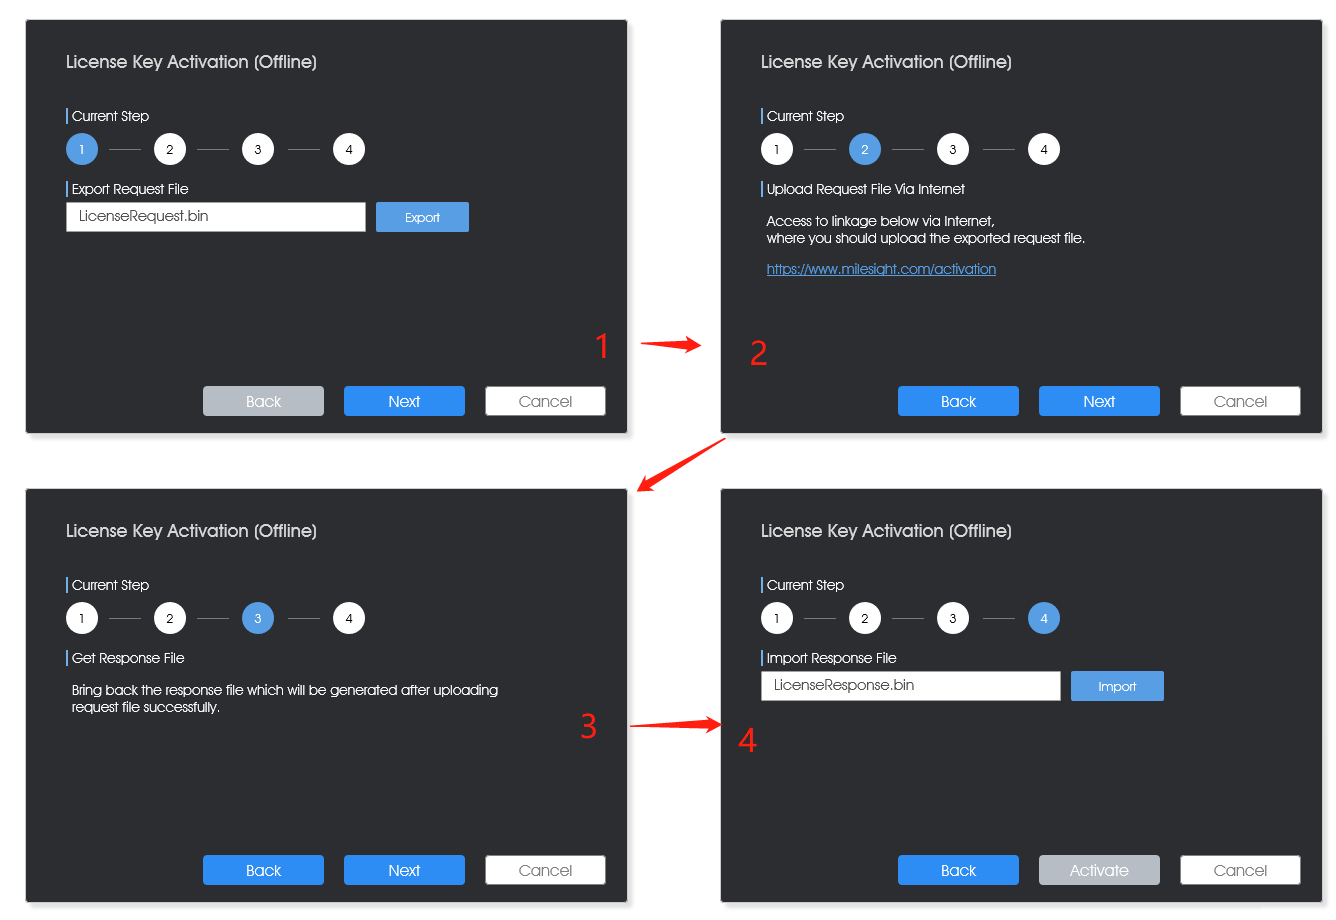
Step3: After activating the license successfully, the license information card will show in the License wizard interface.
- Devices
After activating license, the Devices wizard is used for users to quickly add devices which can be searched in the same network automatically.
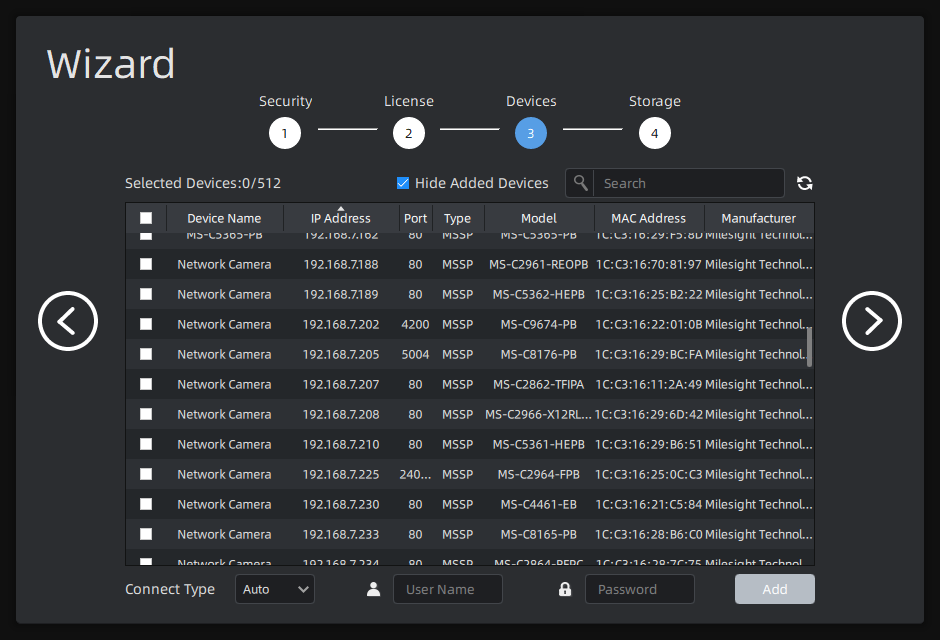
Steps of adding devices can be referred to as below:
Step1: Input device information in the Search box to search out the device which will be added;
Step2: Check the device box;
Step3: Enter Connect Type, User Name and Password of the selected device;
Step4: Click ![]() button, a window will pop up to show Add Result
as below:
button, a window will pop up to show Add Result
as below:
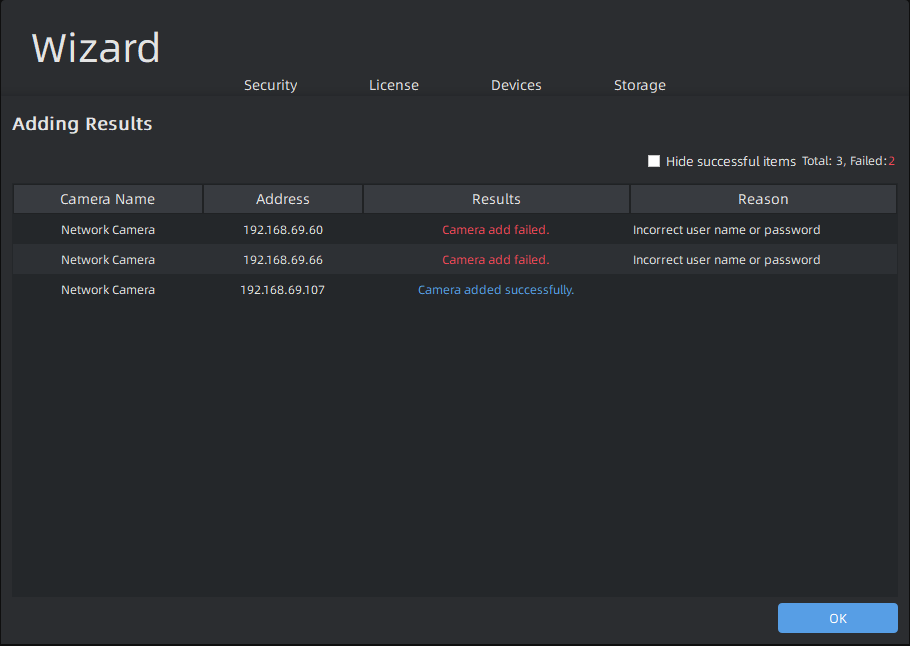
Step5: Click ![]() button.
button.
If you need to add device later on, then you can refer to 3.2.1 Camera Management to add devices.
- Storage
The Storage wizard is to enable which disk to store recordings and images of VMS system. More storage disk configuration can refer to Storage Management.
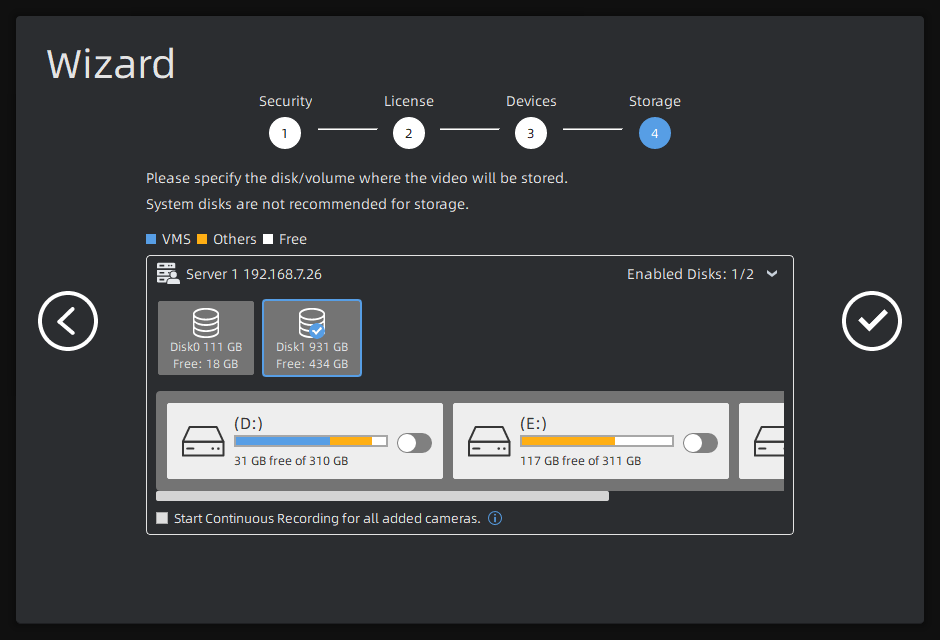
After setting the four wizard configurations, click the ![]() button to finish wizard configurations.
button to finish wizard configurations.