3.3.5 Video Wall Settings
Here you can operate all the settings related to the video wall in Live View.
Please refer to the following key features of the Video Wall function:
• Up to 100 Video Walls per System
• Custom Screen Combinations & Split
• PTZ and Digital Zooming Operations
• Remote Desktop Sharing
• Remote Control and Monitoring
On each Video Wall Screen, it supports:
• Display up to 64 IP Channels
• Display Primary/Secondary Streams
• Freely adjust the size and position of each channel, whether it be within or across monitors
• Video Wall Tour/Tour Plan, each displaying unrestricted channels in turn, at custom time intervals and custom layouts
- General Setting
Before setting, you need to confirm the following items:
- There are license for Video Wall in the system, and the license quantity is sufficient.
- On the device connected to the monitor, the server of the Video Wall has been installed and running.
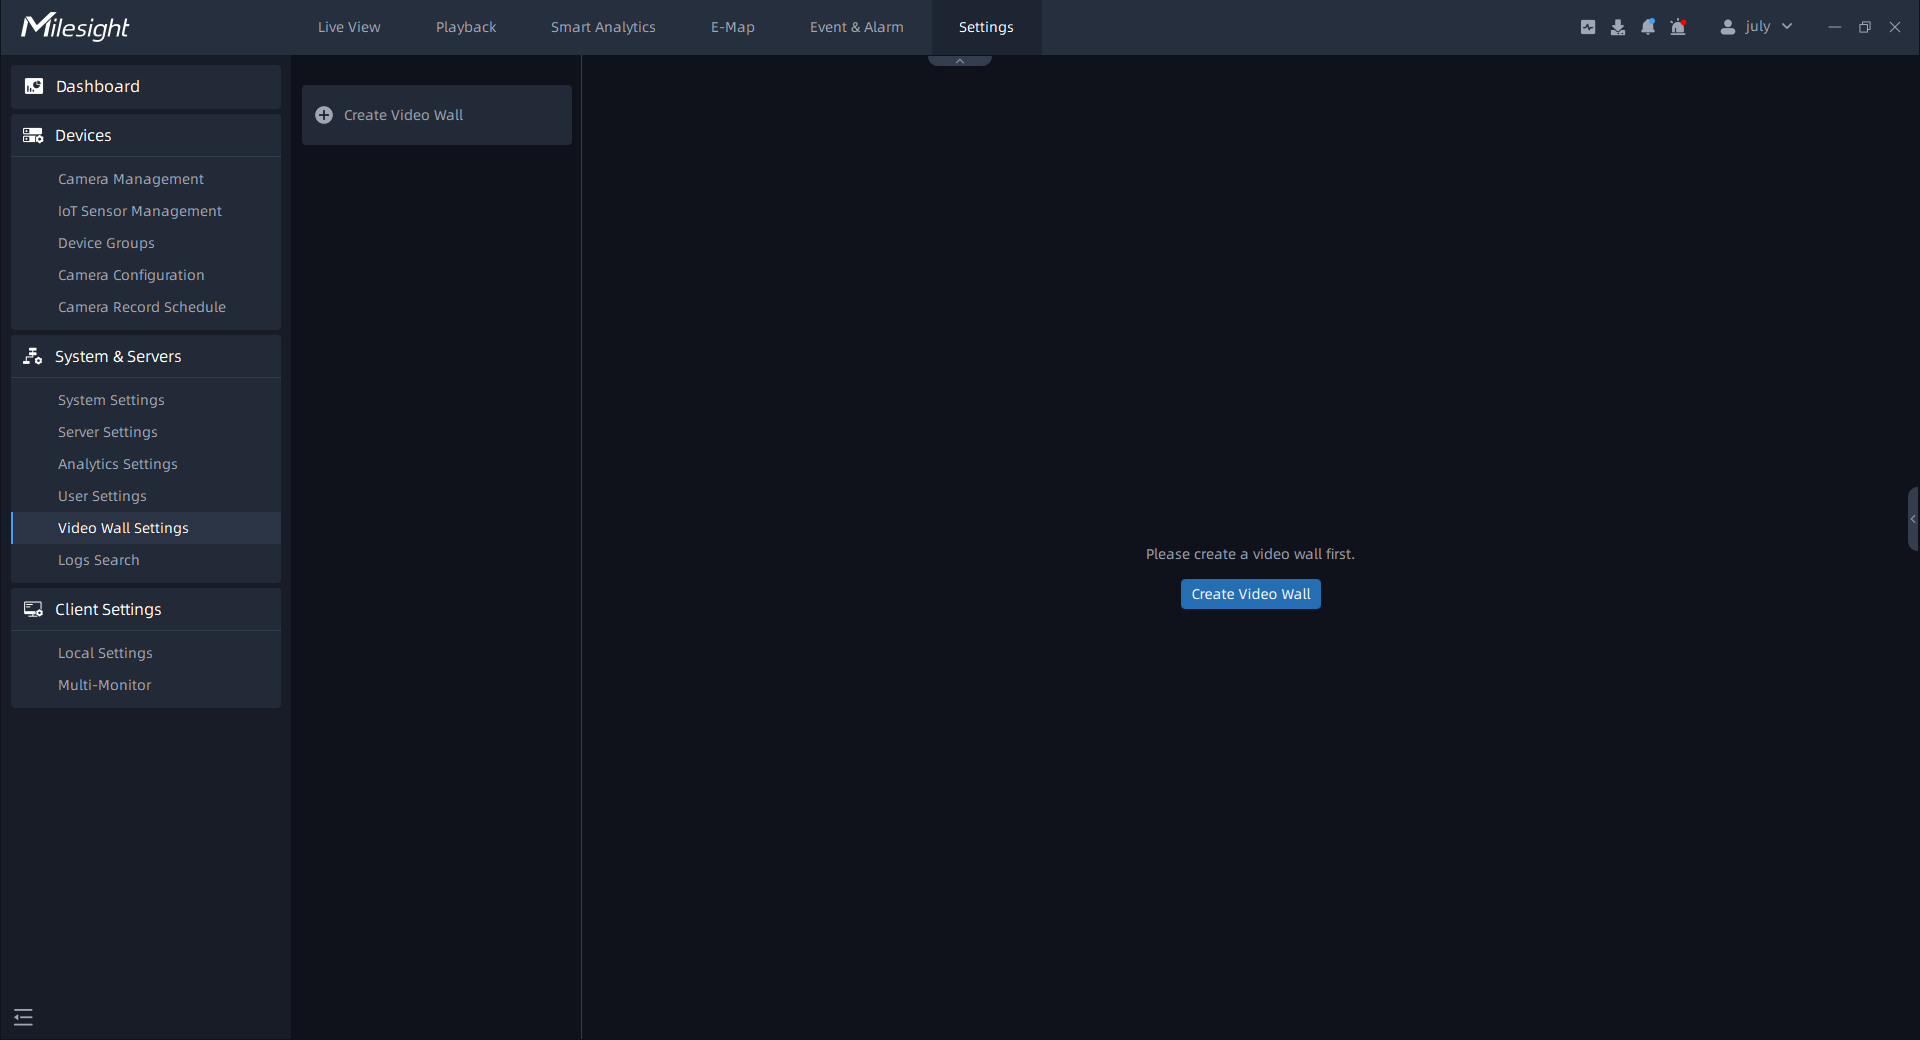
Step1: Click ![]() button or
button or ![]() button in the left panel, then the page will
change as below:
button in the left panel, then the page will
change as below:
You can click![]() next to the name to rename.
next to the name to rename.
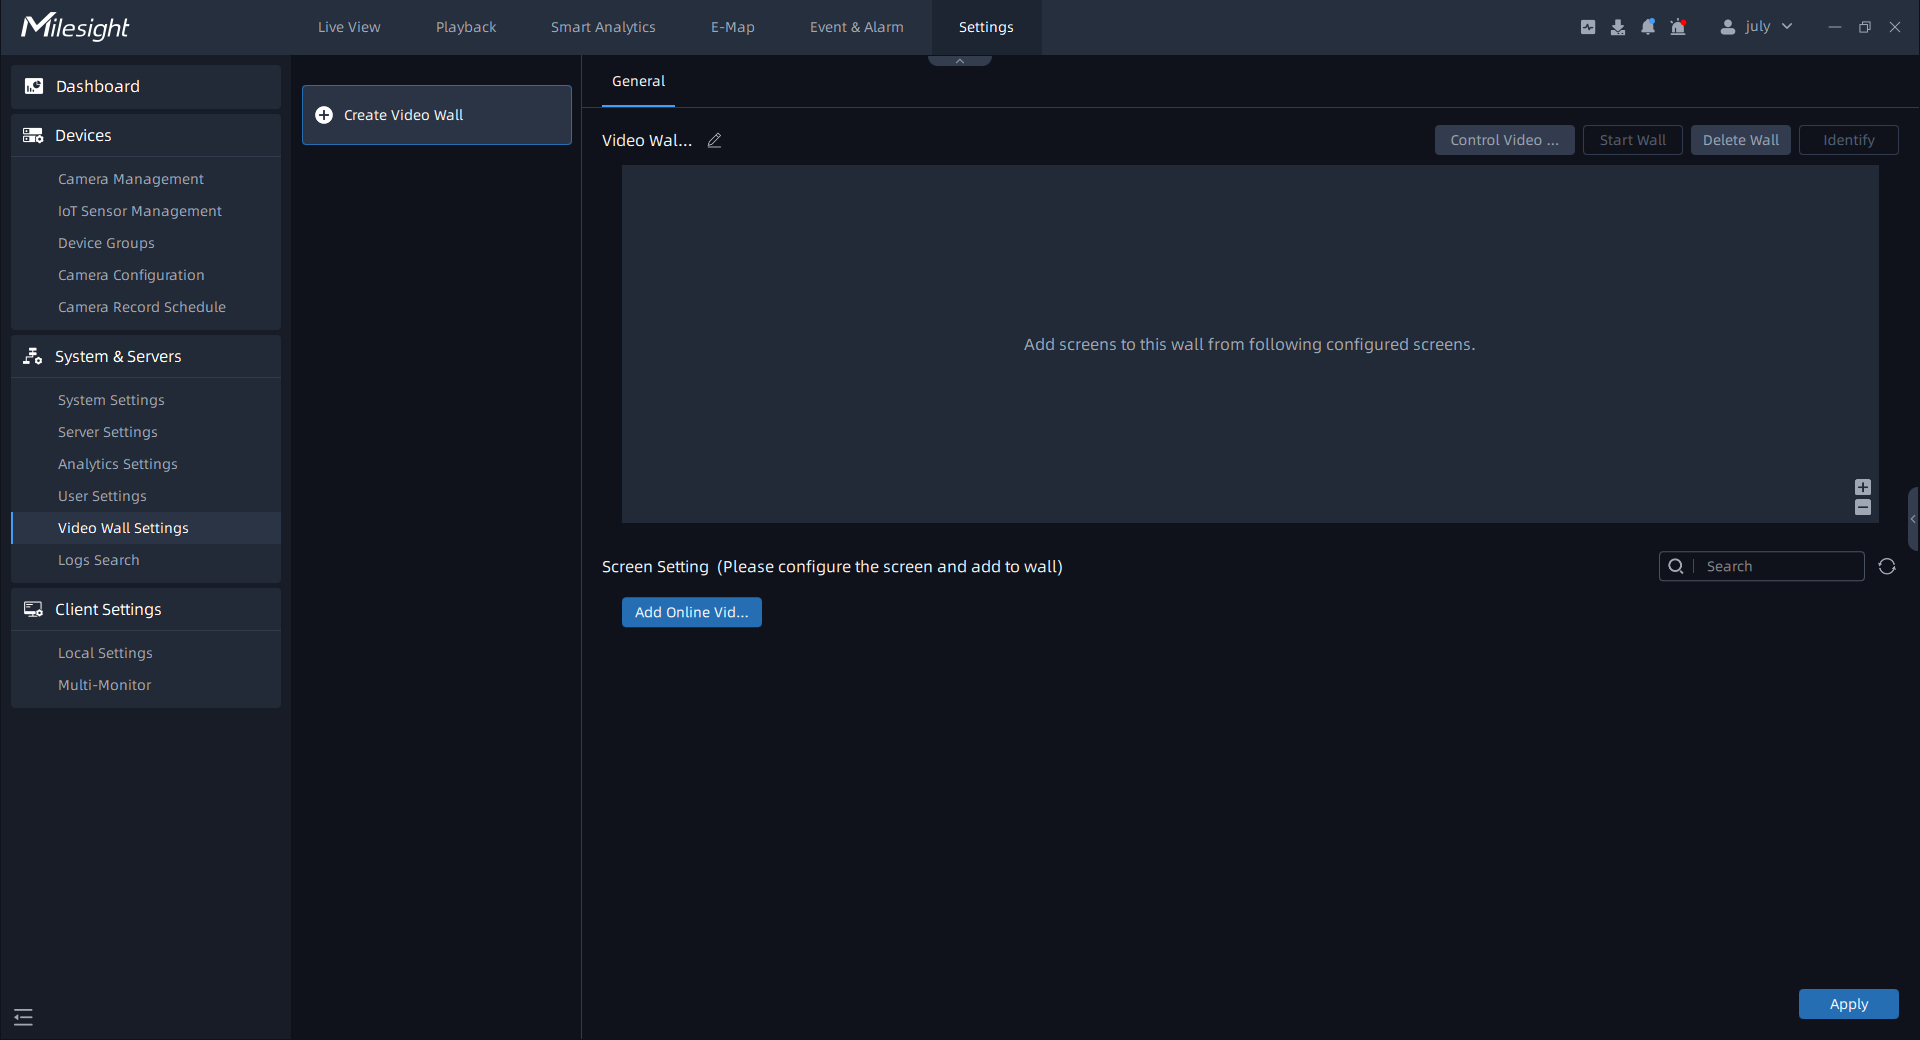
Step2: Click ![]() button, a window will be popped up as shown
below:
button, a window will be popped up as shown
below:
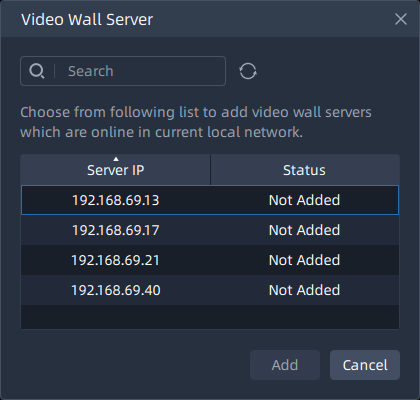
Step3: All online servers that have no screen existed in current video
wall will be displayed in the list. Click a server and click ![]() button. You can add multiple as needed. Then the added
client will be shown on the page as below:
button. You can add multiple as needed. Then the added
client will be shown on the page as below:
You can click ![]() button to delete the client.
button to delete the client.
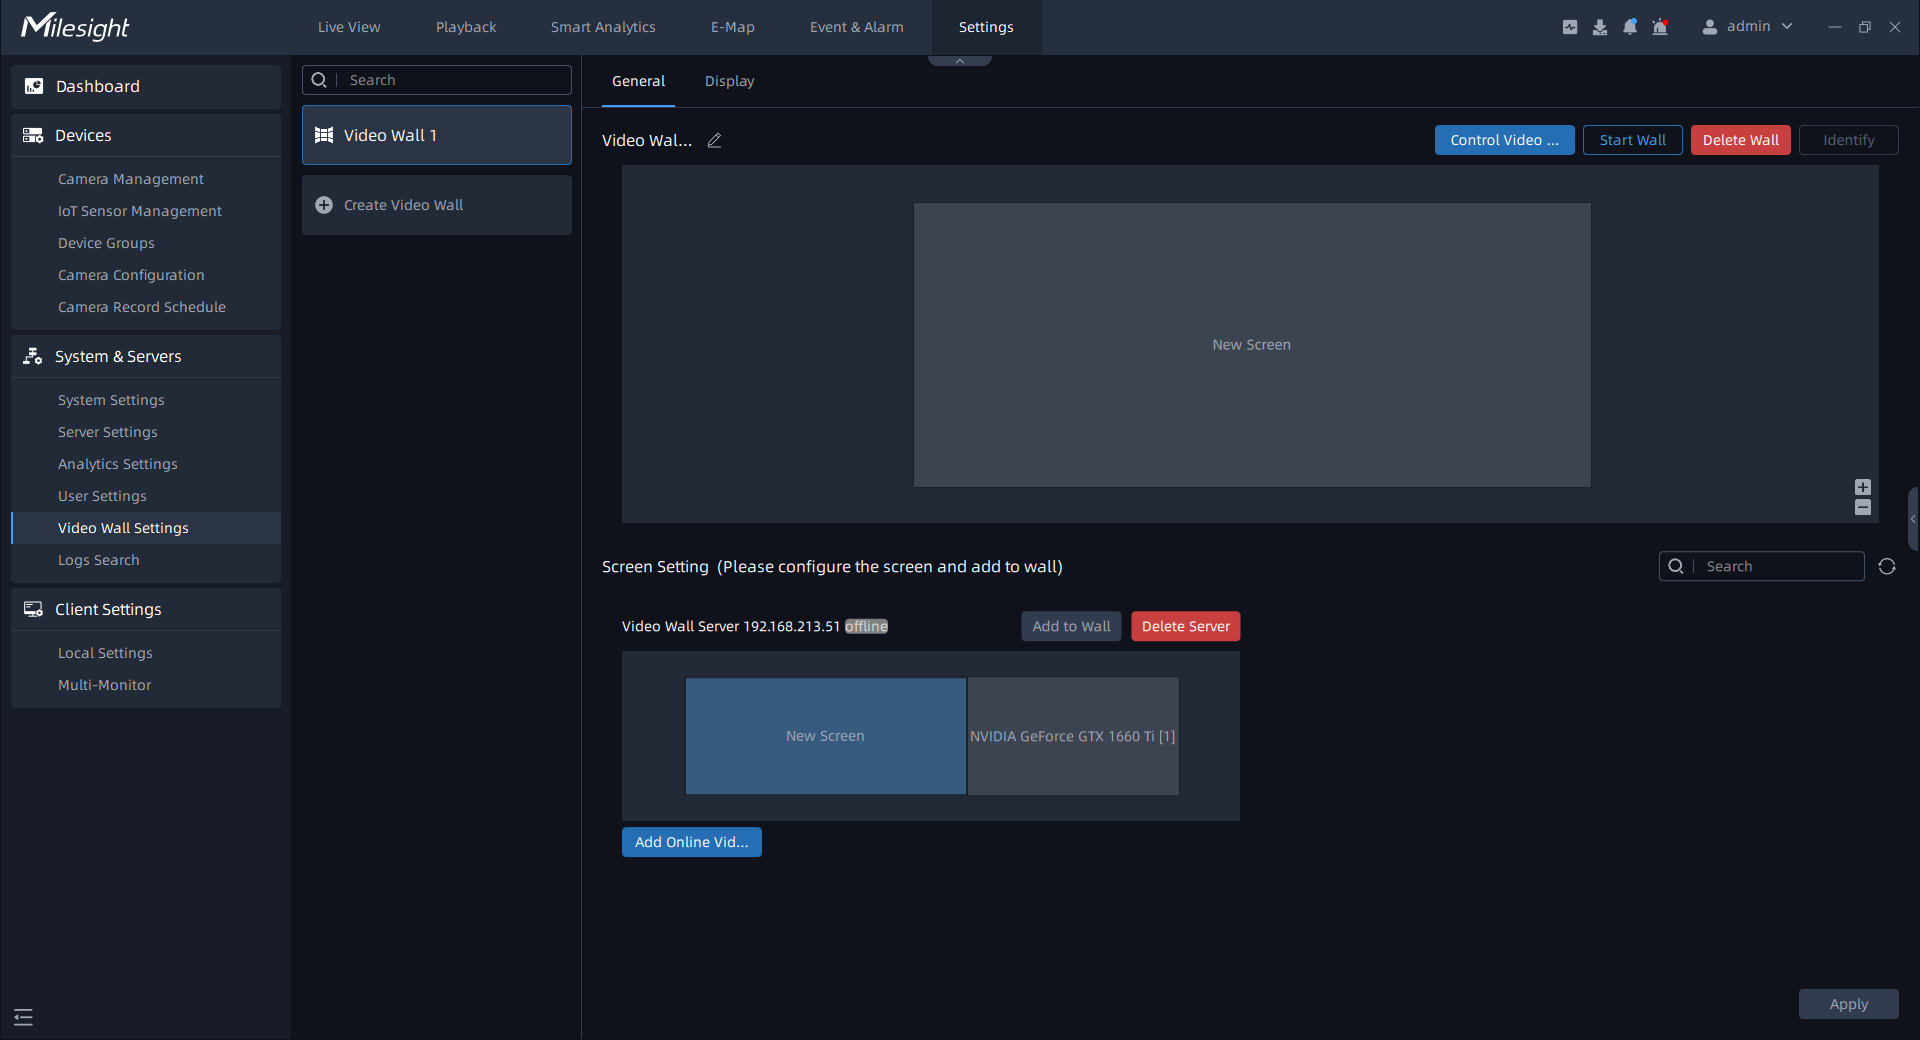
Step4: Click on the monitor to generate a screen and you can rename it by
clicking on the name. Then click![]() button to add the screen to the wall. You can
add multiple screens as needed.
button to add the screen to the wall. You can
add multiple screens as needed.
Click on the blank area of the screen, the selected box on each screen has small squares, you can click and drag them to divide the monitor and then add to the wall. Each monitor can be divided into up to four screens. The added screen will be shown on the page as below:
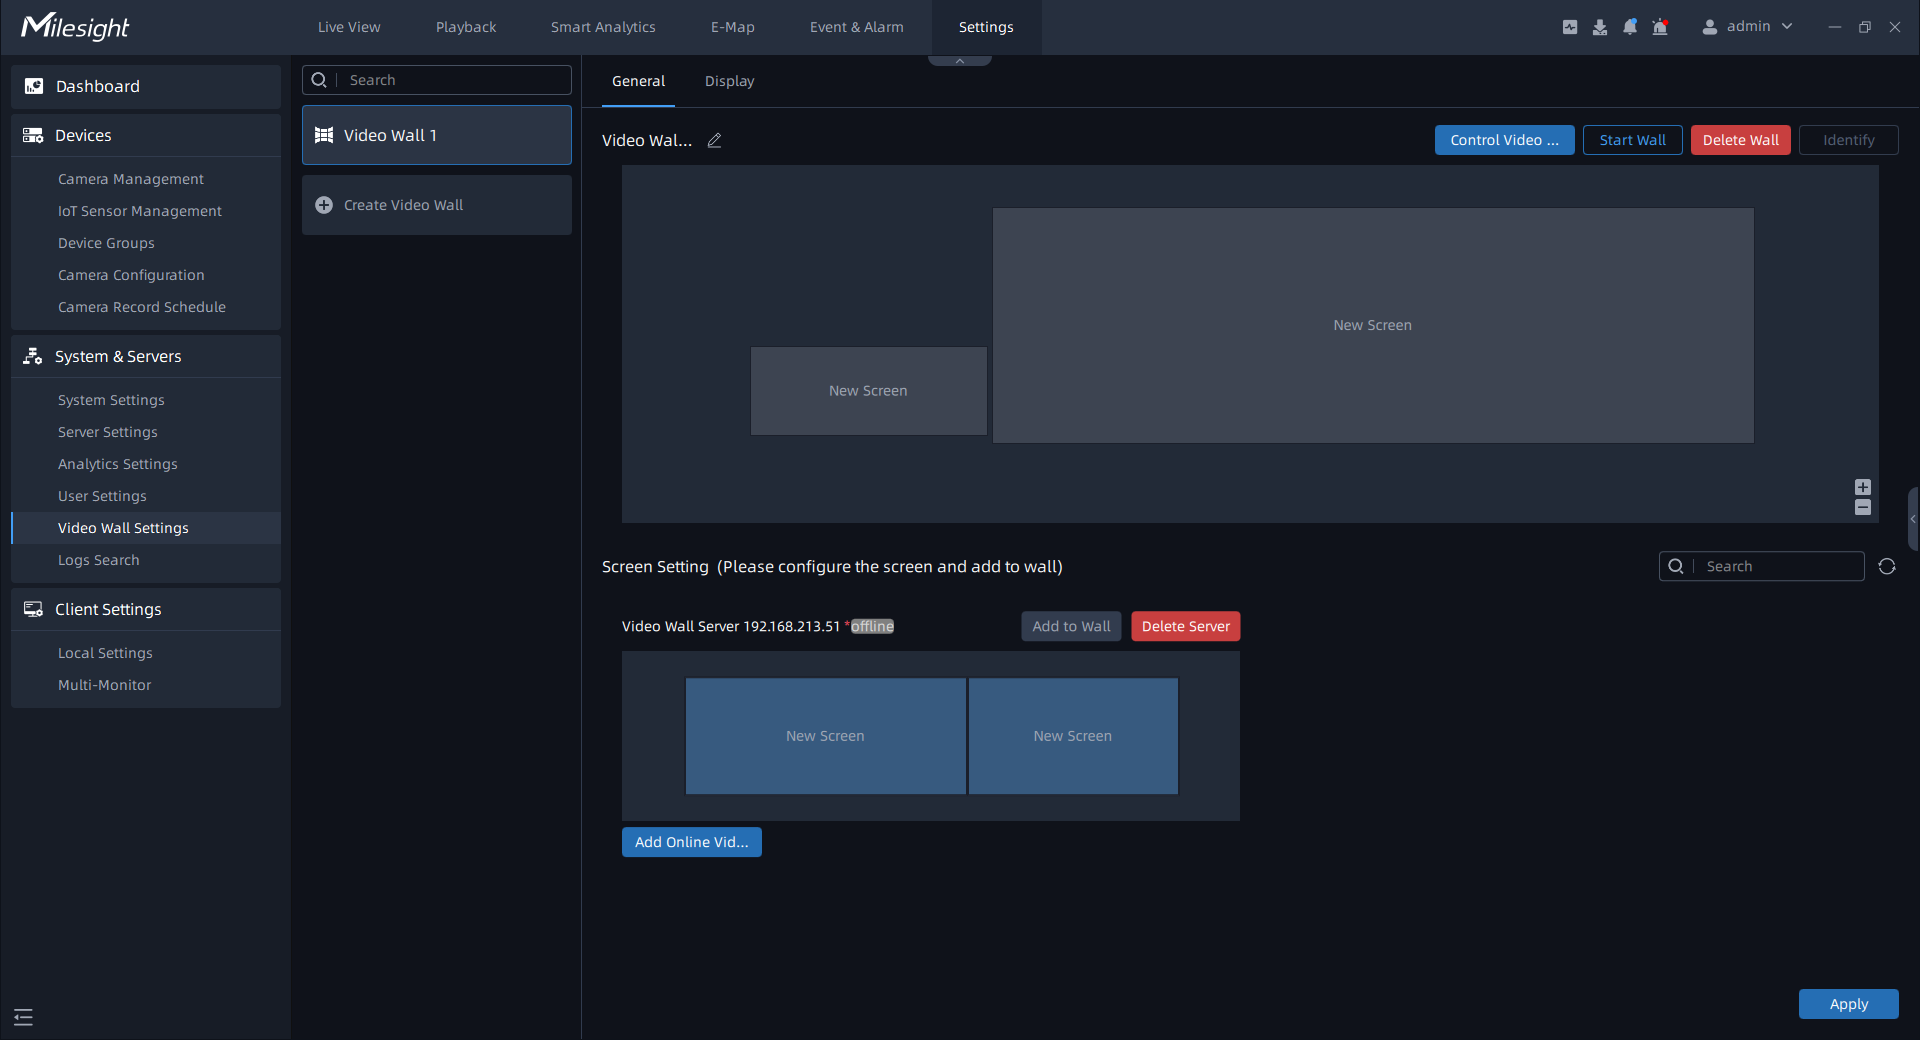
You can click the screen and drag to adjust the position.
Step5: Finish the settings and click ![]() button.
button.
Step6: Click ![]() button to run the video wall. Then you can use
video wall function in the Live View. For details, please refer to the video wall in Live View.
button to run the video wall. Then you can use
video wall function in the Live View. For details, please refer to the video wall in Live View.
There are some other operations as below:
- Click
 button to identify the corresponding
screen.
button to identify the corresponding
screen. - Click
 button to stop running the video
wall.
button to stop running the video
wall. - Click
 button to delete the video wall.
- Display
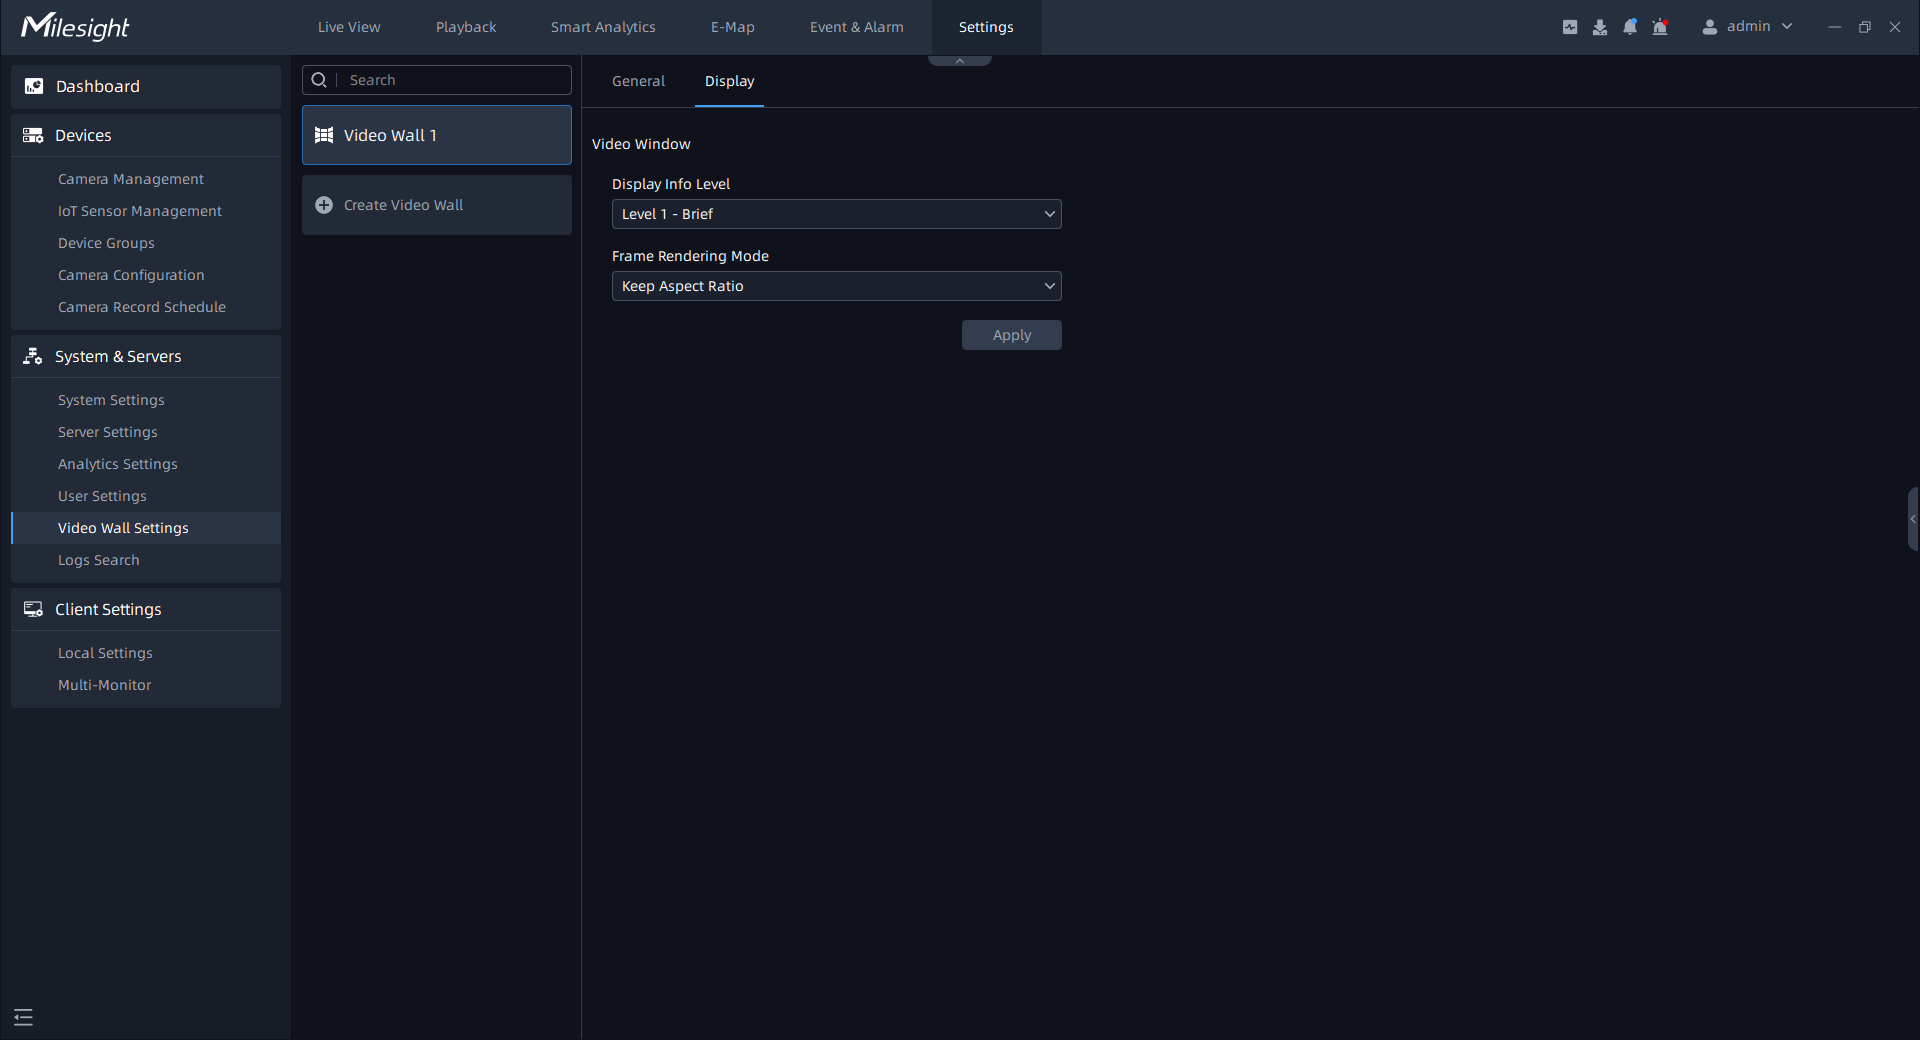
| Item | Function Introduction |
|---|---|
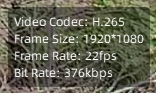
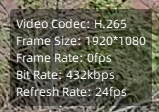
| Display Info Level | You can set the stream information displayed on the live video to
Brief, More or
Professional, as shown
below: Brief:
More:
Professional:  |
| Frame Rendering Mode | You can choose Keep Aspect Ratio to keep image Aspect Ratio, and also choose the Stretch to Window Size. |