5.3.4.3 Configure Schedule Parameters
This section describes how to add and manage schedule events to achieve the automatic temperature control. The thermostat supports seven kinds of schedules for various scenarios: Wake, Away, Home, Sleep, Occupied, Unoccupied, and ECO.
Prerequisites: Ensure the device time is synchronized.
Limitation: When Occupancy Mode is Occupied or Unoccupied, the thermostat only supports Occupied and Unoccupied schedules, and the schedule parameters will be the same as corresponding occupancy mode parameters.
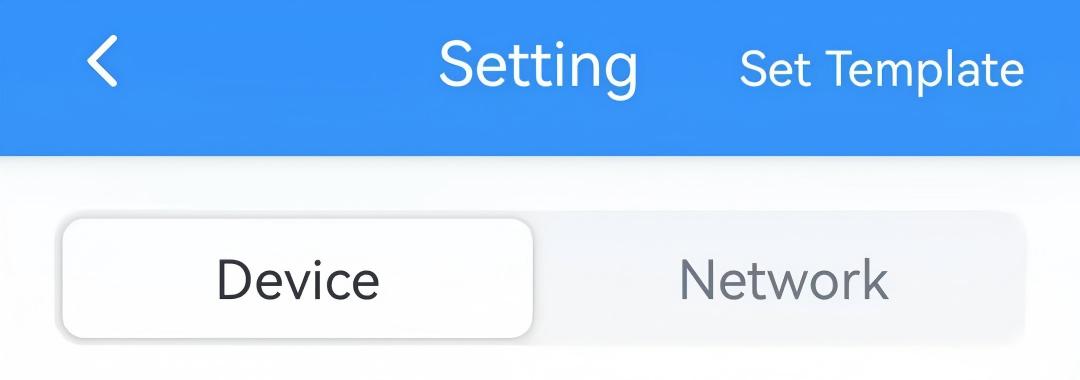
- On the homepage of ToolBox, click Setting to enter the Setting page.
- On the top bar, select Device tab.
- On the Schedule page, select the desired schedule type and click
Edit.
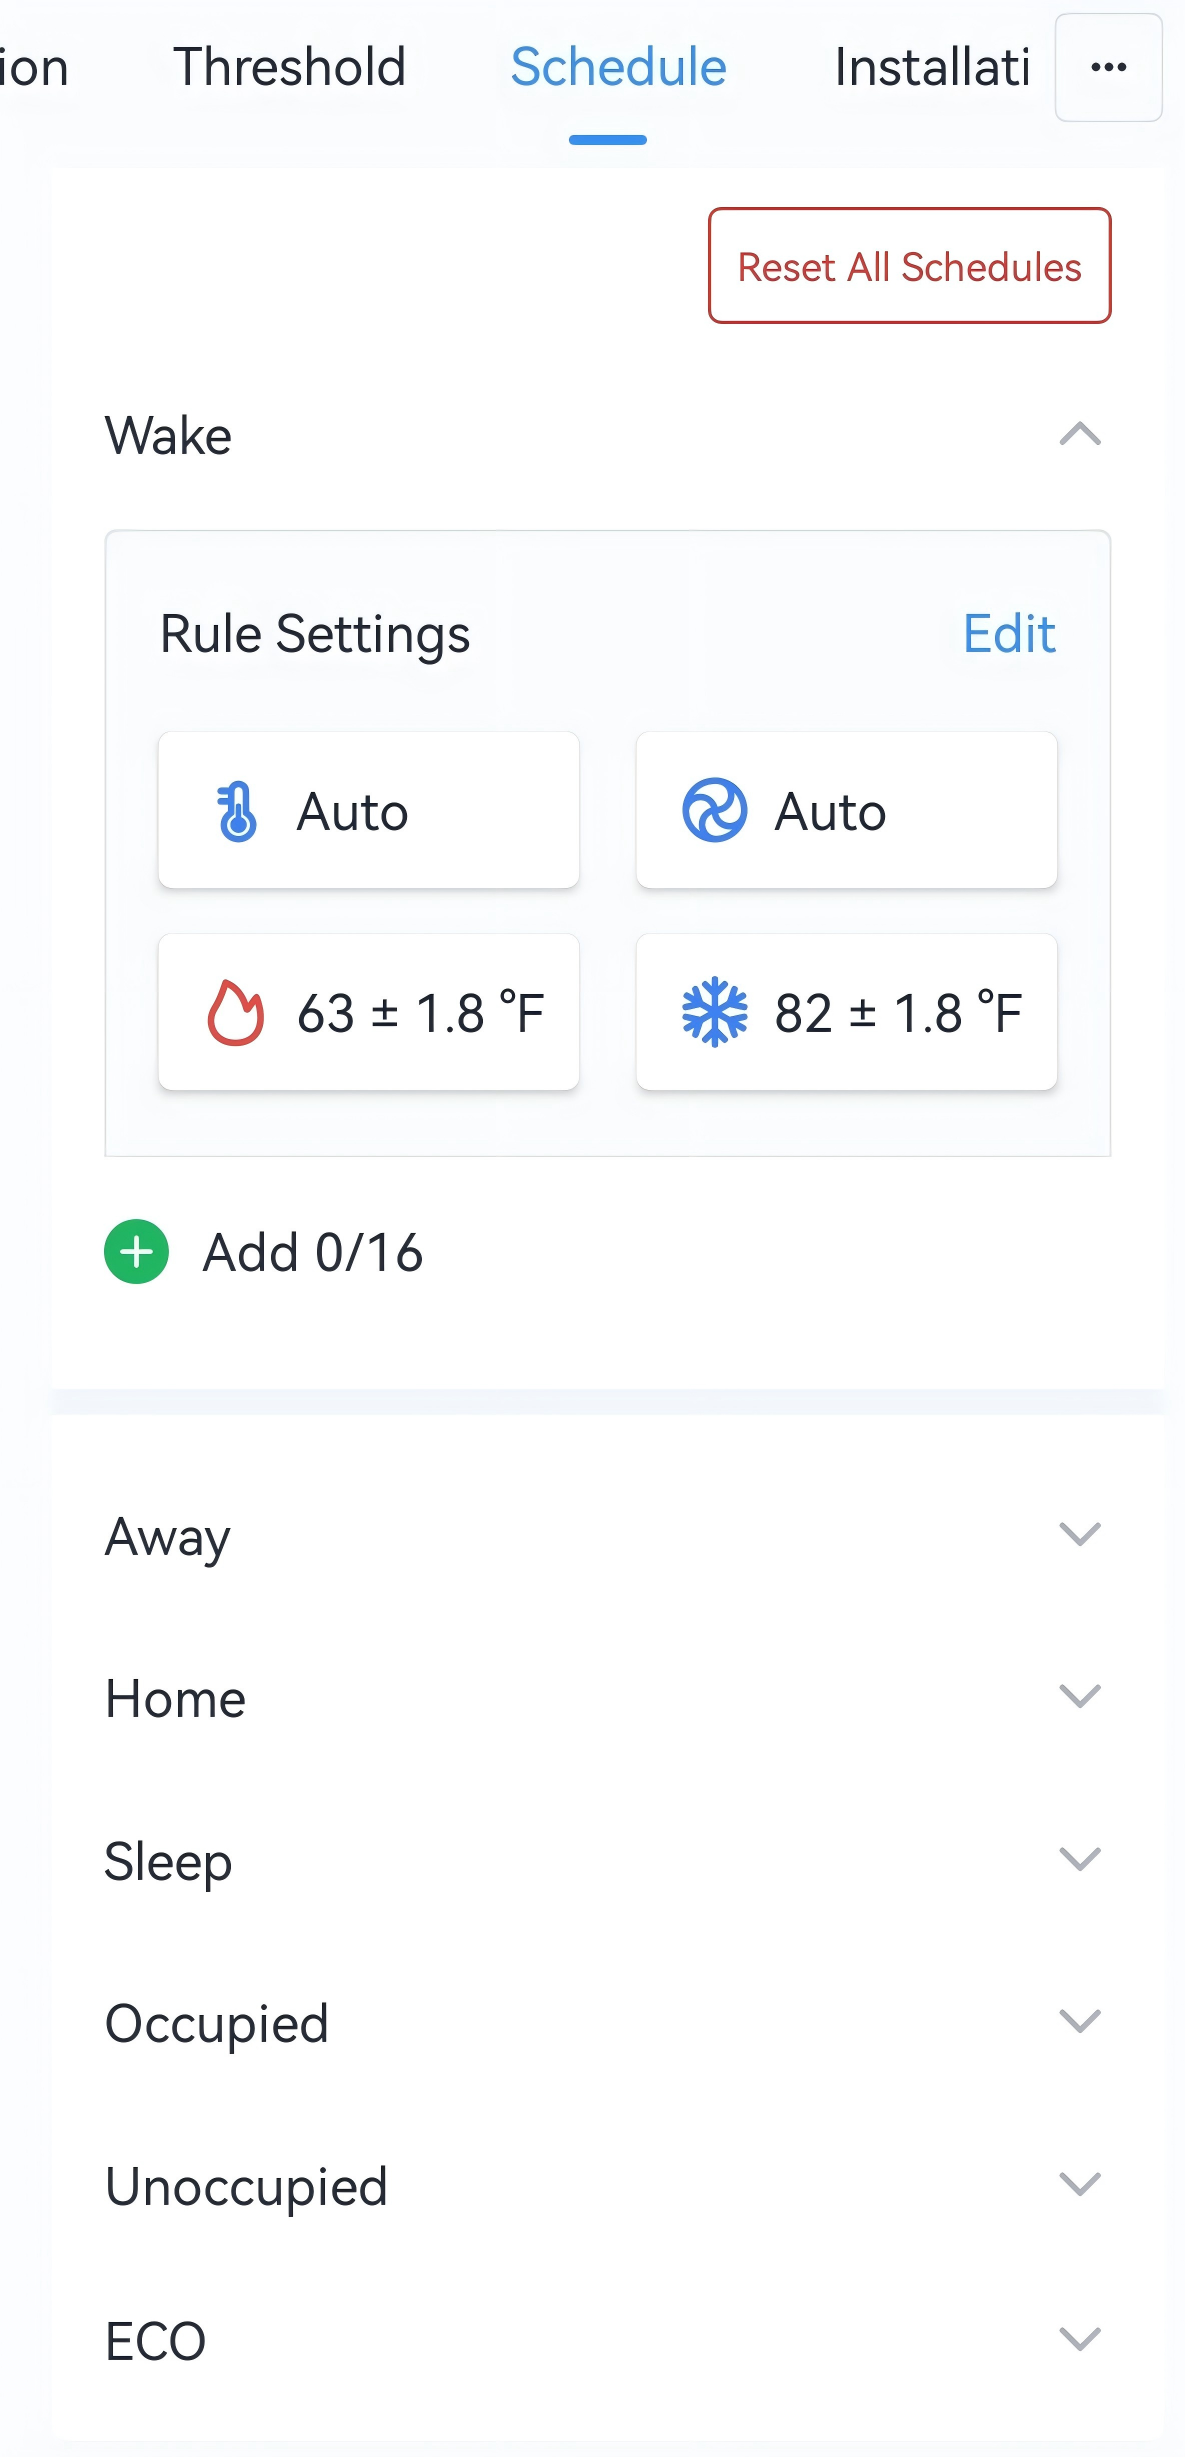
- Configure the rule parameters of this schedule event.
Parameter Description Temperature Control Mode Select the temperature control mode. Fan Mode Select the fan mode. Under Auto-Single Target Mode Target Temperature Set the target temperature for both cooling and heating. Range: 5~35 °C/41~95 °F. Target Temperature Tolerance Set the allowable value between the ambient temperature and the setpoint to prevent frequent cycling. This parameter, along with the target temperature, defines a setpoint tolerance range that determines when the temperature control starts and stops.
Temperature Control Tolerance Add the tolerance value based on the target temperature tolerance for start cooling/heating. Other Cases Heating Target Temperature Set the target temperature for heating. Range: 5~35 °C/41~95 °F. Heating Target Temperature Tolerance Set the allowable deviation range between the ambient temperature and the target temperature to prevent frequent cycling. Cooling Target Temperature Set the target temperature for cooling. Range: 5~35 °C/41~95 °F. Cooling Target Temperature Tolerance Set the allowable deviation range between the ambient temperature and the target temperature to prevent frequent cycling. - (Optional) Add a time period to execute a schedule event. Each schedule type
supports up to 16 time periods.Tip: If the time period is not added, the schedule event can be switched via direct command, D2D agent setting, room card setting, etc.
- Click Add to add a time period.
- Configure the time and repeat days. If the repeat day is not selected,
it means the time period is only executed once.
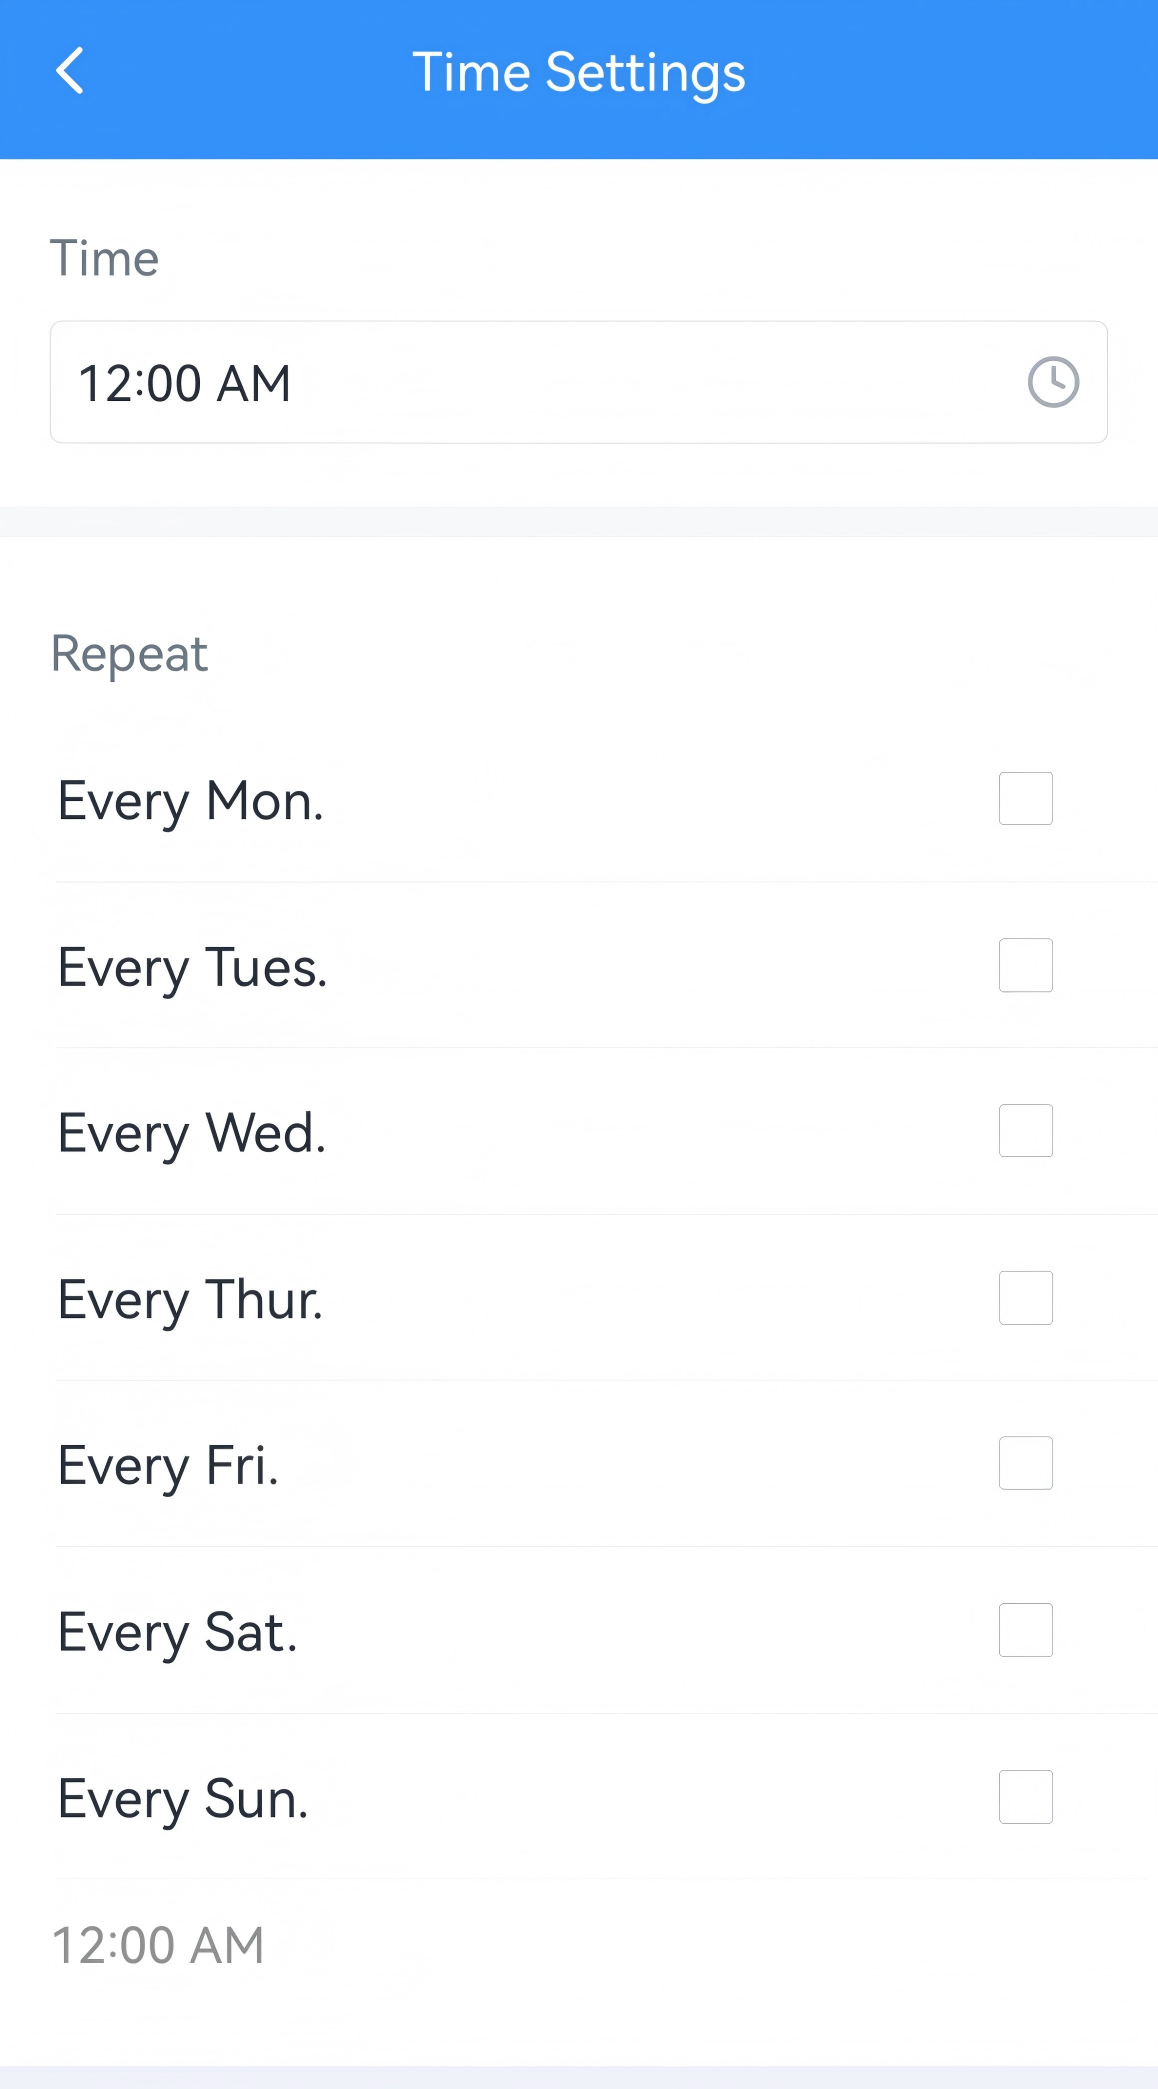
- Click Confirm to save this time period setting.
- Enable or disable the time period as required.
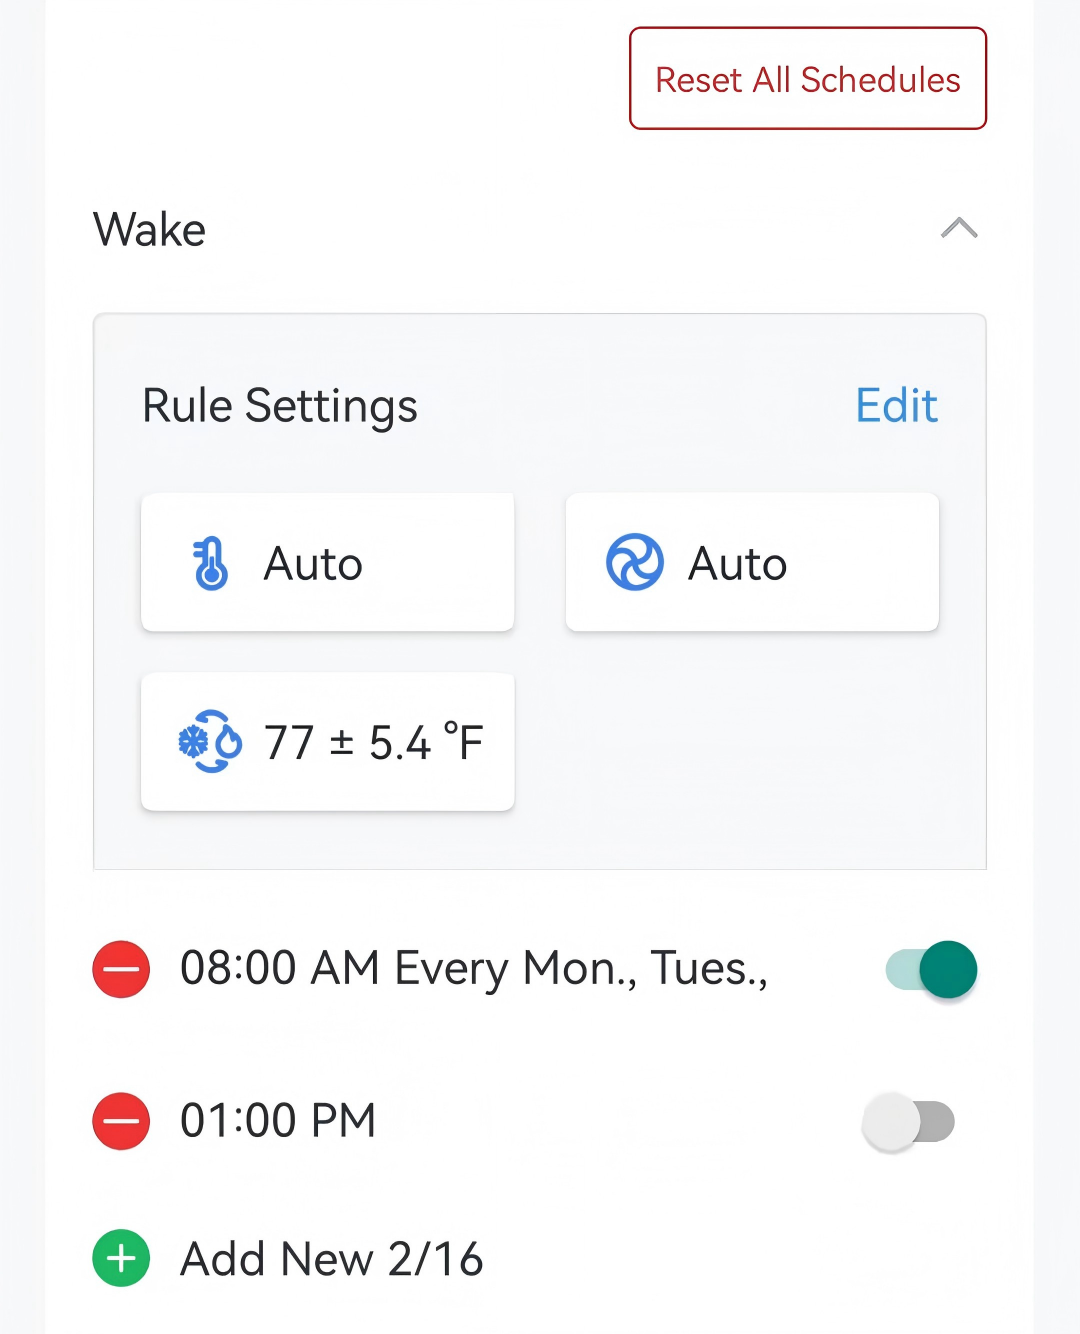
- (Optional) Click
 to delete a schedule event, or click
Reset All Schedules to restore factory settings as
required.
to delete a schedule event, or click
Reset All Schedules to restore factory settings as
required.
- Click Write in the lower right corner, and
put the NFC detection area of the phone close to the NFC antenna of device.
If the configuration succeeds, the following page is displayed.

- JSON Command: see Configure Schedule Parameters
- Raw Hex Command: see Configure Schedule Parameters