Configure Staff Detection
This section describes how to configure the Staff Detection function.
The device supports staff detection by identifying personnel wearing designated accessories.
Limitations: Uncontrollable Factors Affecting Accuracy
- When two individuals walk side by side, the device may incorrectly classify the person without a staff accessory as staff, while failing to recognize the actual staff member wearing the accessory.
- Clothing with patterns resembling staff lanyards (such as striped designs) may cause false staff detection.
- Passing speed exceeding 2.5 m/s may cause missed detection.
- Dark floor/carpet (black, grey, etc.) will affect the device to count staffs.
Staff Accessories Requirements:
For detailed requirements regarding staff accessories, refer to the following table.
| Item | Requirement |
|---|---|
| Accessory selection | It is recommended to use the staff
accessories provided by
Milesight. Staff accessories are available in black and red. Red accessories are recommended for optimal detection against dark-colored staff uniforms. |
| Usage specifications | Staff accessories must be tested
independently and must not be used
concurrently. Multiple accessory types are prohibited in the same scene simultaneously. |
| Wearing requirements | When worn, accessories
must remain fully visible and unobstructed by collars, scarves,
hair, or any other
objects. Staffs must wear these accessories in designated locations.
|
Applicable Installation Height:
2.2-4m
Note: For badge detection at heights exceeding 3.5 m,
detection accuracy decreases significantly due to reduced image clarity.
Steps:
- In the main page, click Rule from the navigation tree on the left.
- Enable Staff Detection.
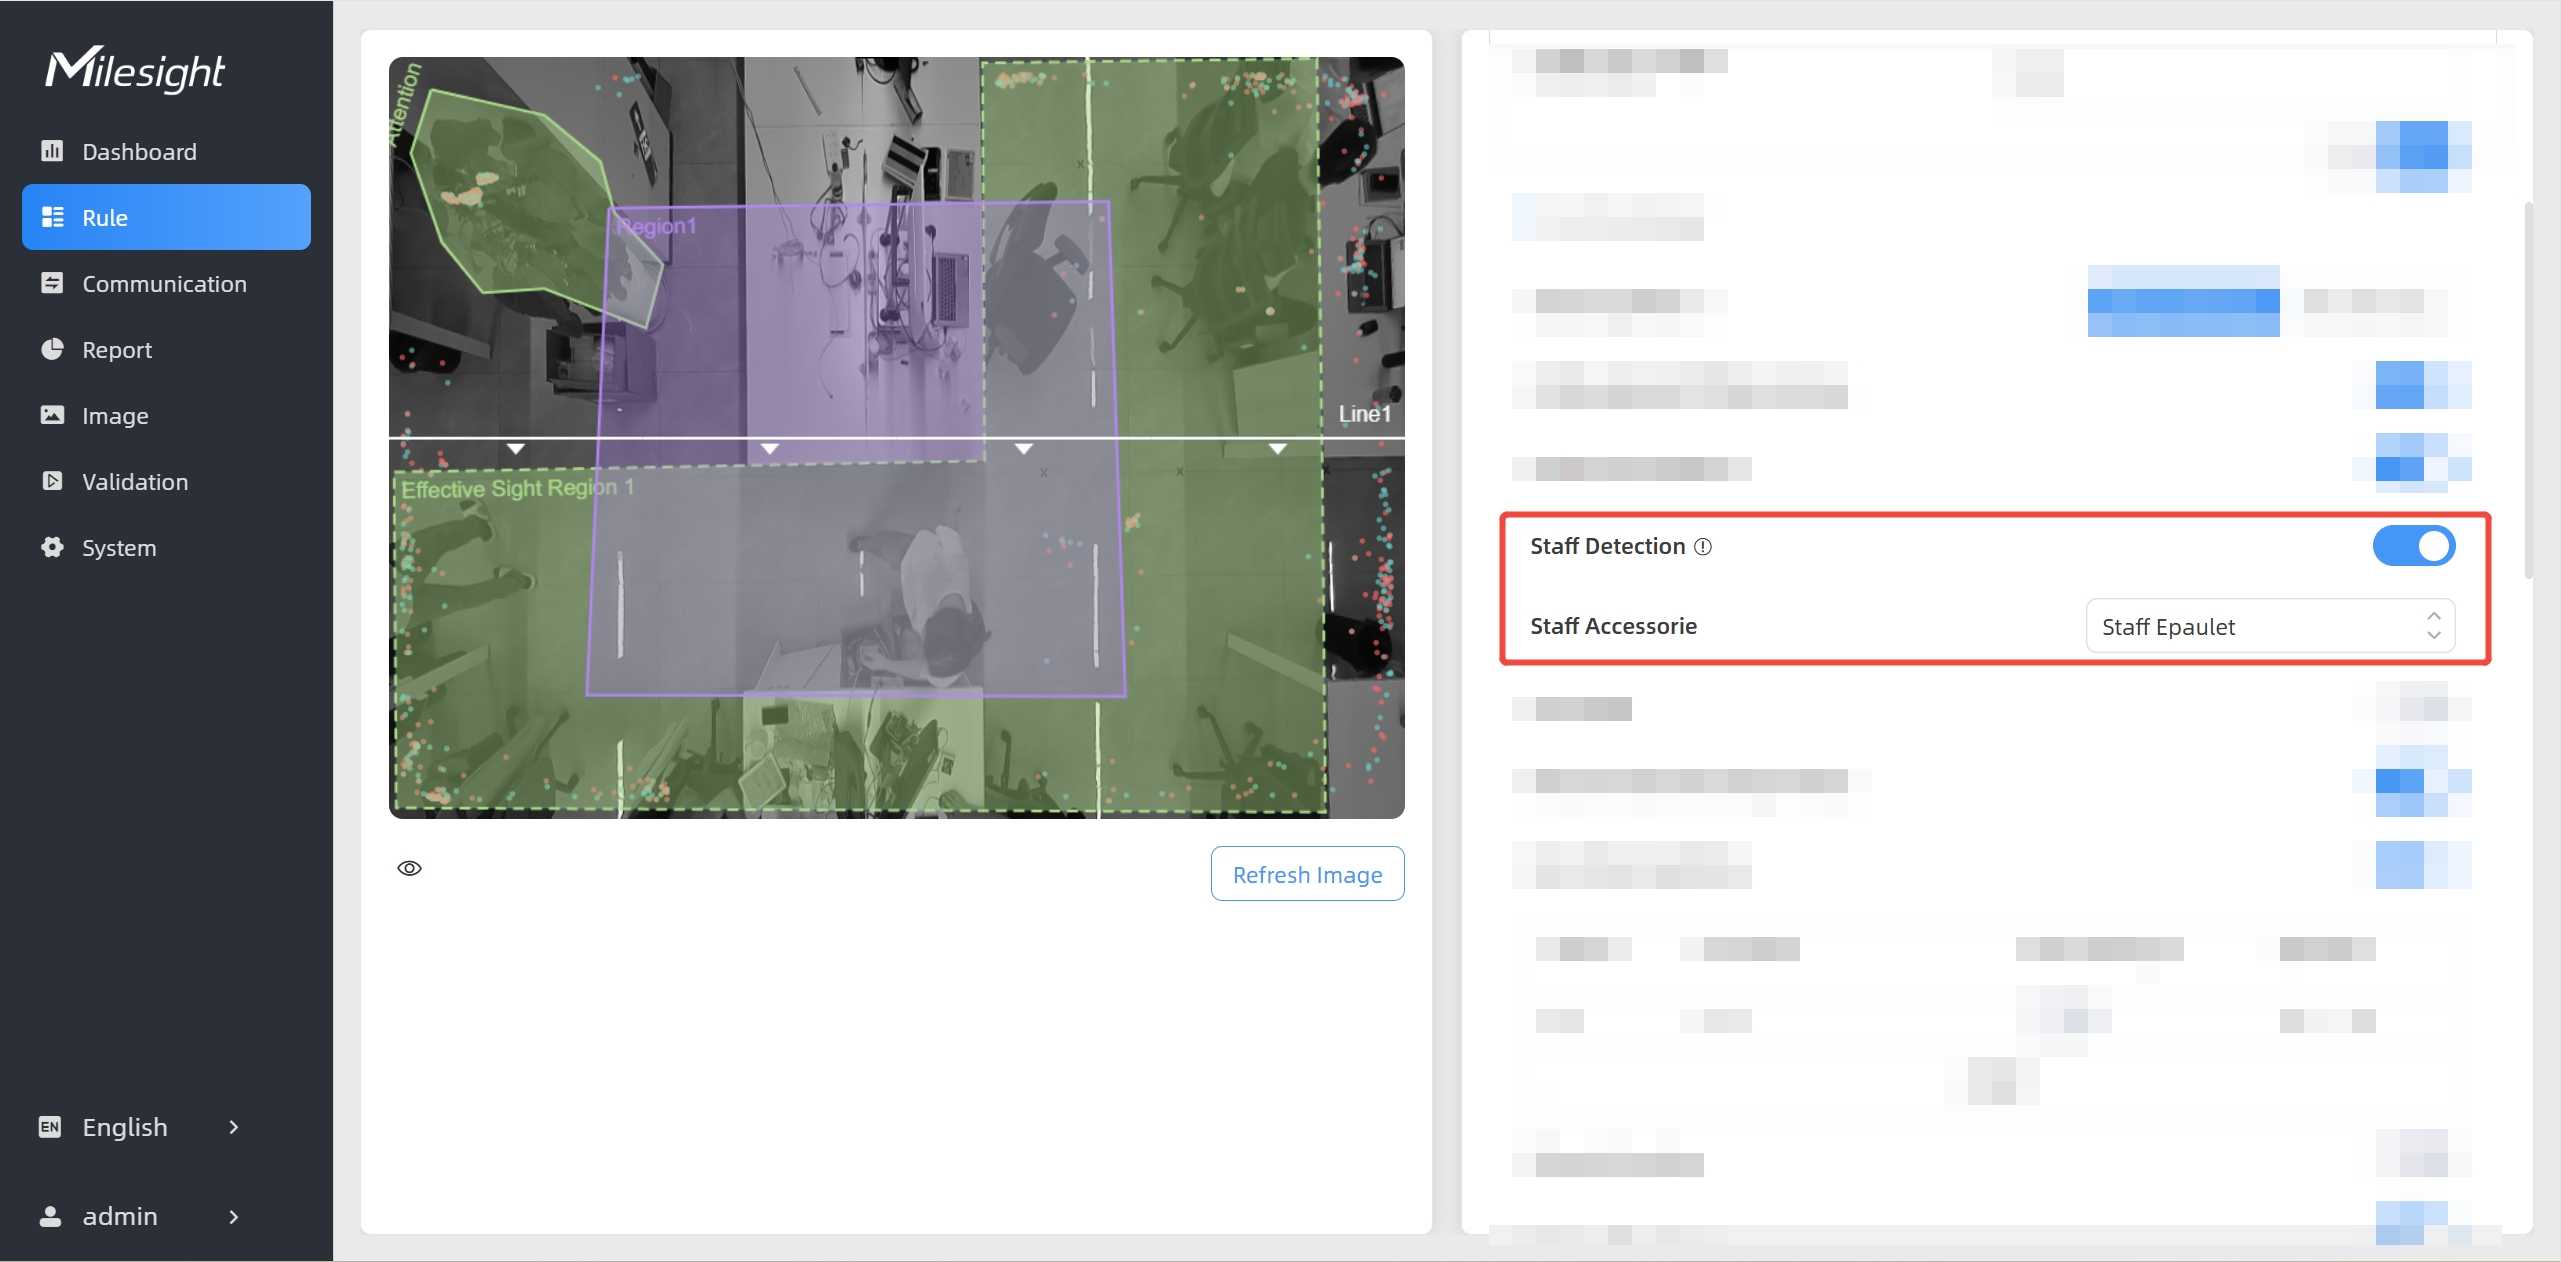
- From the Staff Accessories drop-down list, select an accessory for staff detection.
- Check data through any of the following methods:
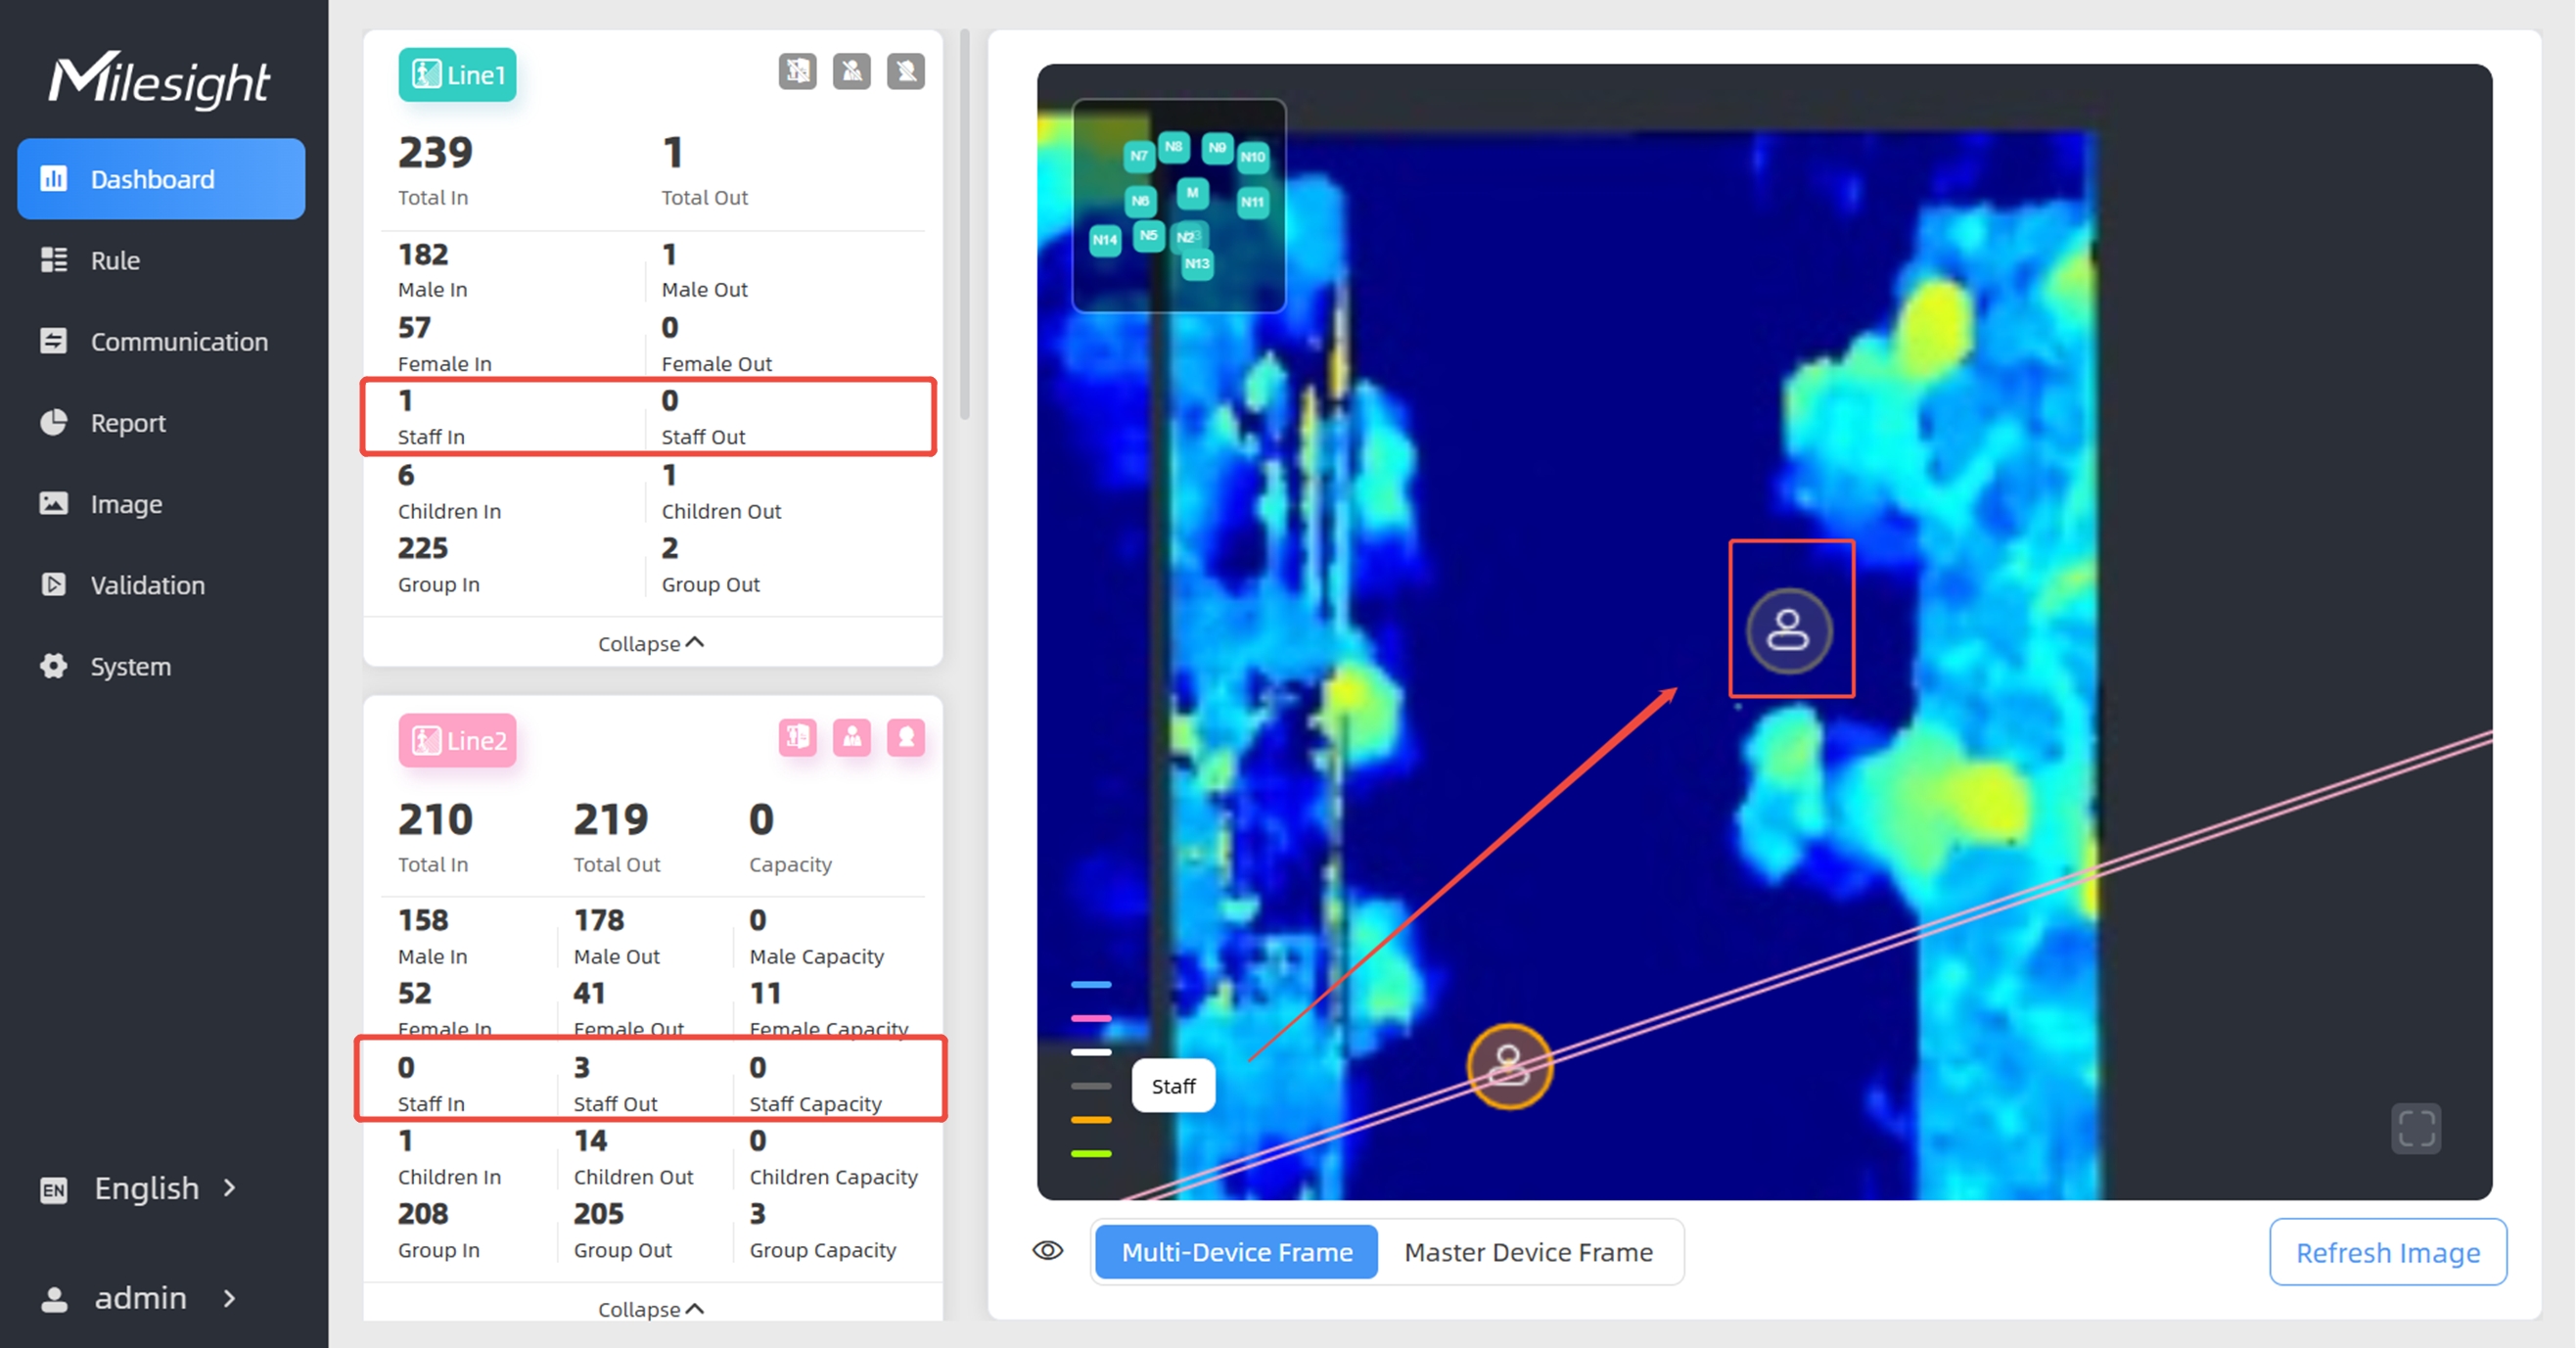
- To check the visual configuration effect, click
Dashboard from the left navigation tree.
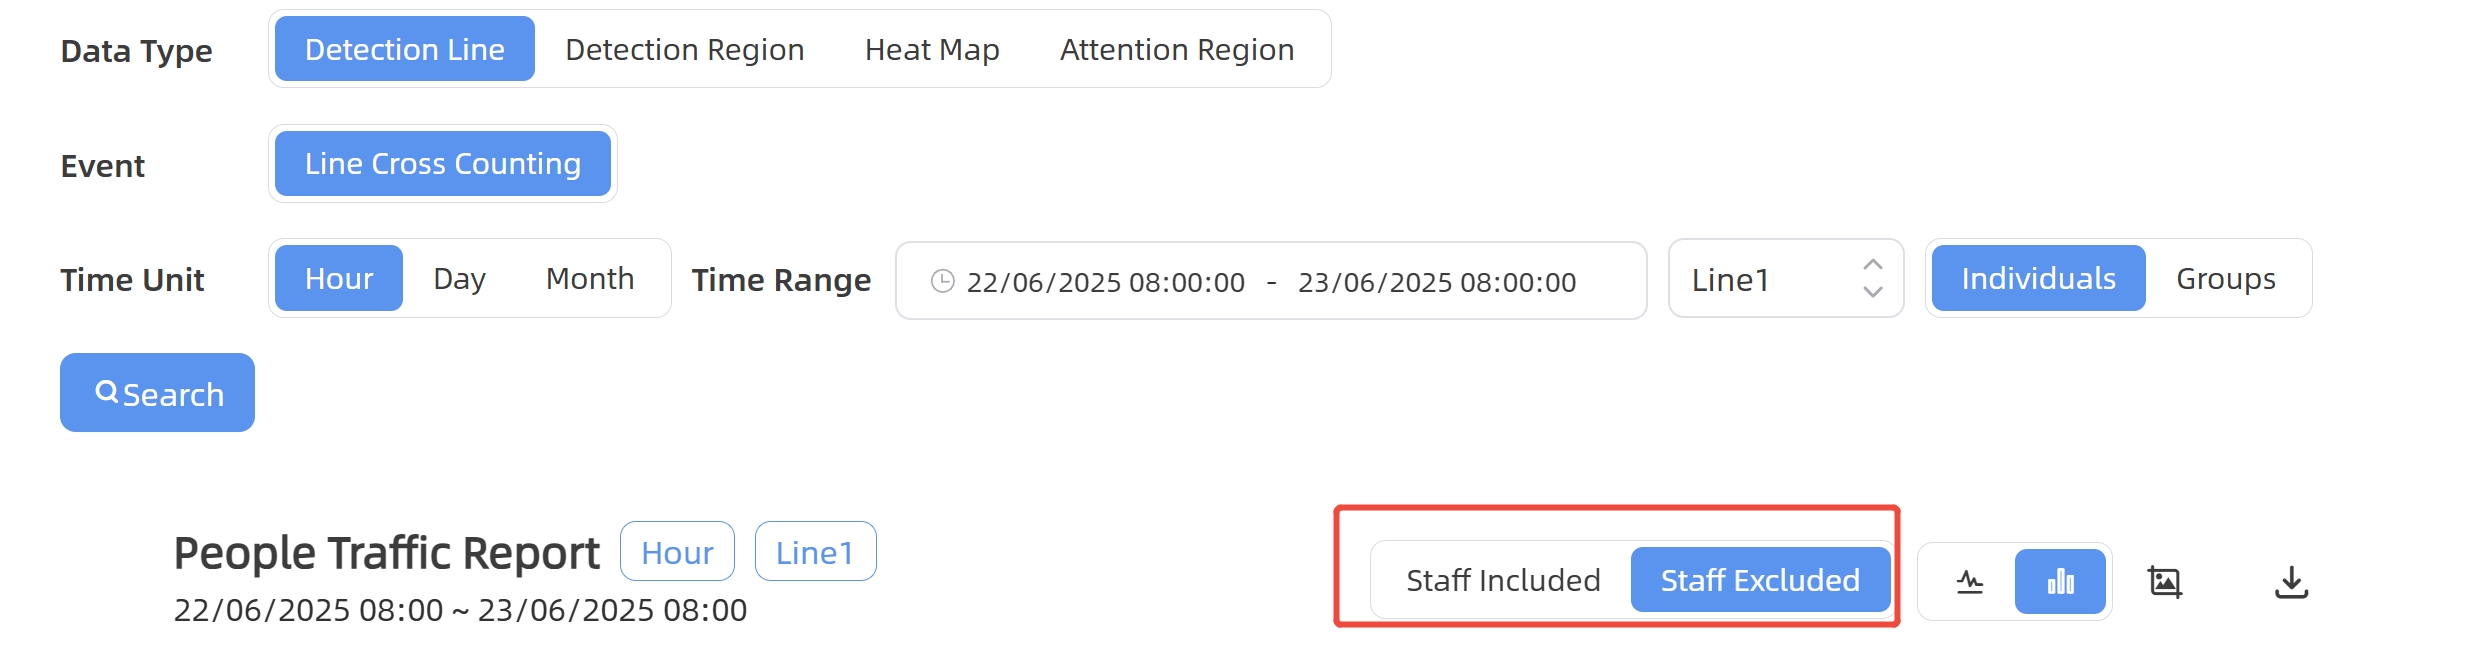
- To view the staff data for a certain time period and
generate the corresponding report, click Report from the left
navigation tree. For details, refer to Generate
Reports.
- If recipients are added, check data through command line outputs. For details, refer to Uplink Data Example for Periodic Reporting and Uplink Data Examples for Trigger Reporting.
- To check the visual configuration effect, click
Dashboard from the left navigation tree.