Add Devices in Bulk
This topic describes how to add devices to Milesight Development Platform in bulk.
Restrictions
Confirm with your enterprise administrator whether current account role permits access to this feature and the left number of devices that can be added to the enterprise.Prerequisites
- You have collect the devices' SNs or EUIs.
- You have upgraded the firmware version of device model to a supported
version.Note: You need to reboot the device after the SN is added to platform.
- If you have a large number of devices that need to be added, it's
recommended to compile the devices' SNs or EUIs into a file with the
following requirements:
- Format:
xlsxorxls. - Size: Less than 100 KB.
- Content:
Each
line contains information of one device, with four columns from left
to right showing SN (or EUI), device name,
group,
and tags.

- Format:
- If you want to apply custom settings to devices that support initial configuration, you need to create custom Config templates for the devices or export the configuration file from the devices.
Procedure
- Log in to Milesight Development Platform.
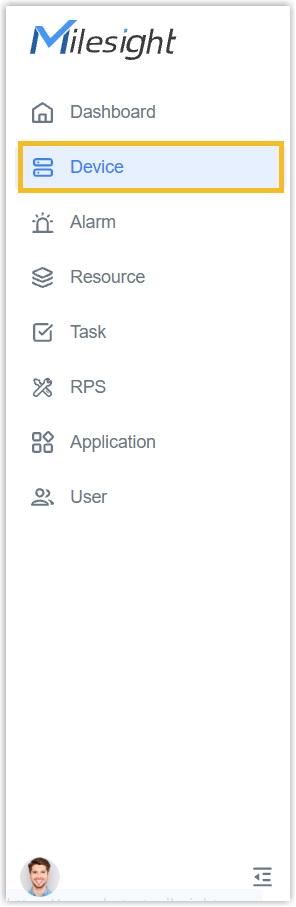
- On the left bar, select the Device
tab.
- Select the desired group or sub-node from the list on the left.
- Move to Action button, select Add Devices in Bulk.
- In the Upload File step, configure the device
template to upload the devices' information.
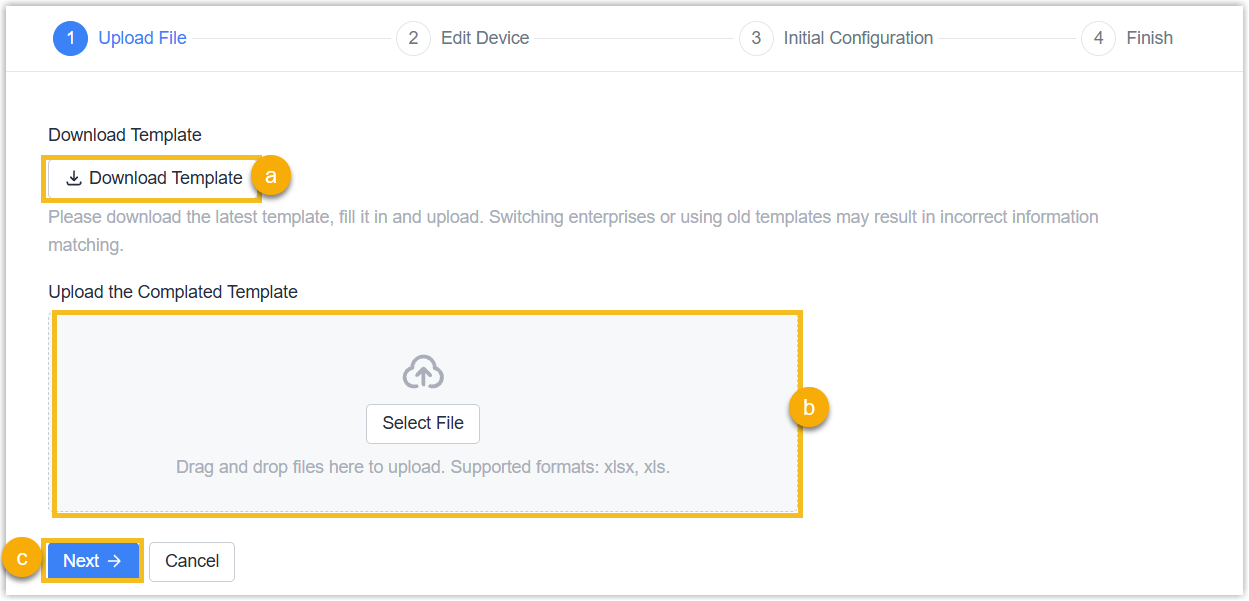
- Click Download Template to download the device import template, and to compile the devices' information into this file.
- Click Select File button or drag the file to here to upload.
- Click Next.
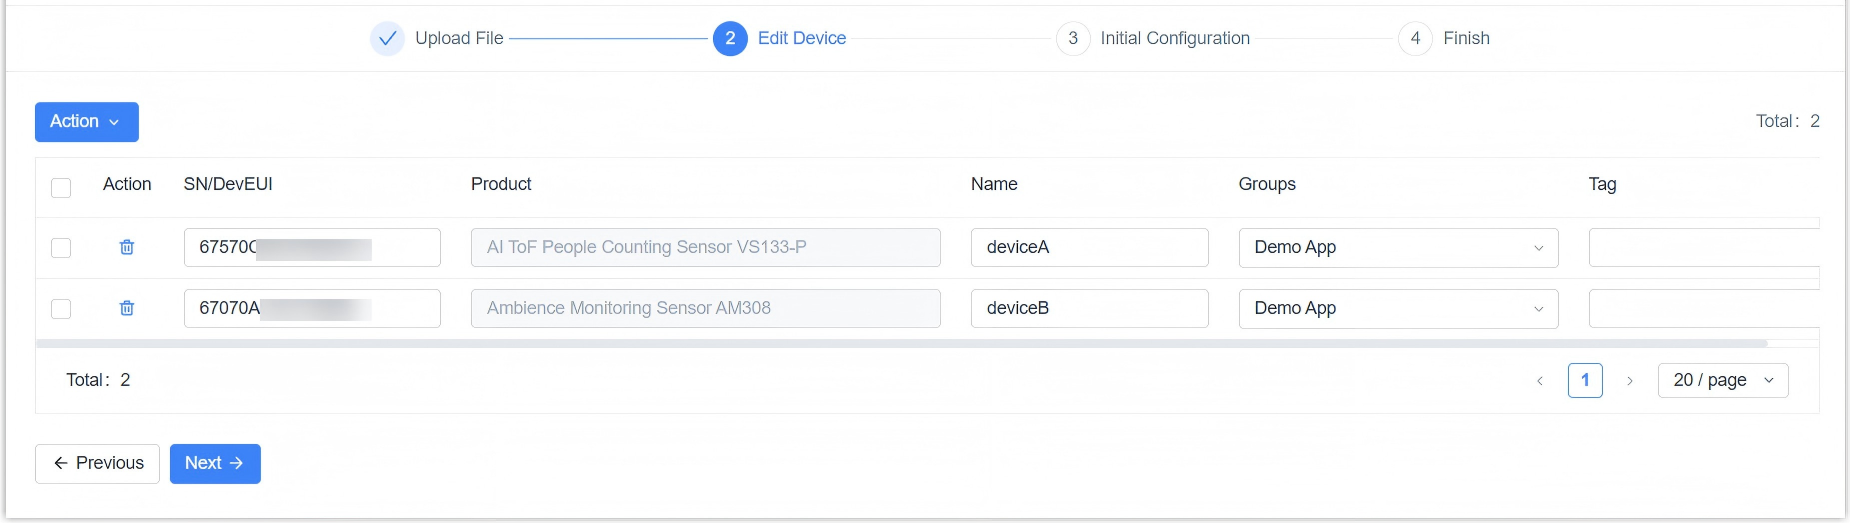
- In the Edit Device step,
edit the device names and
tags
as needed. Click Next.Note: If the SN/DevEUI is identified as incorrect, please re-enter it.
- In the
Initial Configuration step, configure the initial configuration
if there are devices that support RPS.
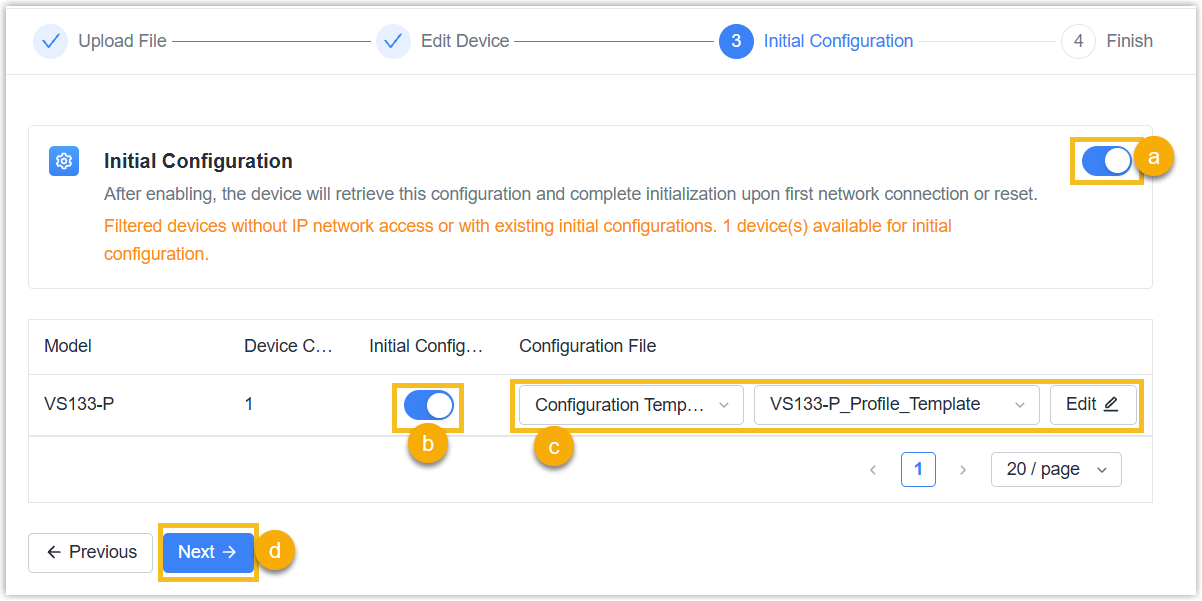
- Enable Initial Configuration.
- Enable Initial Configuration for selected devices.
- Select the configuration type and configure the related parameters.
If you require device to receive configurations from configuration
URL, see Add RPS Records in Bulk.
- Configuration Template: In the
Configuration File drop-down
list, select the desired configuration file to apply
settings to the device. You can click
Custom to edit the selected file
as needed.Note:
- The listed files include the default Config template and the custom Config templates you created.
- If you do NOT want to enable auto provision for specific devices, then select [None].
- Configuration
File:Upload the
.datformat configuration file generated from the device by clicking upload button.Note: Ensure that the hardware and firmware versions of the device from which the configuration file is exported match those of the target device.
- Configuration Template: In the
Configuration File drop-down
list, select the desired configuration file to apply
settings to the device. You can click
Custom to edit the selected file
as needed.
- Click Next.
- In the Finish step, click Back to Device List or Batch Add Again.
Result
The devices are added to both Device page and Application page of Milesight Development Platform, the Status column displays the connectivity status. The devices initial connectivity status is displayed as Not Activated, which will be automatically transitioned to Online upon the transmission of the device's heartbeat or data through the platform.

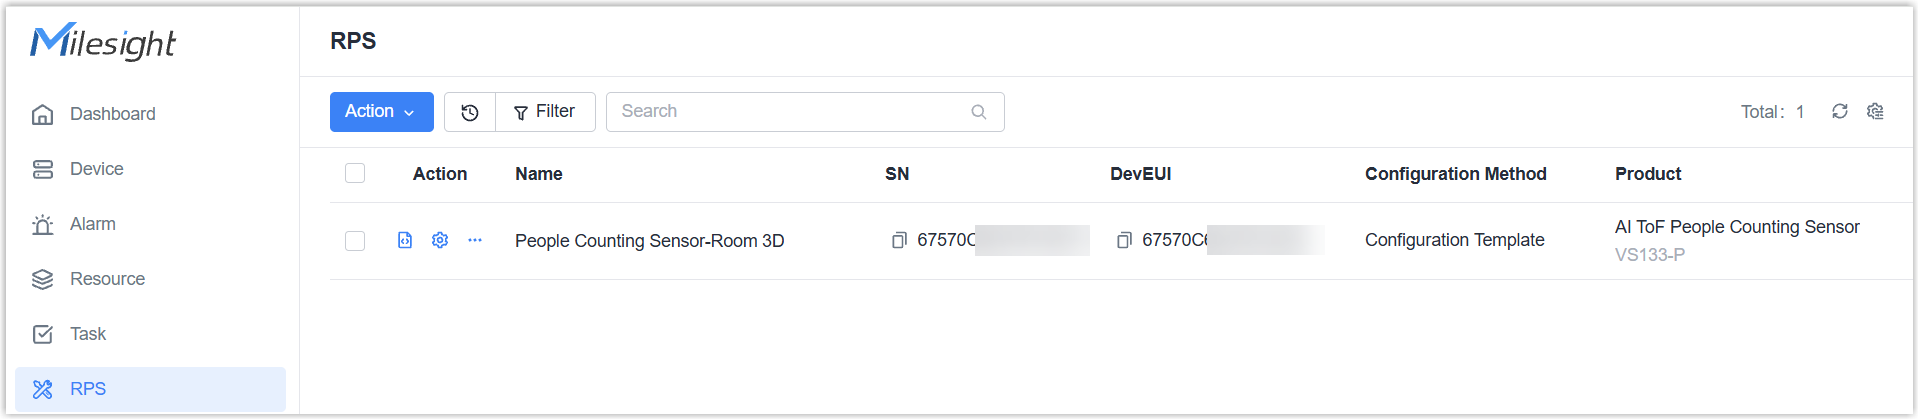
The initial configuration records will be generated under RPS page when Device Initial Configuration are Enabled.
Note: If you only require initial
configuration for this device and set it NOT to connect to Milesight Development
Platform, please go to RPS tab to add the device initial configuration
records.