Introduction
Milesight 12X/20X/23X Mini PTZ Dome Network Camera is designed for high-grade all-round monitoring. To erase the hassle of installation and maximize the convenience, the camera fits for four different installations modes with various accessories. Apart from that, Milesight also provides Smoked Dome Cover (AC-71) to hide the direction in which the lens is pointing while remain the UHD video images, preventing intruders from taking advantage of knowing where security cameras are pointing and their vulnerable spots.
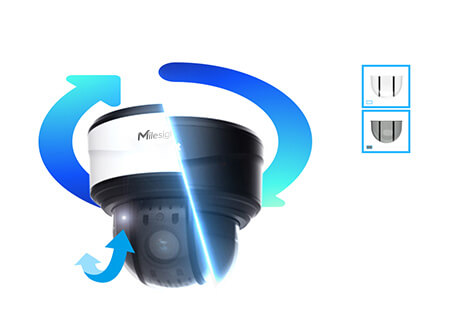
Four Different Installation Modes for Different Needs
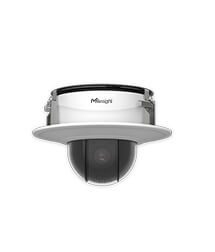
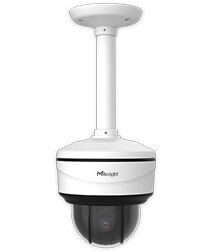
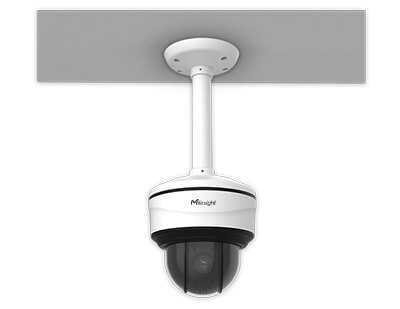
Considering different requirements from customers for specific installation environments, the Mini PTZ Dome Camera accesses to four different installation modes. The Mini PTZ Dome Camera with the Mounting Bracket (Picture 1) is the basic installation mode. Also, Milesight offers A78 (Picture 2) and A79 (Picture 3) for ceiling installation. For wall or parapet installation, A77 (Picture 4) is available. Before installing the camera, please make sure the installed side could withstand 8 times weight of the Mini PTZ Bullet Camera, which is around 2kg.
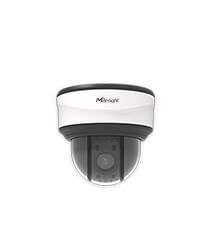
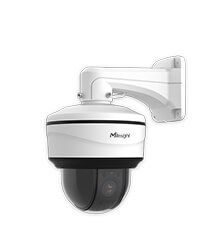
Installed with Mounting Bracket
Installation Environment
For easy installation on the wall to meet the monitoring needs.

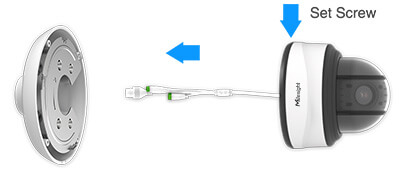
Step 1: Take off the mounting bracket from the camera;
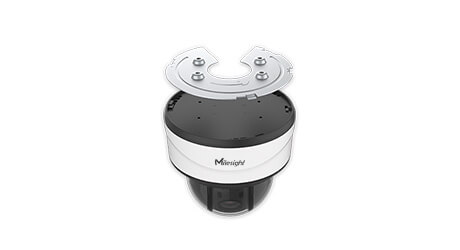
Step 2: Fix the bracket on ceiling or wall where the camera is intended to be installed. Then secure the screws;
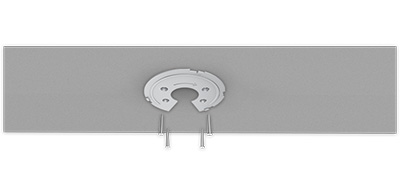
Step 3: Connect cables, rotate the camera to the bracket clockwise;
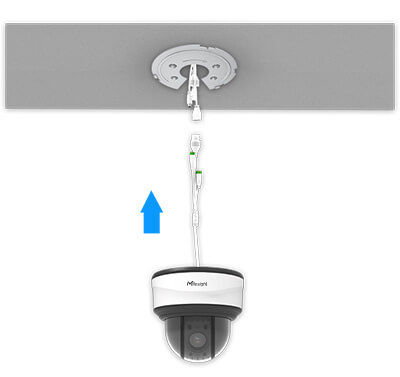
Note:
If you need cables out through the side, please loose the screw in the bottom if need.
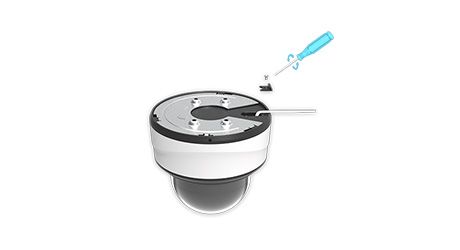
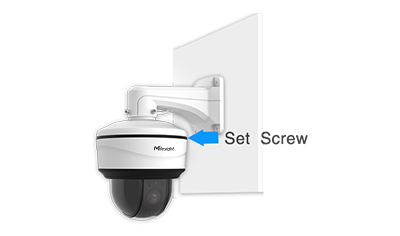
Step 4: Tighten the set screw to finish the installation.
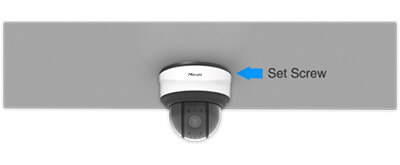
Installed with A78 Recessed Mount
Installation Environment:
For the containing of electrical connections which need to be concealed from sight and deter tampering, so that the camera better merge with the structure.

Step 1: Ensure that the intended installed ceiling is suitable. The thickness of ceiling should be less than 30mm. Then drill a 220mm round hole on it;
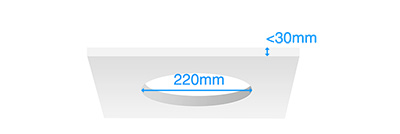
Step 2: Assemble the Recessed Mount. Stand up the legs of the big part, then put the small part on it and screw the three screws;

Step 3: Take off the black cover of the Mini PTZ Dome Camera;
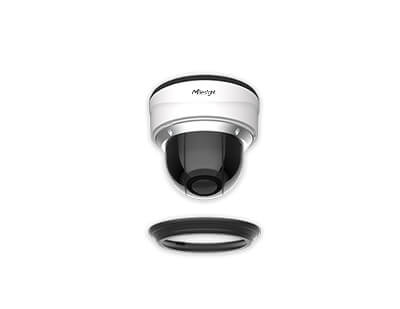
Step 4: Put the whole Mini PTZ Dome Camera into the combined Recessed Mount and cables through it;
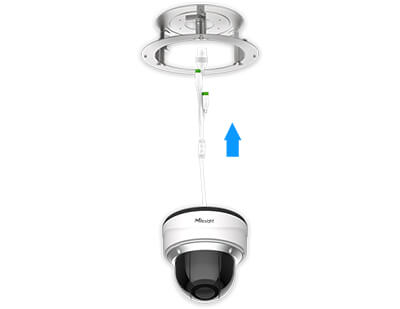
Step 5: Lock the camera with mounting bracket to the Recessed Mount;
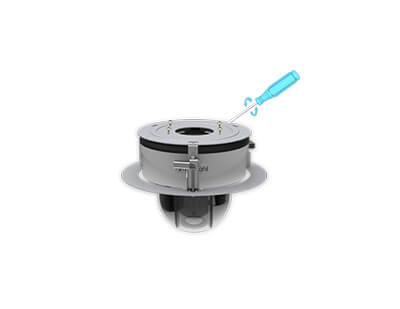
Step 6: Connect the cables and install the camera with Recessed Mount into the drilled hole;
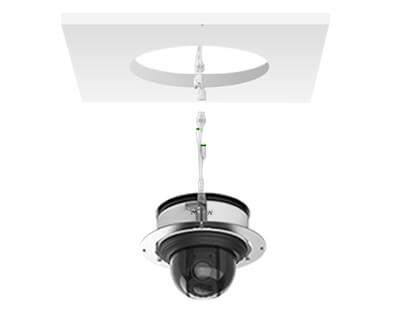
Step 7: Tighten the three screws of the Recessed Mount to make sure the mount leg stuck in the wall;
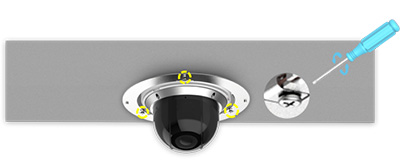
Step 8: Put the Recessed Mount Cover on to finish the installation.
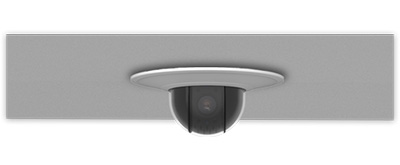
Installed with A79 Pendent Mount
Installation Environment:
Used to install camera on a ceiling or horizontal structure. If the ceiling or horizontal structure is high, the Pendent Mount will help to give the best monitoring angle.

Step 1: Mark holes with the pendant head, and then drill 4 holes in the ceiling. Take off the mounting bracket from the camera. Then secure the mounting bracket with pendant base;

Step 2: Put the cables through the pendant base and then rotate the camera clockwise and secure the set screws;
Step 3: Put the cables through the pendant pipe. And rotate it with the base and secure set screws. Put the cables through the pendant head, and rotate it with the pipe and secure the set screws;
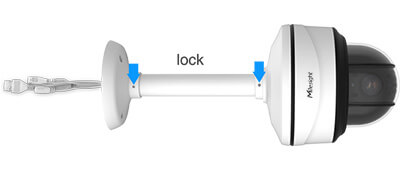
Step 4: Fix the whole pendant and camera to the drilled holes in ceiling.
Installed with A77 Wall Mount
Installation Environment:
For wall or parapet installations such as on the outside walls or poles on the road.

Step 1: Put the cables through the back part A77 Wall Mount. And secure the screws to fix it on the wall or parapet;
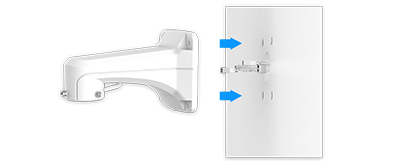
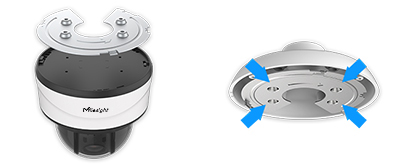
Step 2: Take off the mounting bracket from the camera. Fix it on the head part of the A77 with the screws corresponding to the holes;
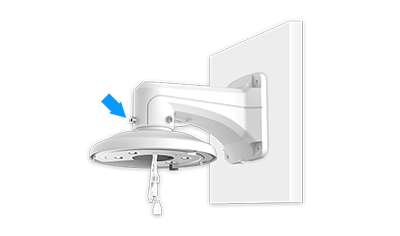
Step 3: Put the cables through the head part of the A77 and connect the back part and head part;
Step 4: Connect cables and rotate the camera to the bracket clockwise;
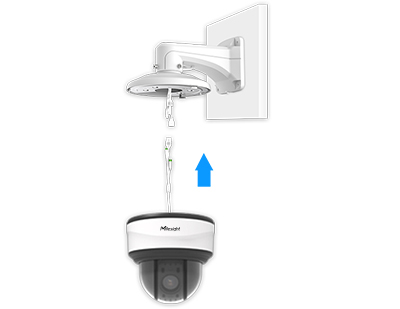
Step 5: Tighten the set screw to finish the installation.
Conclusion
Mini PTZ Dome Camera could be regard as a true user-friendly one with four different installation mode. Various accessories satisfy different installation requirements making the installation much more flexible and convenient. Especially with Recessed Mount, the Mini PTZ Dome Camera could better hide itself and merge with the environment.


